SNC2 on TV, and why I’m LOVING mine.

As always, I start my ScanNCut post with the disclaimer that I do work with Brother, and they did provide me with the machine I use. However, all ideas and opinions are mine alone.

I wanted to do a why I love this machine post, and also open it up to questions from you as well.
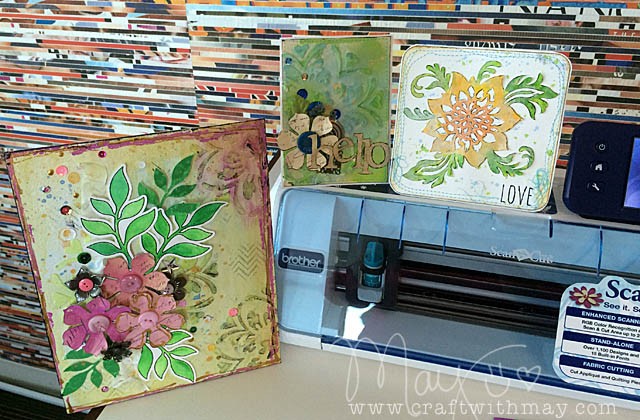
snc2

First off it isn’t for everyone. Shocking thing to say? Maybe, but the thing is I don’t believe any one tool is for everyone! You must consider how you craft, what you would use it for, and be realistic about your own crafting habits and goals. Why do I love my ScanNCut2, and why do I recommend it?

  • With new upgraded scanner I can now cut out ever more patterned papers, and scan & cut even more stamps! These two improved functions are HUGE! If you cut a lot of stamps out or purchase tons of matching dies for your stamps – the machine could pay for itself quickly.
  • I like to doodle things, and man do I hate to have to cut them out with a craft knife! I don’t have to – with the ScanNCut I can doodle on scratch paper or my ‘real’ paper, scan my idea in, and the machine does the cutting.
  • I love to piece together felt and fabric bits to decorate pre-made items. SNC makes this way easy as it cuts out whatever I need
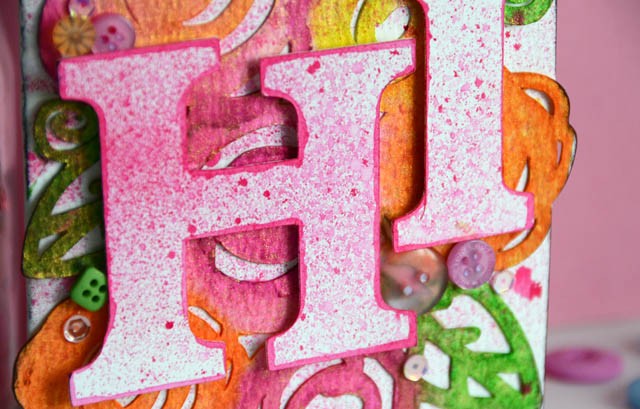
  • I like to use die cut shapes, letters, and words in exactly the sizes I want, from the material I want
  • I don’t like being hooked up to the computer to do creative things! SNC has a free software (Canvas) that works on computers or tablets and makes even more possibilities, and the new machine is capable of wireless network ‘chatting’ with Canvas now too, but I don’t want to have to do that. I love that I can simply turn on my ScanNCut2 and go. Now? I can even have it directly read my .svg files for cutting!

The ScanNCut2 has a lot of improvements and features that really make it a must for me – from the lower price point to the improved functionality. The original is still awesome – anyone who has the first knows they’ve got a great machine! From party décor to scrapbook pages, card making to mixed media layers the ScanNCut has been a huge part of my crafting since it’s original release.
DSC_5252

For the way I create, no contest and hands down, it is THE machine for me. If you want to do some more research or are thinking about this machine here’s a link to the Brother website. Note that there are two new models (350 and 650) – with significant price difference. If you want to compare the two new models and figure out which is a better fit – here’s a comparison chart. You see me use the 650 model, a model that is only available through Brother retailers and not through big box/mass market retailers like HSN or Amazon. All of the features such as scanning, cutting, how things work are the same. So regardless of which new model you have you’ll be able to follow my tutorials.

Want to see all my past blog posts and tutorials? They’re all gathered here. Looking for my SNC YouTube Playlist? Find it here.
DSC_3659

Speaking of Amazon – they offer a different package for the SNC2 350 model available for order on (affiliate link) amazon.com! This makes me so excited because the rhinestone kit is really one of my most favorite things! Note that with that bundle it does NOT have the activation card for wireless that HSN has. So same machine, different options. This machine is also available at Scrapbook.com.
DSC_7775 copy

Now if you’ve got any questions, or requests for my future videos let me know! I’m happy to hear from you and cover questions and how-to things you’d like to see.

banner

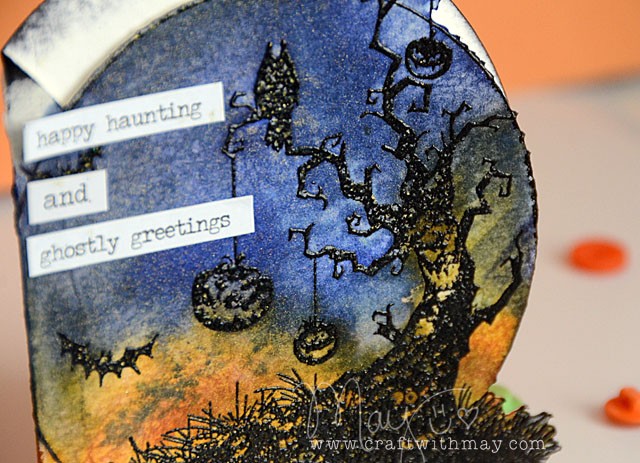
Spooky easy stamped card with ScanNCut2

As always, I start my ScanNCut post with the disclaimer that I do work with Brother, and they did provide me with the machine I use. However, all ideas and opinions are mine alone. Now let’s get to the fun stuff because this is AWESOME FUN!

Before I get going this does actually work with ANY ScanNCut model, but you may find that the original machine (vs 2) requires a bit of extra help along the way such as thickening your exterior stamp line. But welding and creating something like this? All ScanNCut machines can! Hooray!

DSC_7992 copy

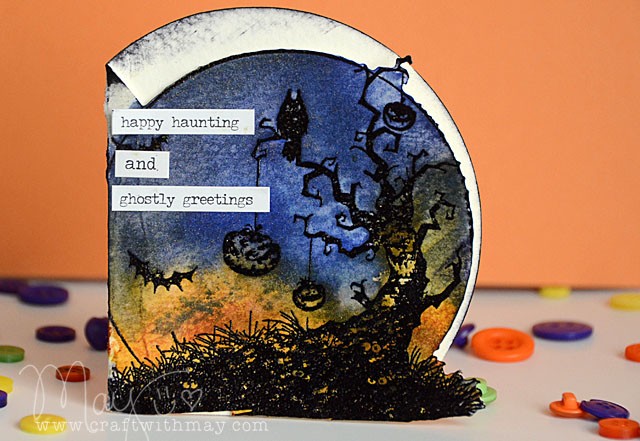
For this card I scanned the stamp but didn’t cut it out. Then welded a circle to the left, then cut it out. So easy, and once done a quick swirl of color, some extra black ink, a bit of sparkle mist, and a few words had my card ready to go out and haunt someone.

For those of you with ScanNCut machines I know you’ll wanna see the exact how-to. So check out the video I uploaded today here: link to YouTube

DSC_7984 copy

I’m off to haunt some more new ideas and scare up some fun…

Looking for your own ScanNCut2? I use the 650w model, which is exclusively available at Brother dealers. Also available (and that has same functions in general as my machine) is the 350 – aka the other SNC2 model. You can find that all over the place including (affiliate link) Amazon.

Detail cut card with ScanNCut2

Disclosure: I am a paid consultant for Brother International Corporation and have received a ScanNCut from Brother to evaluate. However, the opinions expressed are entirely my own and based on my use of the product.

DSC_7763 copy

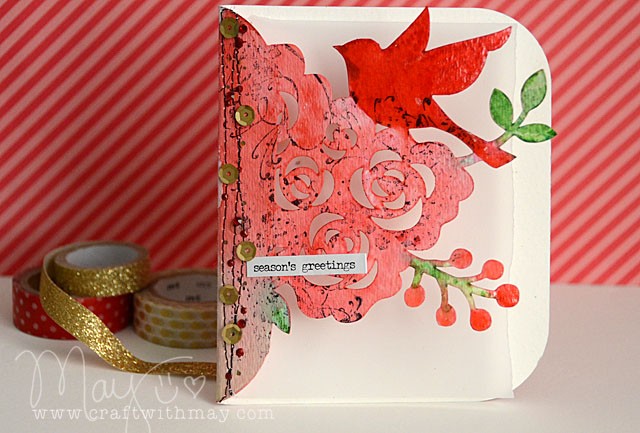
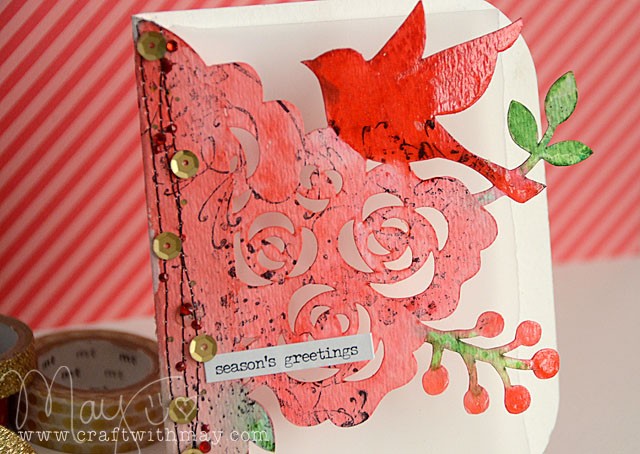
It’s no secret that the designs on the new ScanNCut2 650 model are favorites already of mine – however what you might not know is that this machine (or any model!) can easily weld designs together so that you can create all kinds of new shapes and projects. One of the top on my to-do list? Make this design into a card!

Want to see how? Here’s a link to the YouTube video.

DSC_7775 copy

I hope you liked the video, and love this project as much as I do! I’ve done a few welding projects in the past but having this intricate design turned watercolor style card is definitely a new favorite!

Sweet Autumn card featuring ScanNCut 2

DSC_7230

Who’s ready for fall? Me!! As you know (disclaimer) I do work with Brother, and they provided me with the amazing ScanNCut2 650w machine that you’re going to see here today in action for the very first time! Of course all the ideas and opinions here are always my own. Oh but who wants to hear me talk? You want to see this baby in action…

(link to YouTube)

I am so in love with the new designs, and if you’ve been hearing all the buzz about the new SNC then you want to stay tuned – TONS of videos coming! This is barely the beginning.

DSC_7226 copy

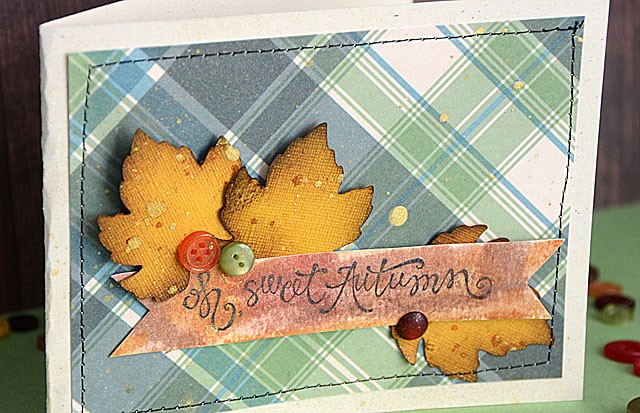
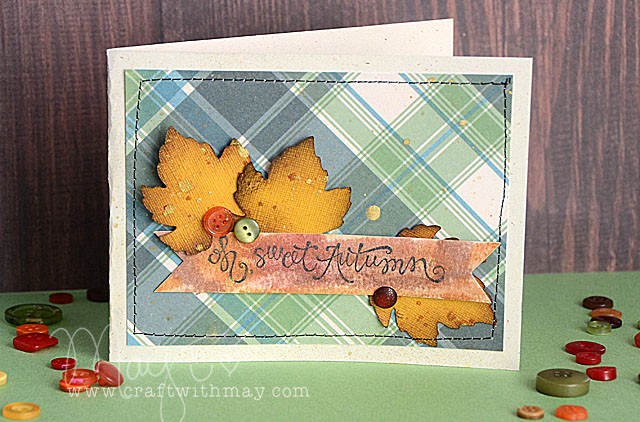
Just love how this card came out! Want more fall inspiration? You’ve got it! I’ve got two new project PDFs up on the ScanNCut website! If you go to the “video” section of their site you’ll also see videos for these projects and many more.

may

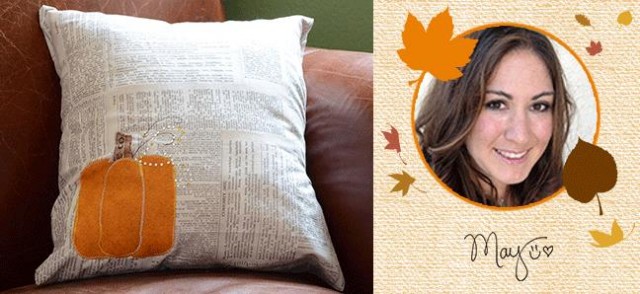
I made the so fun pillow (above) with basic shapes + some hand drawn elements turned rhinestone pattern! Not into stitching? Check it out anyhow – you can so make a pumpkin like that from paper! Also, I have a table runner that I accented with flowers, buttons, rhinestones, and more! Want to see that project tutorial? It’s on the site too! You can see all these projects plus those of my fellow SNC designers here.

brotheroct

Well as you can see – I’ve been a busy girl! I’ll be back to share more real soon. Looking to get a ScanNCut2 of your own? Contact a Brother dealer for the 650W model, or you can find the 350 model (affiliate link) at Amazon and other big retailers.

Fall in love with this ScanNCut embroidery hoop

Disclosure: I am a paid consultant for Brother International Corporation and have received a ScanNCut from Brother to evaluate. However, the opinions expressed are entirely my own and based on my use of the product.

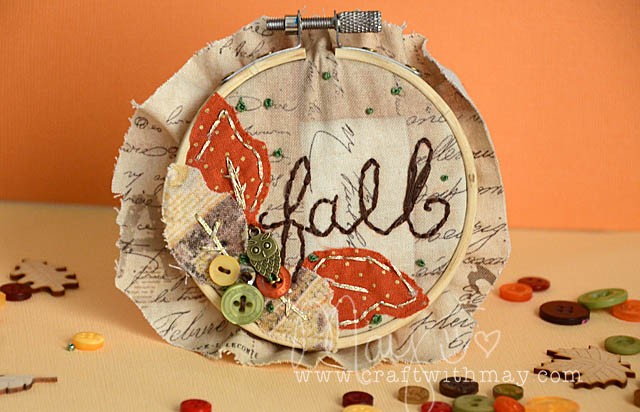
Cutting out my leaves using my ScanNCut, then ironing them to my fabric for this mini hoop proved to be quick, easy, and a great start to what I believe is going to be a thriving new direction! This is my first finished hoop (that I designed on my own) – and I’m loving it!

DSC_7043 copy

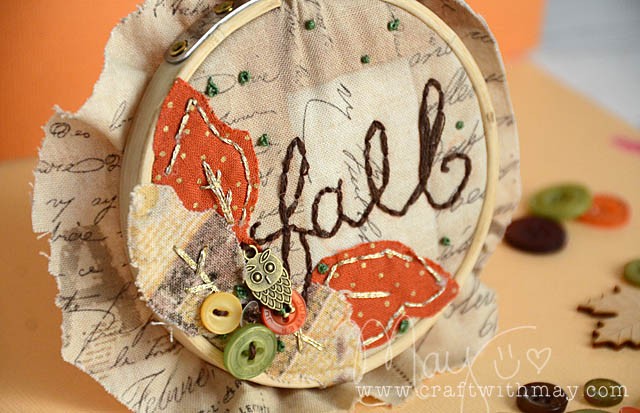
Of course I need to stitch the excess fabric behind – but I couldn’t wait to share this with you. I just am loving it too much! AS you can see I stitched in gold, green, and brown. Attaching a few items was fun and ties this into my existing mixed media style which I adore.

DSC_7047 copy

I have so many ideas still to share – one thing you can be sure is that I’ll be using my ScanNCut to cut out both designs from the machine and custom shapes for my future hoops. This sped up the process so much – no hand designing or cutting for me!

This was a 4″ hoop, but I believe next time I will aim much bigger maybe 8-1o”. Got questions? Or advice if you’re a seasoned expert in this craft? Let me know! I’m excited to learn and grow in a new creative area.