Scrapbook with 6×6 paper

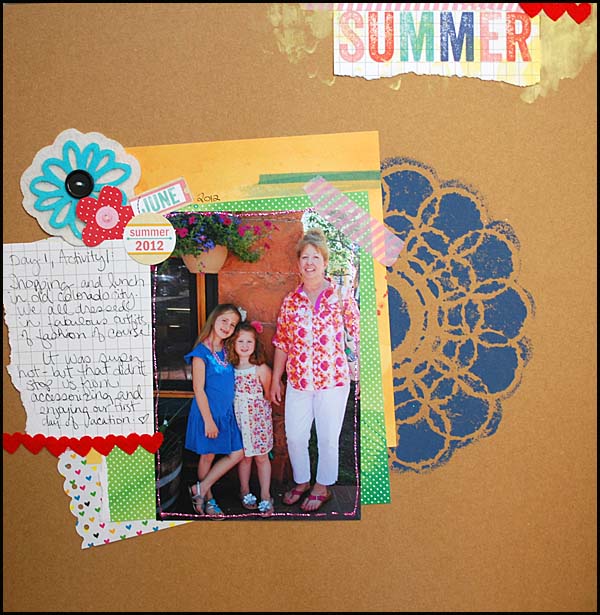
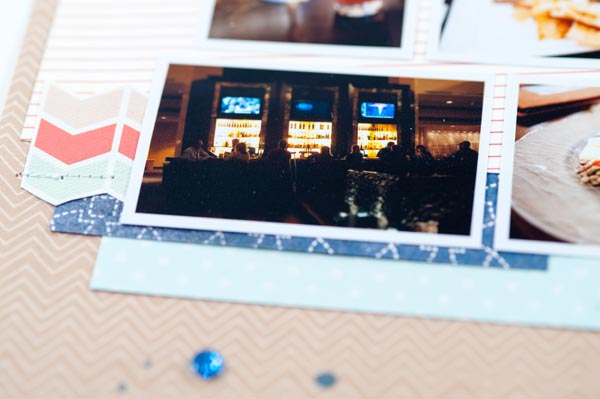
This summer I’ve been turning to my 6×6 paper pads for die cutting (as I always have), but also to scrapbook layouts as well. Here’s a simple page I created using layered 6×6 papers to create a kind of mat under my photo:

Supplies:


I like to use strips of the paper too – so often I don’t need a paper to go all the way across. If I do? Some patterns you can fake it by strategically placing something over the seam – or some patterns it doesn’t even visibly show if you line it up well.

I’m really loving deep blues + browns lately, and I painted this stenciled image above before I placed anything on my page. This is a big reason I lay out my page, THEN glue stuff down. Just in case I need to place something down under everything else!

I challenge you to use your 6×6 paper pads on your next layout. Or, if you don’t have any – consider a 6×6 paper pad instead of 12×12 collection to save money and try something new! They’re not just for cards and small projects, that’s for sure.


Today’s post is sponsored by www.shopellesstudio.com

There’s lots to see and do at Elle’s studio – their website has just been fully re-designed and they added a member gallery where we can upload our projects and a message board, too! And, if you are ever looking for inspiration, make sure you stop by their blog and facebook page.

LINKS: Elle’s Studio Shop * Summer Lovin’ Mini Album Workshop * Blog * Facebook

PROMO: Any order over $35 ships for free! Just use CAMPSCRAP during checkout – offer ends August 31st, 2012

Camp Scrap: week 7

How is it that July is coming to an end? I’m not ready for back to school and fall just yet! I want it to be summer forever! Ah well, we’ll make the most of this week – I’ve got lots in store.

Special offers available to Camp Scrap participants:

Simon Says Stamp is offering 10% off any order now through 7/31/12. Just use our Camp Scrap special code when you check out:  CSMF10

click here to subscribe in July 2012 and save $5 on the 6-month subscription to Masterful Scrapbooking Design with coupon code MSDCAMPSCRAP

Scrapbook Circle is offering 15% off any new order to Camp Scrap participants. Just use promo code MayF15 to receive your discount at checkout. Offer valid through 7/31/12

InspirationEmporium has great camp scrap supplies – and you can save 10% – enter the code campscrap  when you check out. Offer valid through July 27, 2012

www.shopellesstudio.com is offering free shipping on all orders over $35. Just use the code CAMPSCRAP during checkout – offer ends August 31st, 2012

Join The ScrapRoom for the first time and mention “CampScrap” in the comments section of your order to receive a FREE Layout kit in your first shipment. Offer valid through July 27, 2012

www.evalicious.bigcartel.com is offering 10% off with code: camp10 (valid until end of July)

Pink Persimmon is offering 15% off all regularly priced stamps when you use the code: scrap2012 (See sale page for even more savings) Offer valid through July 27, 2012.

www.PaperTemptress.com is offering a Camp Scrap discount of 15% on all products not already on sale during the month of July. Just enter campscrap in the promotion box during checkout

All special offers are valid only for new purchases unless otherwise specified, code must be entered at time of purchase, and if you have questions or want clarification on anything please contact the store/company directly before ordering.

THANK YOU to this week’s sponsors…  

THANK you to the generous prize sponsors too… we have some really great stuff coming for you this weekend

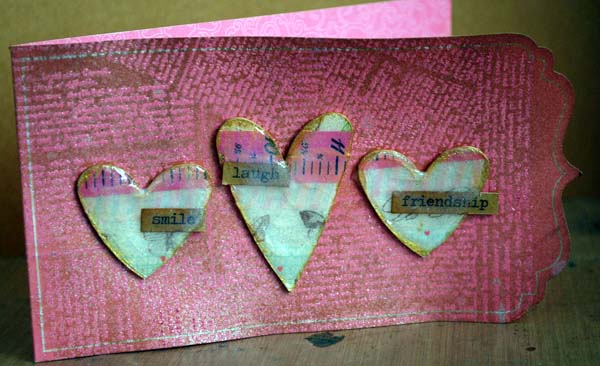
taped heart card

What do you do with washi tape? It’s a question I get a lot and the answer truly is: use it anywhere you might use a ribbon or strip of paper. Washi, tissue, paper tape – whatever you want to call it you can use it all about the same. There’s nothing to think about – love that! Realize it or not – you’ve seen me use it a lot during this class. Today I want to spotlight one of my absolute favorite things to do – using it together in a die cut shape! The simple card above was made by:

1. Taking a doodlebug card and stamping/embossing it with clear embossing powder. THEN rub brown distress ink all over, wipe away excess.

2. Edge hearts with gold paint, then adhere hearts to card.

3. Add word sentiments to hearts.

4. Coat hearts in Glossy Accents.

5. Mist entire front of card with perfect pearls mist.

Supplies used:

It really is that easy!

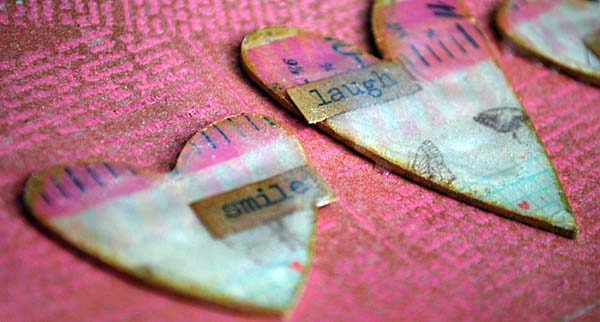
I will tell you how I made my hearts in more detail.

1. Cover a piece of grungeboard with strips of tape – don’t worry about any excess. Note:  I cut my grungeboard to approximately the size of my card front to reduce waste. You can do this with cardstock or another thinner material – but I wanted dimension and for my hearts to be really sturdy.

2. Apply a thin coating of multi-medium in matte finish to seal tape. This will make it so that your tape won’t lift, separate, or otherwise come apart when you go to die cut.

3. Die cut into desired shapes

4. Go forth and play! Use on whatever project you would like and have fun.

This is entirely too much fun – and a great way to make use of tapes! I hope you enjoyed this project, and that you have a happy (crafty) weekend!


Today’s post is sponsored by www.designerdigitals.com

I love their stuff – with favorite digital designer Katie Pertiet (who is also the owner) as well as a wealth of talented designers, an active community, and lots of how-to it is really my go-to site for digital supplies.

Stamping with water

I’ve shown this in a project in Camp already, but I promised to explain. Guess what? today is the day!

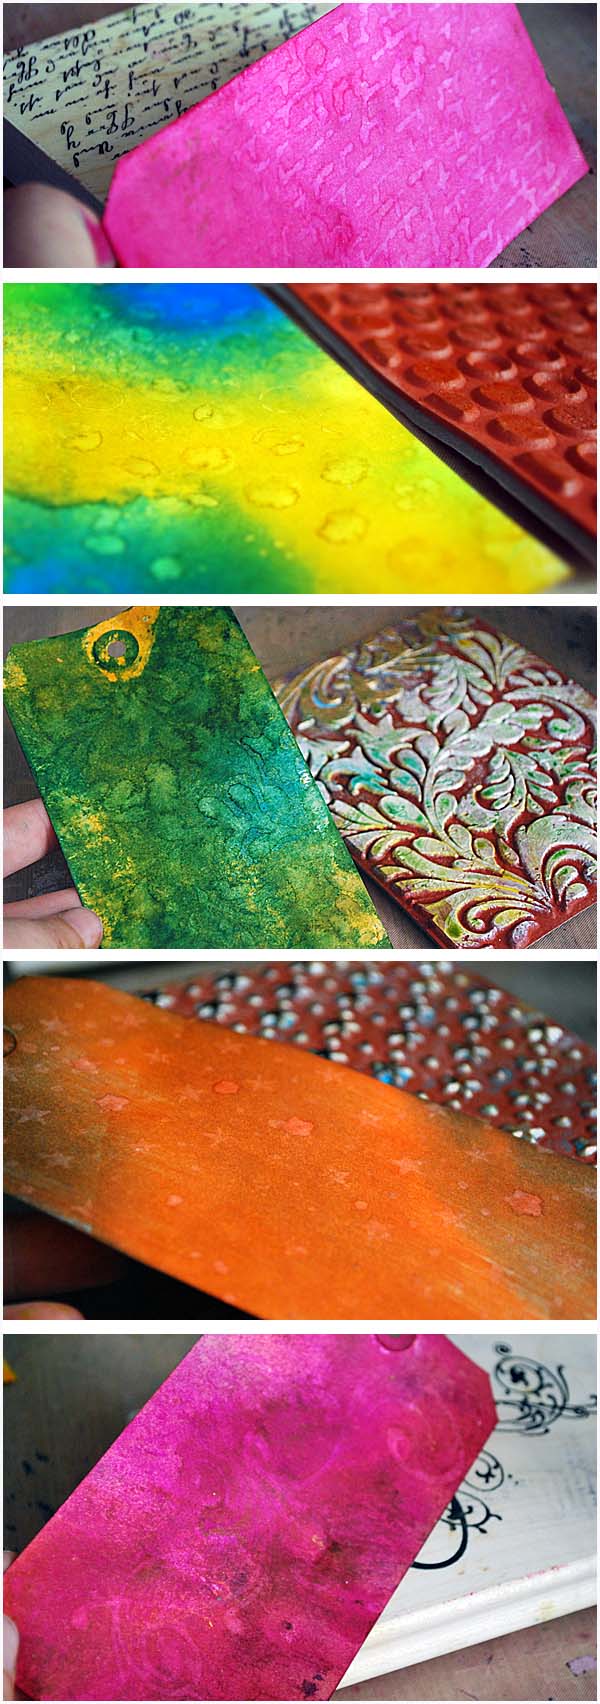
So stamping with water. You need water, you need a stamp, and you need a surface that is COVERED in some water reactive medium. Think distress ink, dylusions mist, or if you have something else that qualifies. Why this? Well, you can stamp with water into anything, but it is only going to show up if the surface is reactive. You dig?

Here are examples:

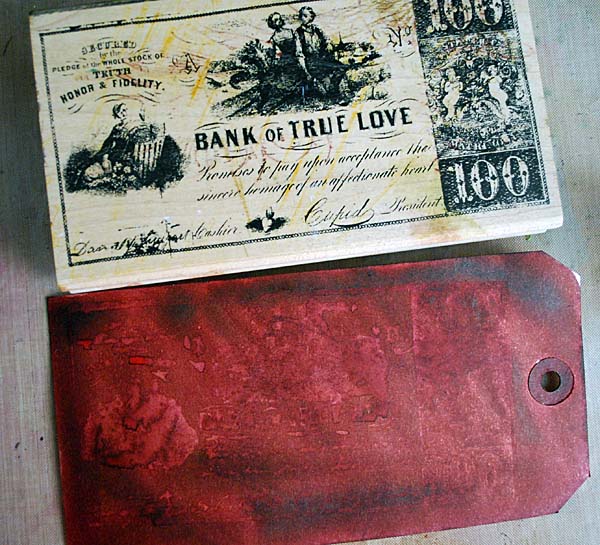
All my examples above done with Dylusions and/or Tim Holtz distress stains and ink pads. This works best with a simple stamp. It does NOT work well with a complex image, like this:

See what I mean? That image does not show up well. Oh, it works for adding some depth to my background, but don’t expect to see a clear image.

How much water? It kind of depends. I have a very fine misting squirt bottle that i use, it takes a number of squirts to get most stamps wet enough. Basically, I want to see some water on the stamp, but not soak it. Think drizzle vs pouring rain.

Link to stamps shown above (that I could find, that is!):

That’s pretty much it you guys. Stamp + water + surface covered with water reactive medium.

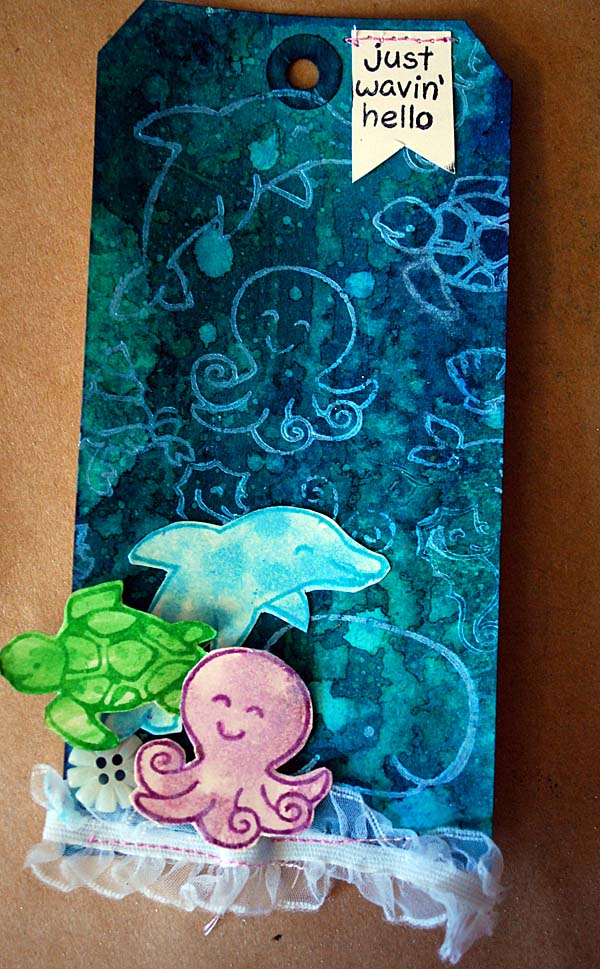
Here’s a finished project – I used that Lawn Fawn set I was playing with last month – you can see it is double stamped. Onto the tag (which was water stamped first) in paint, and also individual images cut out after stamping and staining. Love the finished look!  I used a dotted stamp which looks kind of like random water dots on my background – love that look.

Link to supplies used:


Today’s post is sponsored by:

“And Now For Something Completely Different…”

She brings all kinds of good things into my life including craft supply enabling, TV, creative feedback, and even new to me websites. She’s even better in person than she is on-line [which I thought was impossible!], and we share so many things in common… while being totally different  too. I’m talking about Melissa Stinson, and she’s… well I’ll let her take it away…

Good morning, everyone! My name is Melissa Stinson (also known as Scrappy Jedi, or if you like you can simply refer to me as “not May”), and I’m taking over May’s blog for just a bit this morning. She’s been doing a fantastic job of keeping everyone inspired with Camp Scrap, and I thought I’d give her a break today and bring you a little inspiration of my own, as well as a tip or two from taking inspiration from nearly any layout- even if the style of the project is totally not yours.
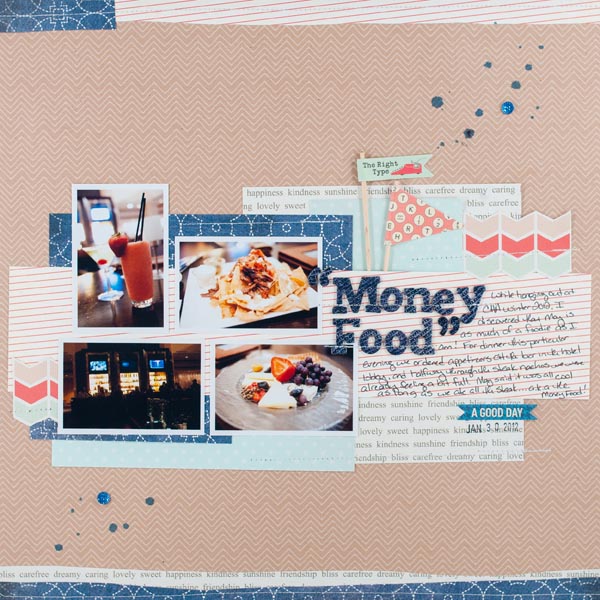
May and I have a lot of things in common- we like a lot of the same food (in fact, these photos were taken during one of our foodie adventures at the CHA Winter 2012 show), we get inspired by many of the same things, and most of the time we even like the same scrapbooking supplies. What you may notice from the layout above, though, is that we have quite a few differences in our scrapbooking styles. May is fabulously artsy and amazing with inks, paints, and all kinds of messy mediums, and she adds so many details to all of her pages- more than I could even dream up (ummm, I’m kind of in love with how she used gold ink on the edge of the journaling card on this layout), much less execute them as well as she does. She also scraps almost exclusively with 4×6 photos and really fills her pages, while I tend to like smaller pictures and lots of white space.
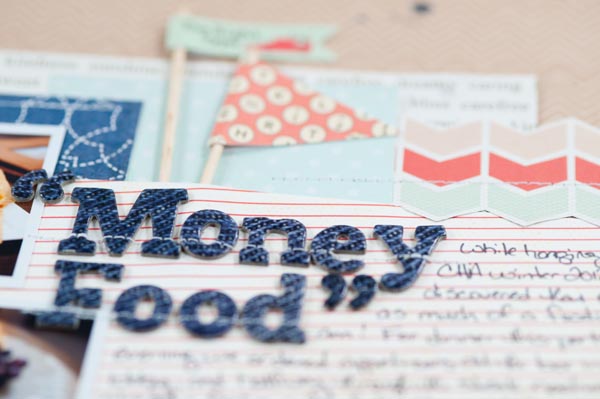
For today’s layout, I took that idea of common supplies and different styles and ran with it. May and I both loved Studio Calico’s July kit, Elmwood Park (you can see what she did with the kit here, here, and here), so when it was time for me to select supplies for this project, it was a natural choice to help illustrate what two very different scrappers can do with the same supplies. You can see the elements of my own style in my page- May tears her papers a lot while I have all hand and trimmer cut pieces. May does lots of penwork and detail, especially around her title, while I tend to let the Thickers (or whatever alpha stickers I’m using at the time) stand on their own.

But you know what? I still get inspired by nearly every single layout that May makes, even though we have such different styles. I may take just one thing that she did on a project and incorporate it into my cleaner and simpler style. I might take the general idea of her photo and paper placement, but shrink the sizes down to fit my white-space-loving tendencies. And sometimes I’ll just gaze at the loveliness and let it soak into the whole general mish-mash of creative stuff that gets compiled from every pretty thing that I see and take in from all kinds of different sources. It all works for me, and it all inspires me.
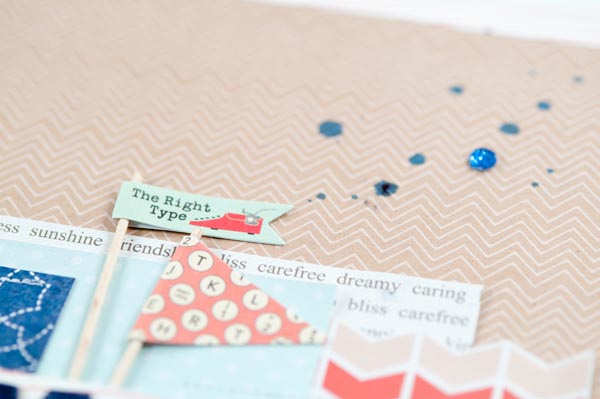
And one of the things that I learned from May that was incorporated straight into my own style? The mist splatters! I learned the technique from a video in one of her previous Big Picture classes- Creative Retreat- and I’d say it’s something that I use on every third layout (or more) now. I’ve also picked up a lot from her on the importance of story on a page as well as letting the photo take center stage, but in a way that still leaves plenty of room for creative play.
So, thank you, May, for inspiring me every day. And thank you for letting me hijack your blog today!