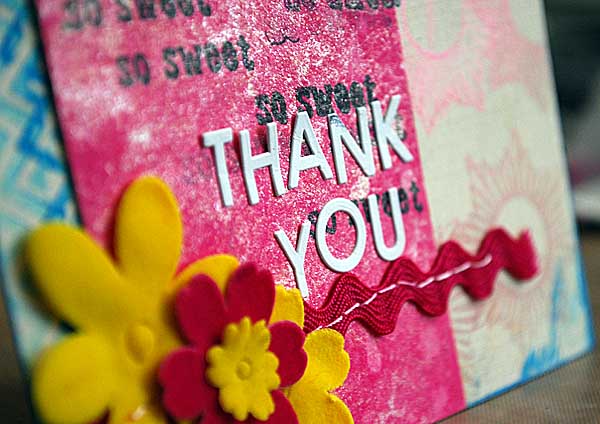
Camp Scrap Thank-You

Today I want to take a few minutes and say THANK YOU for taking the time to read my blog and for being a part of Camp. THANK YOU to the sponsors of Camp, those who donated prizes, those who participated, and all those who sent me lovely emails about it as well. I’ve had such a grand time with this event!

#1: THANK YOU for enjoying, for participating, for liking all that I’ve shared here. Now if you’re new to my blog- don’t run off! My normal blogging is to post 5+ times week and share projects, tutorials, reviews, pinterest inspiration, ideas, prizes, videos, and so much more. So if you’re new to my blog – well I encourage you to stick around! Camp Scrap was amped up from normal for sure, but it is really a good representation of what I’m like normally. I’ve got a LOT planned!!

#2: There will be future special events here, yes indeed. I’d love to hear suggestions, requests, etc. for topics you’d like to see covered or things that were your favorite.

#3: Camp Scrap posts will remain available to you (free) so long as I have this blog. They won’t be taken down. You can find them all here http://mayflaum.com/category/camp-scrap-2012/ – and if you want to start at the beginning, then start here: http://mayflaum.com/category/camp-scrap-2012/page/7/ (and just click ‘newer posts’ at bottom of each page). Of course there is no order to camp – so you don’t need to read in any order.

#4: THANK YOU to the the generous Camp Scrap and Prize sponsors…

Big Picture Classes, Blue Moon Scrapbooking, Cara4Webshopping.com, Carascreativecorner.com, Designer Digitals, Elle’s Studio, Evalicious, Inspiration Emporium, Lawn Fawn, Pink Persimmon, Scrapbook Circle, Shimelle, Simon Says Stamp, Studio Calico, The Scrap Room

Bazzill, Basic Grey, Core’dinations, Danita Art, Dina Wakley, Doodlebug, Fancy Pants, Graphic 45, Masterful Scrapbooking, Paper Temptress, Pink Paislee, Tim Holtz, Webster’s Pages


#5: Last but not least, there are a few special offers still going!!

Simon Says Stamp is offering 10% off any order now through 7/31/12. Just use our Camp Scrap special code when you check out:  CSMF10

click here to subscribe in July 2012 and save $5 on the 6-month subscription to Masterful Scrapbooking Design with coupon code MSDCAMPSCRAP

Scrapbook Circle is offering 15% off any new order to Camp Scrap participants. Just use promo code MayF15 to receive your discount at checkout. Offer valid through 7/31/12

www.shopellesstudio.com is offering free shipping on all orders over $35. Just use the code CAMPSCRAP during checkout – offer ends August 31st, 2012
Friday free for all!

Here’s the scoop: I planned to not plan what I’d do today. I just walked into my (slightly messy…) studio and said ok. what’s on my desk? What grabs me?

Then this happened:

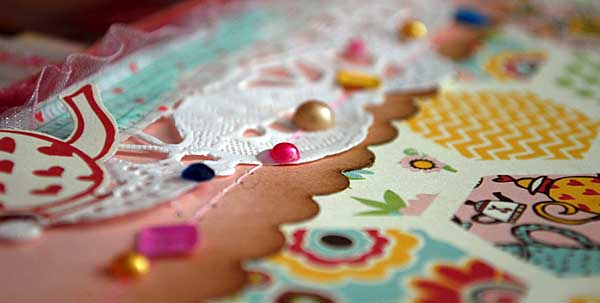
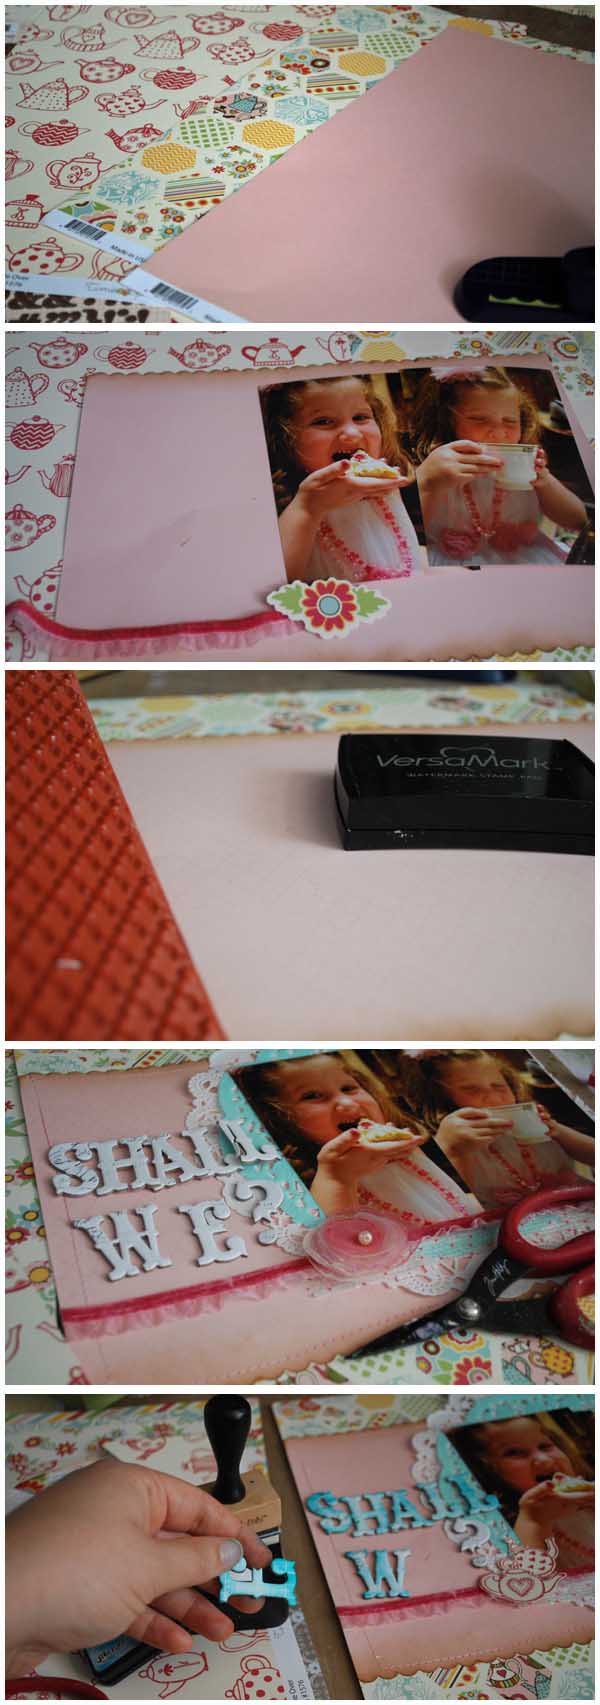
I spotted that FABULOUS teapot paper by Fancy Pants waiting patiently for me, and grabbed my tea photos to see if I had any that would be great with it. From there? A little inking, some punching, stitching, and this layout almost put itself together!

So often, flipping through patterned paper on my desk inspires me to try something. Here’s a few ways how:

  • Reminding me of a photo or event that I want to scrapbook
  • next to an unlikely match that ends up being perfect with it
  • I can pick a favorite paper and figure out right then and there what to do with it.
  • Take a paper I don’t have any ideas for, and make it work.

I wasn’t sure how to make use of this hexagon paper, I’ve had trouble incorporating that very graphic look into my style. But it is just SO CUTE – I knew for this paper I had to figure it out. My solution was to leave it whole, and use it as my background. I really love those snippets of pattern and tea pots!

My page definitely needed those layers of doily. I had these ones out from last week’s doily post and I love how they added layers to this page. I think my page could have done without the gems and pearls and such- but I was in the zone playing and I sure had a fun time.

Supplies used:

 I encourage you to dig into your stash and just play! see where your inspiration takes you and enjoy.


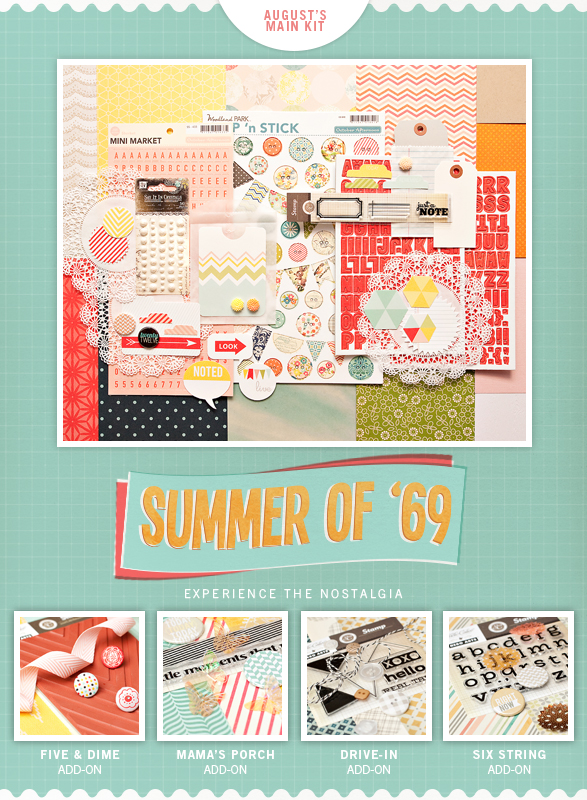
Speaking of inspiring – today is a great day to check in with today’s sponsor –  Studio Calico!

A new kit goes for sale tonight, as well as add-ons and new shop items including the new Woodland Park from October Afternoon too. Their kits go fast so if you’re interested be sure to check in soon. You can also get on the wait list for their new card kit club that is coming soon – info here.

working with scrap.

What do I do with the scraps? Well I tell you one thing – I don’t keep them. When I’m feeling done with anything from paper bits to stickers I get rid of them.

[I envision you all staring at me, mouths agape, shocked at my wastefulness]

Before you run away horrified at my waste, hang on. I didn’t say I throw them away.

I said I don’t keep them.

There are three courses that a remnant of product might take:

  • Put into service:
  1. die cut, punched, otherwise made into useful bits
  2. Paper cut into strips
  3. Item(s) used on a “bits and pieces layout” aka a “clean my desk and scrapbook” project.
  4. Used on cards/tags/gift items other non-scrapbooking projects
  5. As play time fodder for when I want to test out new ideas and techniques
  • Put into the kiddo “art bin”
  • Placed in garbage can because the bit/scrap is so small or so useless it will just clutter up an otherwise smooth running machine.

The bottom line is that it gets put to use. Long gone are the scrap bins I once had, the sticker drawer filled with sheets that only had 1-2 stickers left. NOPE! Use it up is my motto now. I love how it works out.

There is one exception, and something you might be wondering about too. What about project pieces? Tag backgrounds made for class videos, abandoned project bits, etc? Well those I do save. I have a little box I toss them into, and now and then I find a use for them. If I find something too ugly, too beyond saving well no big deal – that just gets tossed. But more often than not those pieces end up being a part of something else down the road.

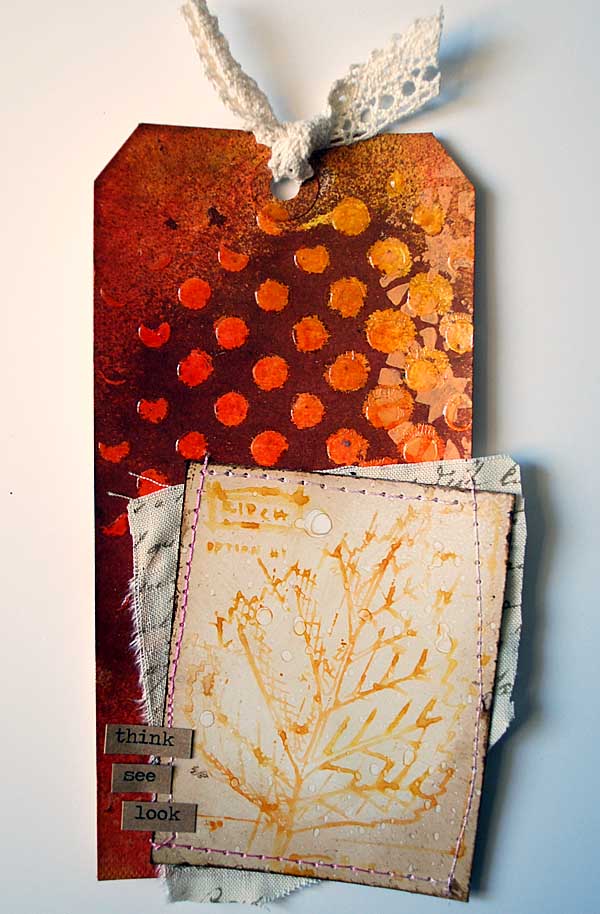
Say, when I’m looking for a tag to mount my first stamping play attempt with the brand new Tim Holtz blueprint stamps

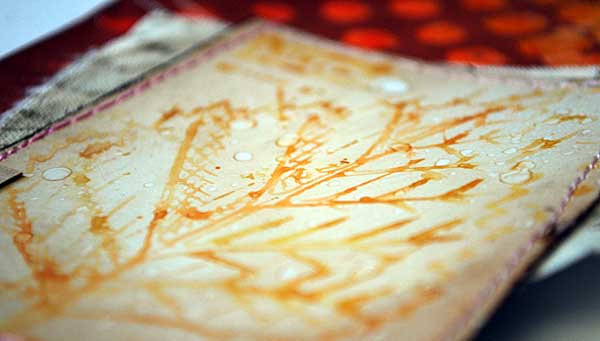
That’s the tag I made on video earlier this week with gel medium. It’s the perfect thing for my fall leaf, and grabbing a bit of fabric and a few stickers to finish it off – well I couldn’t be happier with how this came out!

In my mind, it encourages more creative play, mixes stuff together where you might not ordinarily tread, and is just a lot of fun.


Check out Blue Moon Scrapbooking for the latest releases – including the new Echo Park Everyday Eclectic line and new products from My Mind’s Eye – with new goodies coming in all the time.

Kit-spiration: SSS August card kit

I’ve been using my monthly Simon Says Stamp card kit to help me along my journey into converting me into a card maker. Yes, we’ll eventually get to talking about all of that I’m still learning + debating the best way to share.

I think cards are a great go-to project for several reasons:

  • they don’t take much supplies
  • easy to make with 6×6 paper
  • useful!!! Can gift, share with military card programs, use for personal letters, etc.
  • can be quick [in theory. I take longer to make a card than a layout at this point]
  • great way to highlight stamps
  • good use of leftovers/random supplies
  • good way to use stickers you can’t see a scrapbooking application for

So far I’ve made 3 cards with this kit. One that I think is good, one that I think is bad, and one that I really like. Let’s start in the middle with the good one:

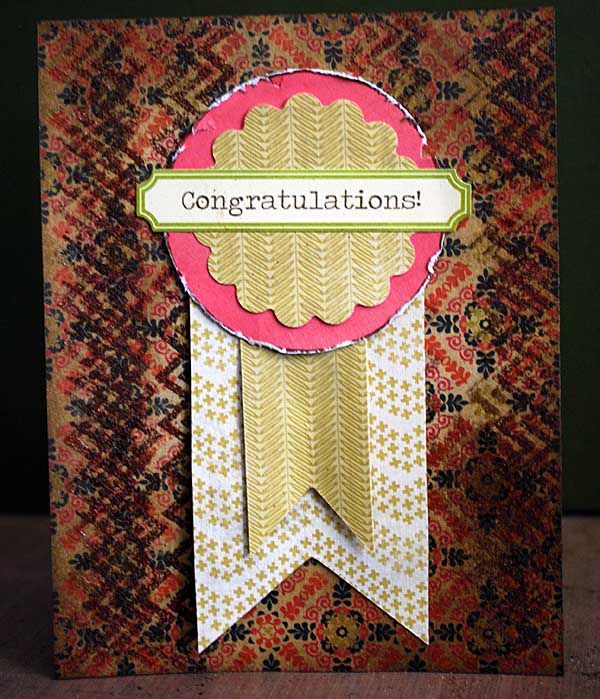
I used brown distress ink on the background, then I embossed the zig-zag stamp on that as well to add more depth and because well, I am trying to use up supplies so why not? My rosette, I think needed 1 more layer. Still – this works for me.

Now the ugly.

If you’re thinking – “May that doesn’t look so bad”… well that is because this is the part of the card that worked for me.  I really like the bottom of this card in fact. It is the overall card as a whole that got… well ugly. THAT IS OK! I try really hard to focus on the cute parts and the good stuff when I’m working on cards, celebrating the portions I do like.

Now here’s my favorite:

I like how my distress ink work came out, I love that bike, and I like that the sentiment + flower fit perfectly.

Most of all, I’ve been having fun just trying out making parts of a kit work in a card making way, and doing so without pressuring myself.

Here are links to the supplies I used on these cards:  


Today’s post is sponsored by Simon Says Stamp– and they are offering up a discount code just for my readers here as a part of my Camp Scrap extravaganza as well.

They are offering 10% off any order valid through 7/31/12. Just enter code: CSMF10 when you are checking out.

I am really excited to be working with Simon Says Stamp now, and they have been one of my absolute favorite sources for all things inky, and so many fantastic crafting treasures for some time now. Their shipping is fast and a great rate – and their service is awesome. They have a facebook page here, you can follow them on twitter, and of course you’ll want to visit the shop itself.

product: Gel and paste mediums

One of the things I get more questions about is paste and gel mediums. What are they? How do they work? Are they the same as gesso? In my class Field Guide (Which will return in 2013 if you missed it) I discussed them in detail. Today here on my blog I want to give a “gel and paste 101” and really show you how simple they are.

[link to youtube video]

First of all, here’s what you need to know:

GLOSSY gel mediums can act as a sealant, adhesive, and most importantly once dry they resist

MATTE gel mediums can work for collage work, adhesive, sealant, for transfers, etc.

Gesso you should think of as primer, or thin white paint. There’s no magical properties, it isn’t special as far as I can tell. 🙂

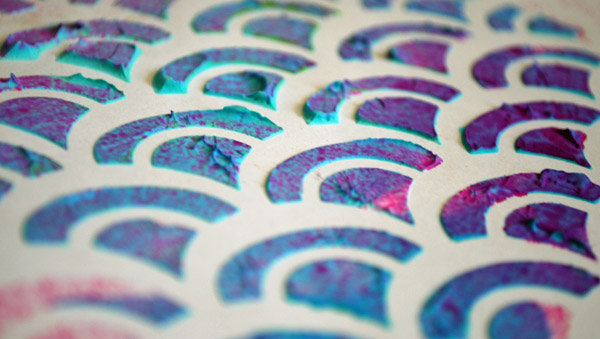
PASTE (texture mediums, molding paste, modeling paste, etc) is generally matte finish, and adds texture to your project. It is what I like to refer to as crafty peanut butter. Thick, stands on it’s own, holds shape, GREAT with stencils

ALL of them can be used with acrylic paint, ink, mist, etc to add color or create custom colors.

Apply alone, with your finger, use tools to add texture, on canvas, home decor, mixed media canvases… seriously just play and stop thinking about the right way or how-to. I picked some up one day years ago thought “sounds cool” and have loved molding paste ever since.

Here are some faves as mentioned in the video:

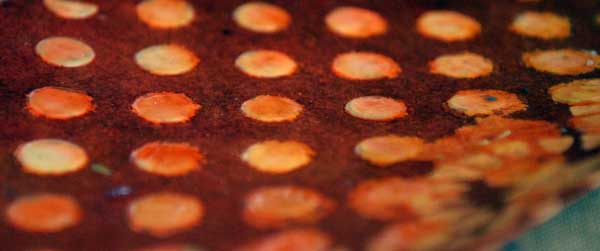
and that’s pretty much all there is to say about that! Shown below: aqua colored molding paste spritzed with pink mist while still wet

If you have questions you’d like to ask me about mist – please feel free in the comment section below or email me directly. I hope this shed some light on some of my absolute staple products!


Today’s post is sponsored by www.cara4webshopping.com

Cara has many unusual craft supplies, vintage craft books, knitting, and other supplies including scrapbook and other crafts. Cara’s specialty is finding the best prices and products for her customers. She encourages customers to email her if you want something and don’t find it on the site. She has over 100,000 products she can order, and when crafters compile a wishlist of products she will do her best to add those products to the site.

Cara’s special offers:

Buy 2 get 1 free (lesser or equal price) on all Sizzix dies and sets including those not yet listed on her site.

20% off all washi tapes- use code ScrapCamp2012

20% off special requests email order PLUS and extra 10% for scrap camp followers.

These offers are good until August 1, 2012 at www.cara4webshopping.com. If you have questions, or for more information you can contact Cara at cara@cara4webshopping.com