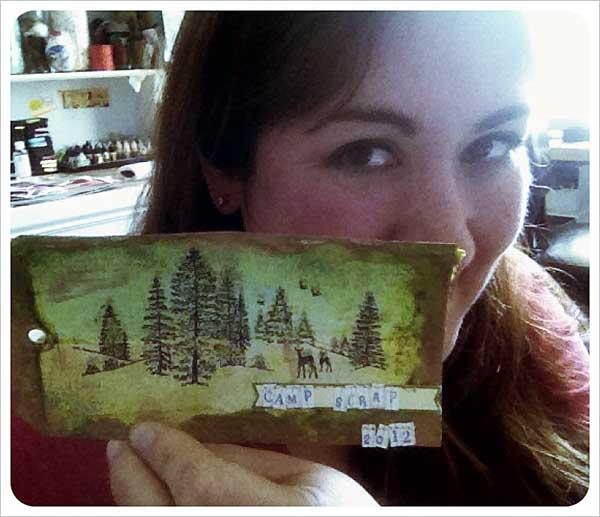
Camp Scrap | Week 3

I’m wicked, I know, but I’m going to keep you in suspsense for what’s coming this week. But I will give you a heads up that a lot of next week involves a July Scrapbooking kit, awesome stamps, and some Heidi Swapp action too. Here’s another heads up on a special and very limited time offer from Studio Calico:
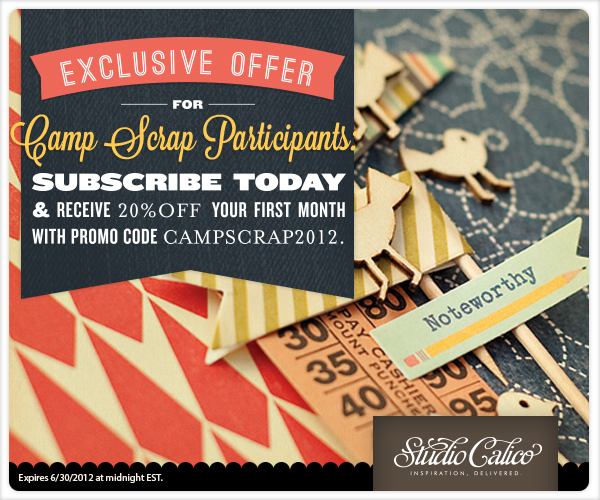
Cool, right? and I bet now you might have some guess as to whose kit I’ll be featuring next week… 😉

As a reminder, here are the other current offers for Camp Scrap participants:

InspirationEmporium has great camp scrap supplies – and you can save 10% – enter the code campscrap  when you check out. Offer valid through July 27, 2012

Pink Persimmon is offering 15% off all regularly priced stamps when you use the code:  scrap2012  (See sale page for even more savings) Offer valid through July 27, 2012.

Scrapbook Circle is offering 15% off any new order to Camp Scrap participants. Just use promo code MayF15 to receive your discount at checkout. Offer valid through 7/31/12

www.shopellesstudio.com is offering free shipping on all orders over $35. Just use the code CAMPSCRAP during checkout – offer ends August 31st, 2012

Join The ScrapRoom for the first time and mention “CampScrap” in the comments section of your order to receive a FREE Layout kit in your first shipment. Offer valid through July 27, 2012

All special offers are valid for new purchases, code must be entered at time of purchase, and if you have questions or want clarification on anything please contact the store/company directly before ordering.

Speaking of good times, be sure to check out Dawn’s blog for a great take on last week’s sketch. Maya also did a great post inspired by that sketch – sharing a card + a layout. Also make sure you’re signed up for our free Camp Scrap community – info here. I’m loving the inspiration posted – like Maura’s steampunk tag!
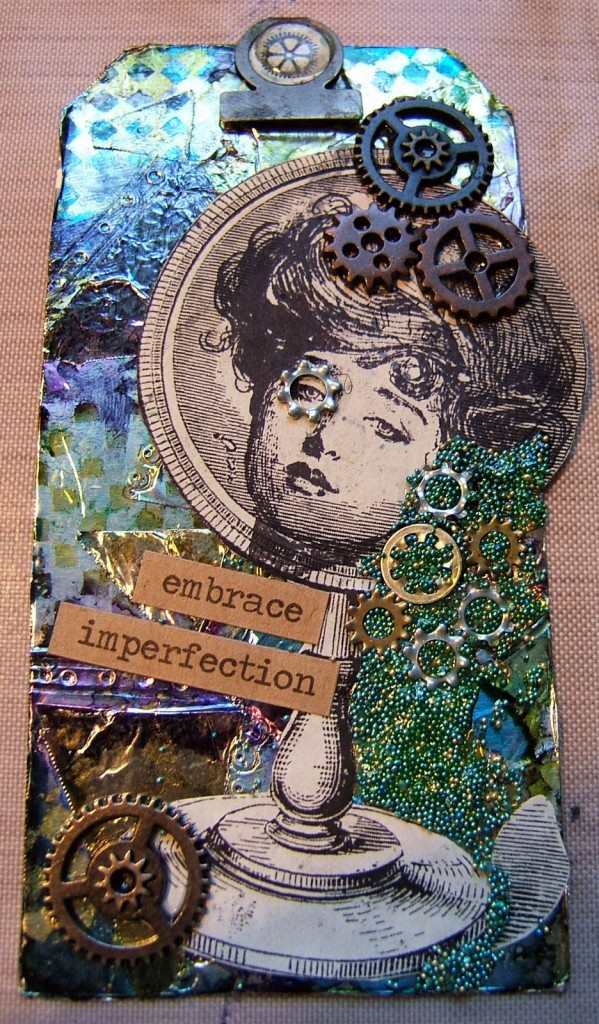
She’s got several creations posted over on her blog too. Fun stuff!

I had a FULL day down at Scrapbook Island in San Jose hosting a bunch of fabulous Camp Scrappers at a crop. I hope you’re having a very crafty weekend too.

See you tomorrow in Camp!

focus | butterflies

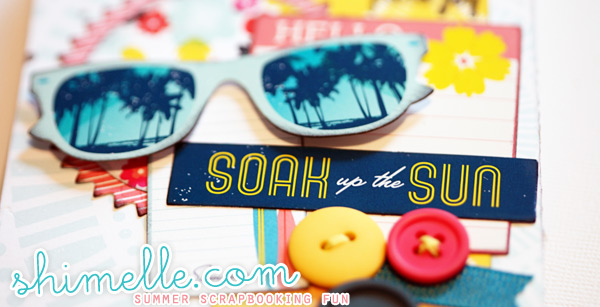
What to do today? I looked at the schedule, and spotting the darling www.shimelle.com as today’s sponsor decided to take inspiration directly from her. Today, I focus on butterflies. First, here are some of my favorite butterfly products:

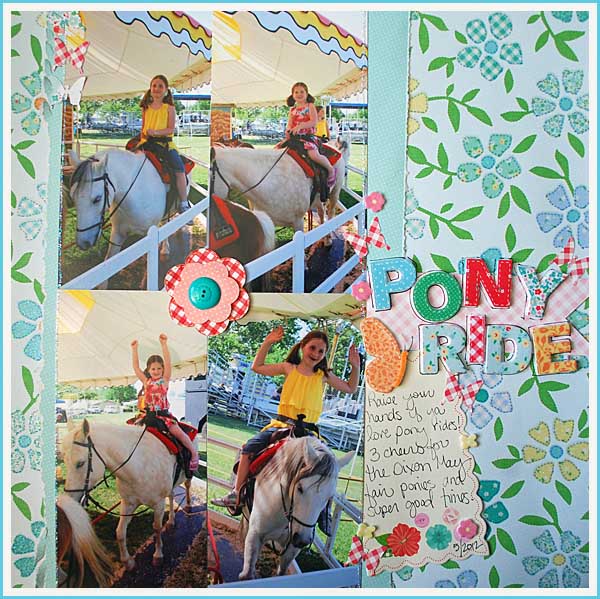
I find punches and stamps to be my most used – love the added layer and detail. Lately I’m really into the new Martha Stewart Stitched Collection – and it is full of great summer colors and butterflies too. In fact, here is a layout that I created with that line (and my tiny Jenni Bowlin butterfly punch pictured above)


I can’t even begin to tell you how much FUN this layout was to make. I love how the butterflies make such great finishing touches.

Supplies used on above layout:

 Here are my  5 favorite ways/reasons to use butterflies:

  1. In conjunction with buttons and other retro accents
  2. Because I am scrapbooking my beautiful little girls and they love butterflies
  3. On thank-you cards
  4. With flowers and/or leaves
  5. On spring themed projects

Of course, you don’t really need a reason! Like flowers, buttons, or stars you can just kind of incorporate sweet little butterflies into just about any project. From babies to weddings, parties to summer, and anything in between they are such a happy lovely thing to add. If your project is about flying, soaring, starting over, and other symbolic things you can use them easily there too!

Think butterflies aren’t grungy enough for you? I beg to differ! You can mix it up with all kinds of paints, inks, and other mediums especially if working with stamps. You can make a distressed aged rusty butterfly if you really want. I figure, if Tim Holtz can release butterfly stamps and dies, it’s well and truly an image that anyone can make use of.

Or you can do like I did, and fully embrace the girliest of pinks…

Here is a tag in progress. I’m using an old Tattered Angels stencil on a tag that i painted pink.

Supplies:

I’ve covered it with molding paste for texture, and while the stencil is still down I misted with dylusions ink spray in pink. Note the blue and green specks of color around the butterfly? That is because I had a dirty stencil (and I did so intentionally).

Once dry, I felt like the pink was too vivid so I dabbed white acrylic paint lightly over it to tone things down. I love the look I have now –

I am not going to further embellish it, as I intend to use it as a birthday package tag. OOH! Birthdays. There is another great place to utilize a butterfly accent.

I hope you’ve enjoyed this look at butterflies in my crafting, and I hope you’re inspired to focus on something and craft inspired by that (whether it is butterflies or something else entirely) this weekend.


today’s post is sponsored by www.shimelle.com

Shimelle Laine absolutely, positively adores scrapbooking.  And she shares that with her readers at her blog, www.shimelle.com, where you’ll find ideas, tutorials, videos and challenges to join.  She grew up in Kansas but swapped the countryside for city life and lives in London, England – a place she loves almost as much as she loves scrapbooking. Get the full experience for signing up for one of Shimelle’s classes.  You can pick from all sorts of topics, like getting the most from your supplies, improving your journaling, getting your albums in order or making a special project like a Christmas journal.

You can sign up for any class at any time and they all include permanent access to the materials and a friendly, helpful community of scrapping classmates. Cover to Cover, a class all about creating an album system that works for you and your pages is now available in a self-paced format. True Stories, a class all about rejuvenating your scrapbook journaling, is also available to take any time.

And around the web, you can find Shimelle at Twitter, Facebook, pinterest, youtube, and username ‘shimelle’ on Instagram

Stamped | gift tags

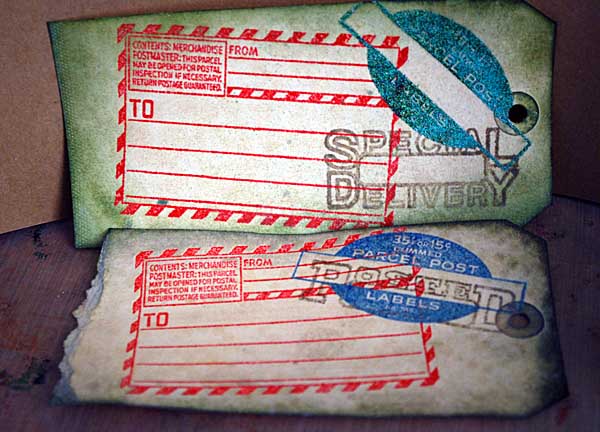
While the holiday season is still half a year away, when I saw these Pink Persimmon stamps (which will be releasing around July 1), well I tell you what… holiday gift tag making came immediately to mind! I am one who is happy to make gift giving stuff year-round so that when December rolls around I have some tags ready to attach, and so I don’t get overwhelmed.

I played with layering the stamps, as well as aging the tag and edging to too. I really love how these turned out. I didn’t add embellishments or toppers, because I’m not quite sure how I want these to be used or if I’ll need anything.

Here’s the how-to:

1. Stamp an image with distress ink, coat in clear embossing powder, heat to set. Repeat with other images. If colored embossing powder is desired, just stamp with embossing ink and use colored powder.

2. Coat tag with antique linen distress stain, use paper towel to dab away excess.

3. Use distress inks (greens and browns are good) and a blending tool to edge the tag

4. Finish by spritzing with the perfect pearls mist of your choice.

I love how these came out, and by picking reds and green colors I could easily use these as more Christmas time tags – or not! I also used some blue – I just love how fun these stamps are to layer up.

This is in no way the only use I have for these particular stamps either! They’d be great on a scrapbook page, card, or other project too. In case you’re wondering where you can get these stamps – well I will tell you! They’ll be available around July 1st – Pink Persimmon is letting me give you a sneak peek here with these projects!

Other supplies used:


Today’s post is sponsored by Pink Persimmon.

Do you love vintage?  Pink Persimmon has vintage inspired stamp designs that will inspire your creativity!  If you love images from the early 1900’s, you will love our Antiquated Collection.  If retro 40’s and 50’s are more your style, we’ve got you covered.  All our stamps are made from only the best quality clear photopolymer and you will be amazed at the level of detail.

SPECIAL OFFER FOR CAMP SCRAP PARTICIPANTS:  receive 15% off all regularly priced stamps when you use the code:  scrap2012.  This offer is valid through July 27, 2012. (See our sale page for even more savings!)

Link for the website:  http://www.pinkpersimmon.com   *   Facebook:  http://www.facebook.com/PinkPersimmon

no patterned paper | rainbow layout

Can you scrapbook without patterned paper? Of course! Today I challenge you to make a page without any patterned paper. It is one of my favorite things to do and a challenge I give myself on a regular basis.

Today I wanted to make a layout using dylusions mists in a rainbow-esque way. Unfortunately  my first attempt was with masking tape, and that didn’t quite work.

By not quite work I mean it was a mess! I didn’t have the right tape, it never looked right, I just wasn’t having it. So I just used some pieces of torn (top and bottom) cardstock to make a mask. Then I used a piece on the left and on the right and moved it along as I masked it.

Sometimes I let it overlap, but basically I just kept going along and misting strips of the background. Gotta tell you – I’m in love with blending and misting darn near everything with my set of dylusions sprays.

Then it was just a matter of embellishing. Some Doodlebug + Amy Tangerine Sketchbook should do it!

supplies used:

I’m big on creative play – and I have to tell you this was a BLAST to create. I loved every minute.


Today’s post is sponsored by Big Picture Classes

technique | layering ink on glossy cardstock

Are you ready to get inky? I hope so!

Today I’m sharing my favorite thing to do with glossy cardstock. I’m addicted to playing with color combinations and different looks.

I’ve created a video to really show the “how-to” for this:

[link to youtube]

I ended up messing up my background with some yucky embossing that didn’t work (oh well) so I made another tag the exact same way, and then added some die cut flowers, a stamped and cut out butterfly, trim, and a few other bits to complete my tag.

This could easily be a much brighter look, the key is playing with color combinations that you like, and that give you a cool look too. I edged mine at the very end with some gold paint (and that is a black floral stamp done with archival ink that you see).

Supplies used:


Today’s post is sponsored by Inspiration Emporium

Welcome to INSPIRATION EMPORIUM where you can find the latest and greatest in paper craft supplies. From bright and vivid artwork to distressed and rugged expressions, you can find what you’re looking for in our EMPORIUM.

We are a family run store where customer service is our top priority. We hope to motivate and arouse your imaginative chi and INSPIRE you to create wonders! Our EMPORIUM will provide you with the tools and essentials needed to produce the most amazing products that can only be put to life by your ingenuity and INSPIRATION.

Don’t forget- Camp Scrap participants get 10% off their orders during Camp Scrap!

the code to enter to take advantage of this on your next purchase at Inspiration Emporium is campscrap