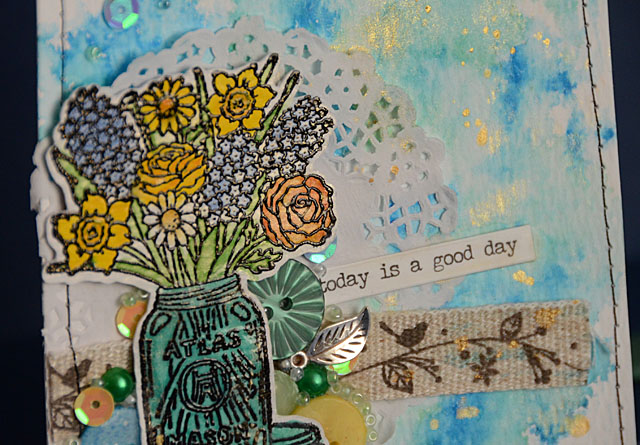
Good day card

DSC_1767
Today is a good day! This is a card that I created for CHA (this weekend! Eeeeek!) featuring the New Leaf kit in my 28 Lilac Lane line. As you can See I added little bits and pieces (as I do!) and used a pretty stamped bouquet and some watercolors to bring it all together.

Want to see the full line? Buttons Galore posted photos here!
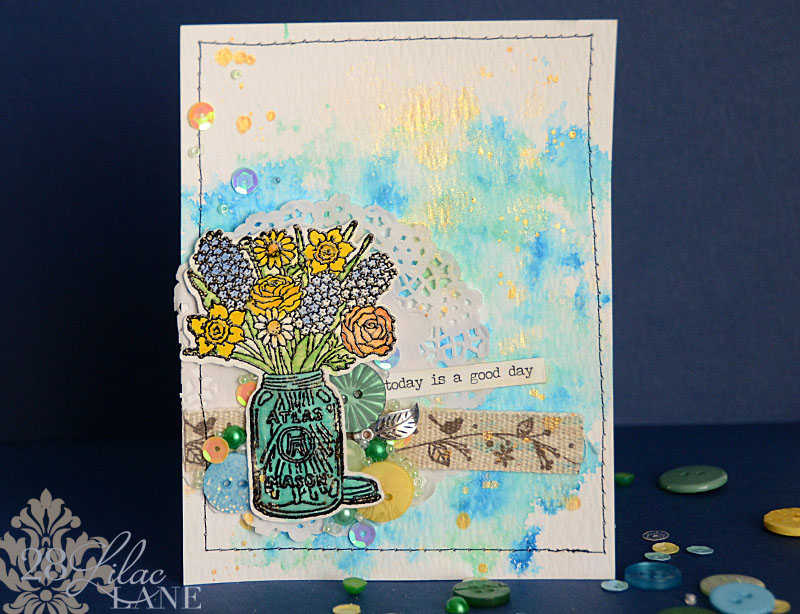
newleaf_project_card copy

The kits will be shipping soon – I will be sure to update you when I have more info. Thank you for all the love and support on this new line – can’t wait to see you creating with it! In the meantime, I’m off to pack up for the big show! I will be doing some best-of/recap posts here on my blog after the show for sure. For ‘real time’ posts be sure to follow me (or just view) my instagram @craftwithmay.

If you’ll be at CHA be sure to find me at the Buttons Galore & More booth – I’ll have some special button give-aways! Not at CHA? Remember stay tuned I will have some to share with you as well…
Guest post: Winnie & Walter

17524036214_6cdb05565b_o

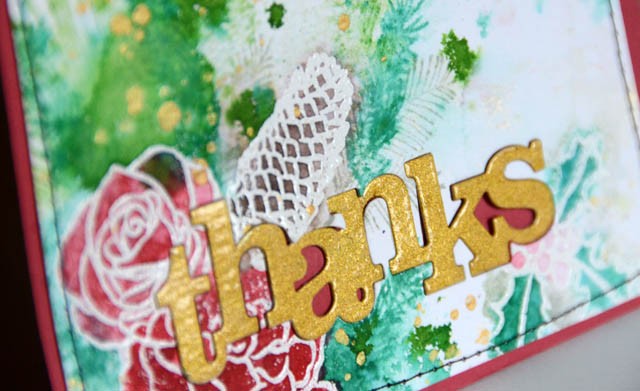
I’m guest blogging over at Winnie & Walter with a watercolor style thank you card tutorial. If you’d like to see the post you can check it out here. I’m a fan of their stamps, and I really like how this piece came together – it’s a ‘flat’ card, and yet so many layers happening!

mayf_detail

I hope you’re having a lovely final week of 2015. Have a great day!

Thank you watercolor with ScanNCut2

DSC_1604 copy

Thank you to Brother for continuing to work with me and allow me to bring you these crafty posts! Disclaimer that I do work with them, and that within this post ‘opinions expressed by a paid consultant’.

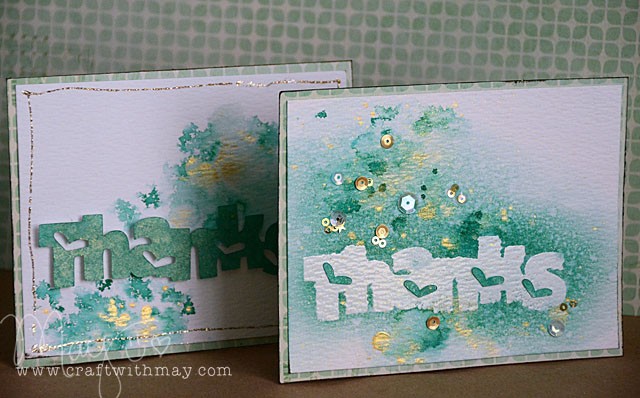
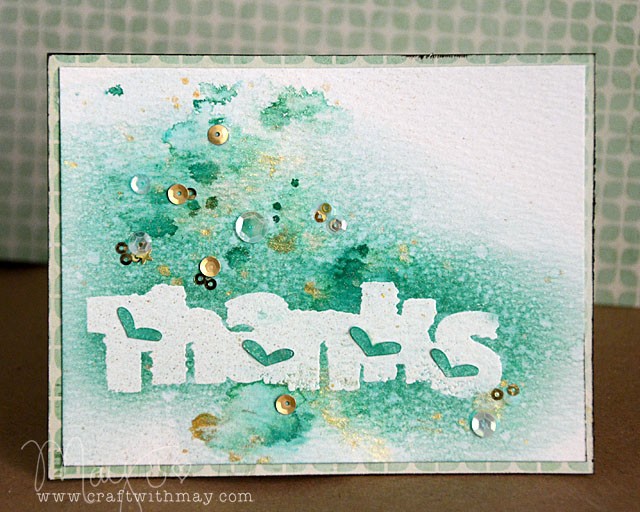
Today I’m using a built in “thanks” design on my ScanNCut to create some thank you cards. It’s the season for sending thank you cards, after all!

DSC_1577

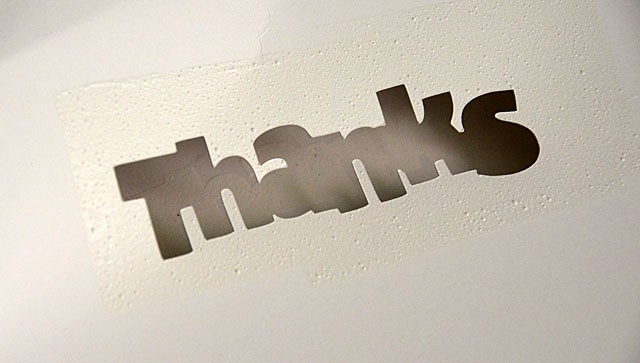
First I cut the design out, and kept the cut-out design. Then I took the paper left over (aka the outline), placed over watercolor paper, and pressed with white pigment ink. A nice foamy/juicy ink pad works best for this as you need a squishy ink pad to really get down and into the design. Once you’ve done this, coat with clear embossing powder and heat set.

DSC_1581

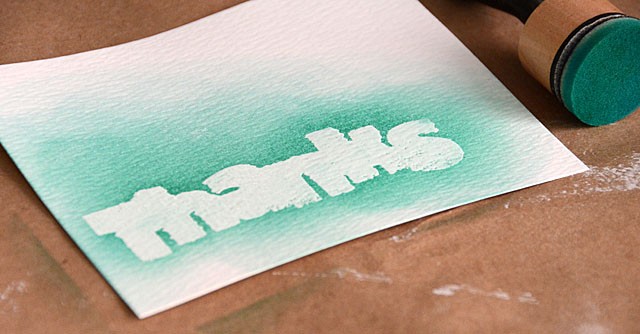
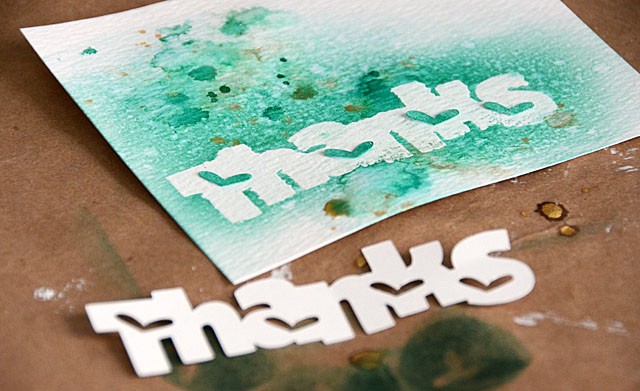
The next step is to take ink and a foam blending tool and ink it up! The embossed word will resist the ink, and if you use a water reactive medium (watercolors and pens work for this too!) you can add water to create splattery looks. For more variety add some more colors (such as gold), then add in the little heart cut-outs (colored with same ink color).

DSC_1583

Here you can see my finished card:

DSC_1595 copy

But wait! I couldn’t waste the original cut-out! So I just did a little splattery action and inked up the thanks design.

Now I’ve got two cards ready to send off, and I should probably clean up the holiday mess while I’m at it!

Heart card featuring new Simon Says Stamp

DSC_1320

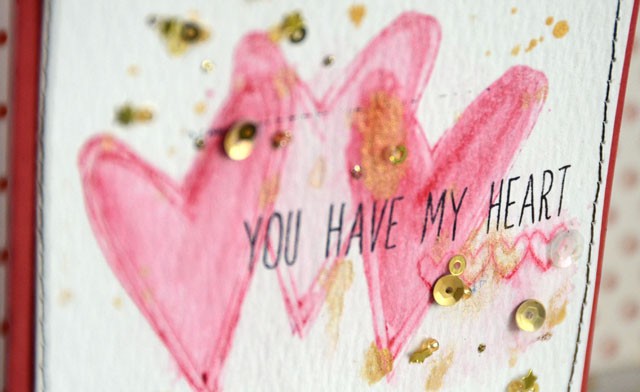
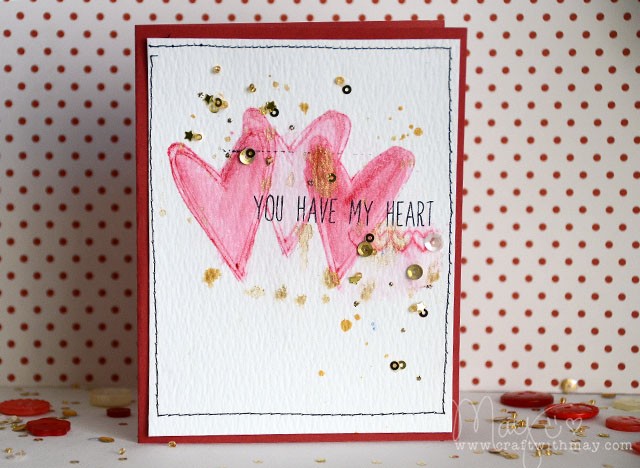
Simon Says Stamp has some LOVEly new releases out today! They sent me a stamp set and I’ll be using affiliate links in this post – thanks in advance for the support should you use them! Back to the stamps – the set they sent me is called roses for you.

Now I’m not quite ready for Valentine season – but since I had all my red & gold Christmas goodies out I decided to focus in on the hearts and see what happened!

DSC_1298

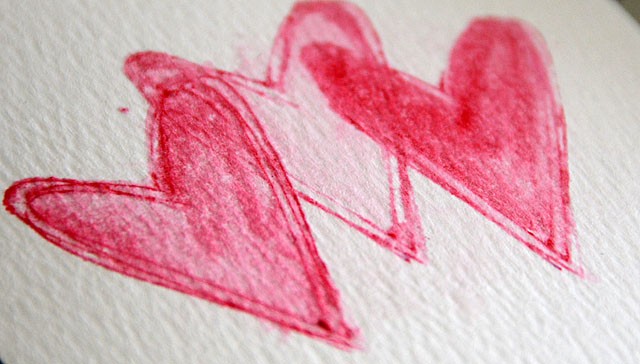
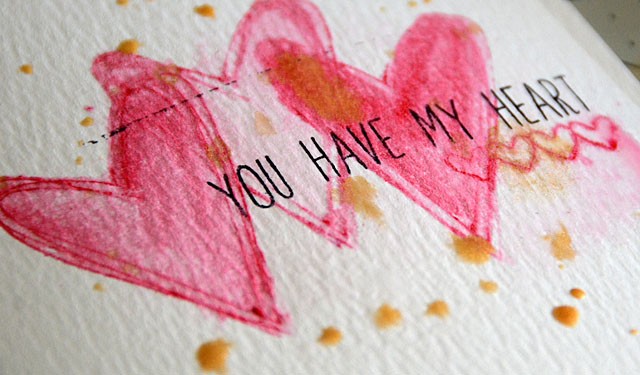
I stamped the hearts with Prima Pastels (apply directly then mist lightly with water). Then, when dry I used a water brush and added more of the pastels (just the red) inside the hearts. I love how much depth I got with just one pastel crayon! Here’s a link to the set – I highly recommend them!

DSC_1303

For embellishing the card I added gold splatter, stickles, and a few sequins. I also stitched around the edge and mounted onto red cardstock.

DSC_1310 copy

Loving this – and how quick it came together! Here’s a link to the new stamp set that I used on this card.

Very Hero Arts holidays!

DSC_9751

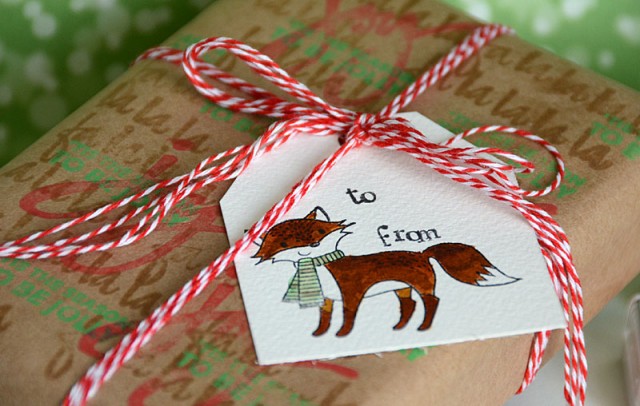
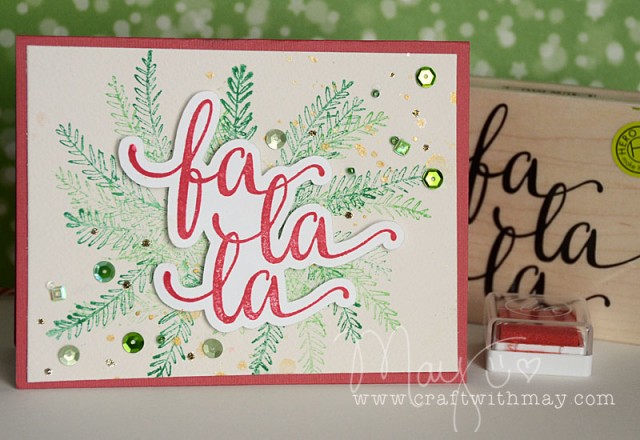
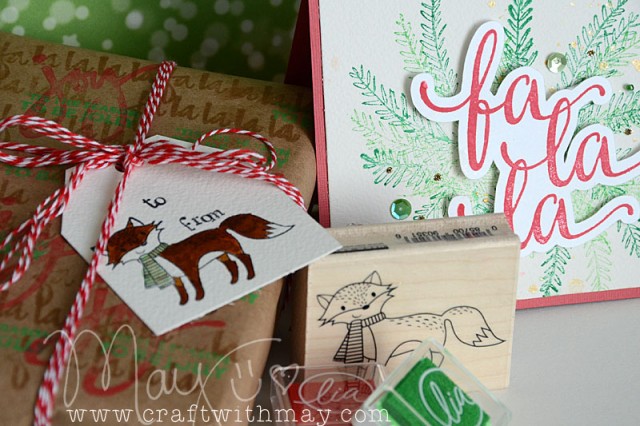
Thank you to my friends at A Blog Named Hero for inviting me to play! Here’s a link to the blog post. I had a lot of fun playing with an assortment of Hero Arts faves, and “fa la la” I’ve got some packages all wrapped up and another card ready to mail!

DSC_9735 copy

For the full video tutorial you can visit the blog post, and it’s up on my YouTube channel as well.

DSC_9759 copy

I always love Hero Arts stamps – and most especially at the holiday season! I hope you enjoy the video & tutorial for these two projects.