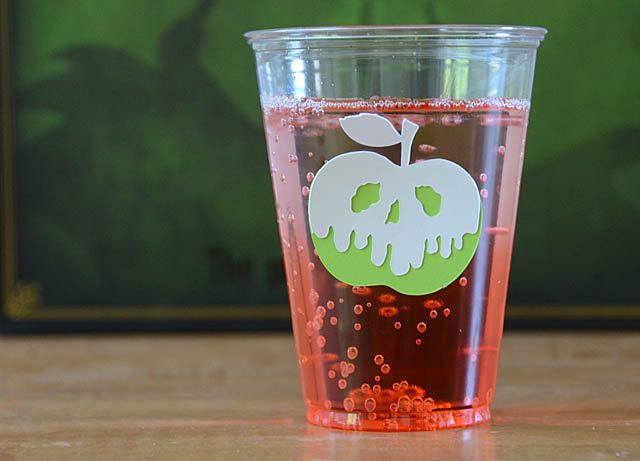
As you know if you are a regular here, I work with Brother (all ideas & opinions always my own, of course) – and I’m excited to tell you that there is a new ScanNCut in town! I am working on some in depth videos to share the differences and details. For today – I’ve got a quick peek and a project that I am SO excited about!
I absolutely LOVE working with built-in designs – and today is no exception. I took the apple (available in ScanNCut machine) and cut it out of plain cardstock. Then I doodled “poison” on it inspired by some cool things I’ve seen lately on Instagram.
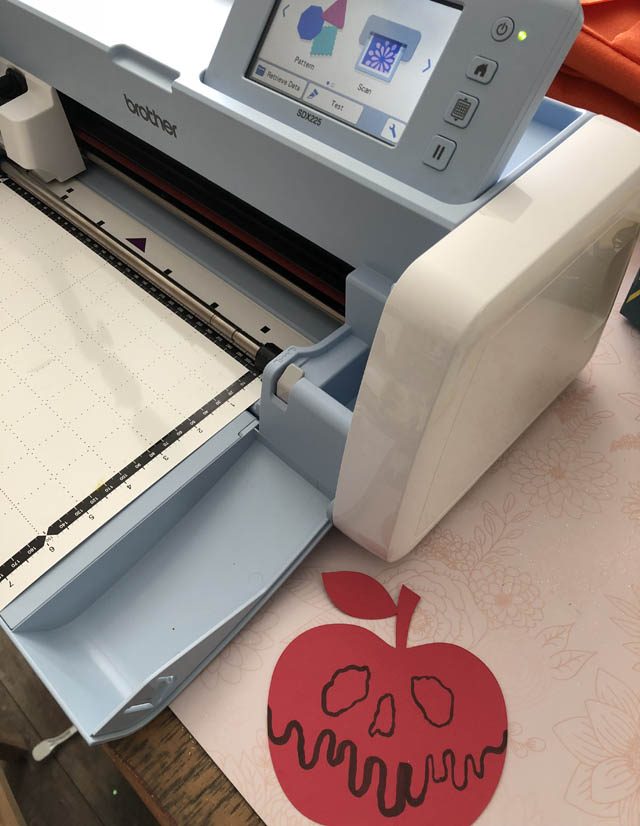
It worked out better to fill in the entire area of “poison” dripping onto the apple vs outline. Once this is done – and YES! You could do this on just about any image you like in any style you like! The steps are simple:
- Scan into ScanNCut
- Select preferred style (I wanted lines inside and out to cut)
- Save to machine or USB
- Open back up and edit as needed
- Cut out of desired material
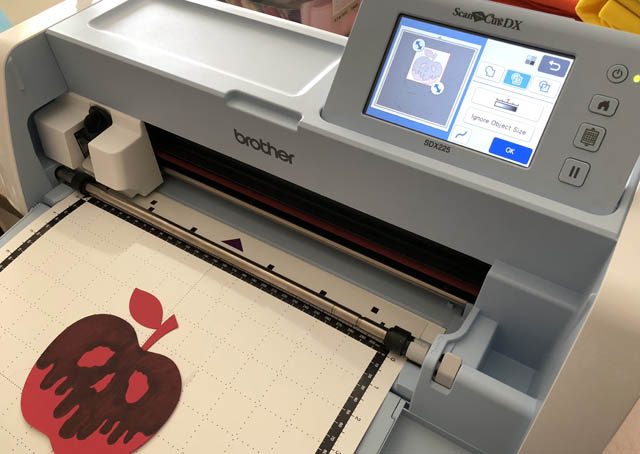
Could it be that simple? YES! Now here’s a huge tip for you. Before all my spooky additions I saved the apple design to the machine. Why? Well I knew I’d be layering pieces, and I didn’t want to have any issue with sizing! Another alternative would have been to write down the exact height & width. Either way works – the key being to remember to do this so that you can save time trying to resize things or guess.
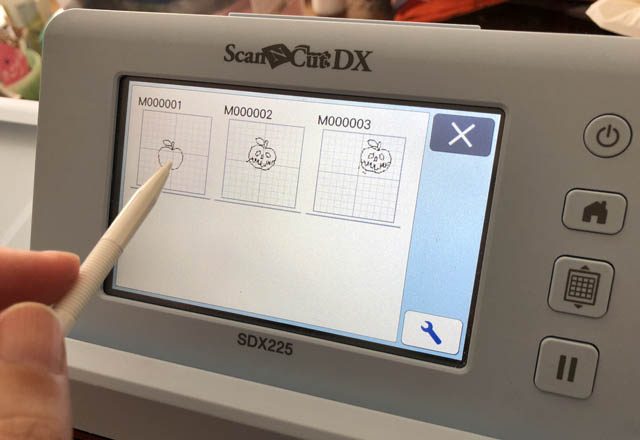
Once everything was saved in, go into the ‘saved data’ and open both the plain and the poisoned apple. If you are happy with the size, go ahead and cut! If not, resize (making note of the width!) then resize the other as well.
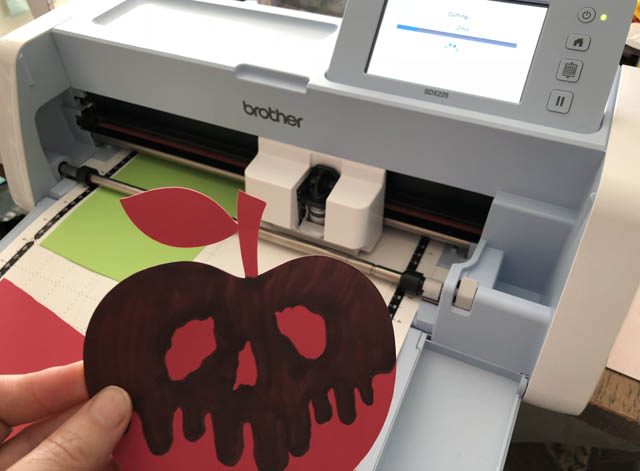
I resized mine to be 1 3/4″ wide, and I cut three! Two green, one red apple. One AMAZING new feature of the ScanNCut DX? It automatically senses your material thickness and adjusts for you! So as long as you’re using all the same material (in this case, cardstock all same depth) – go forth and cut it up all at once!
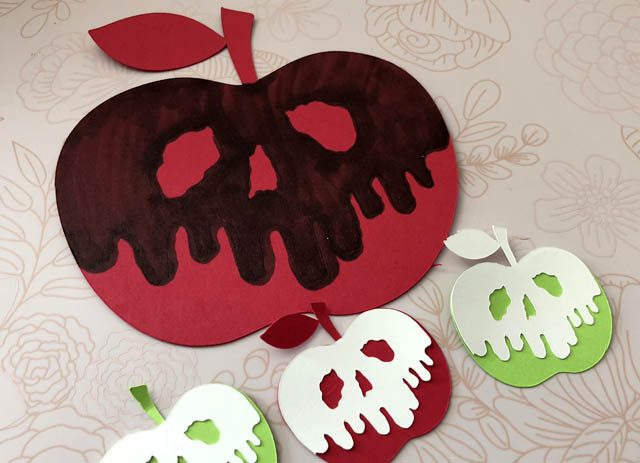
While it’s still a tiny bit early – Halloween is sneaking up on us and I’m planning some fun stuff for the kids and their friends. We were having a fun ‘villain’ day and used these for our treats & drinks!
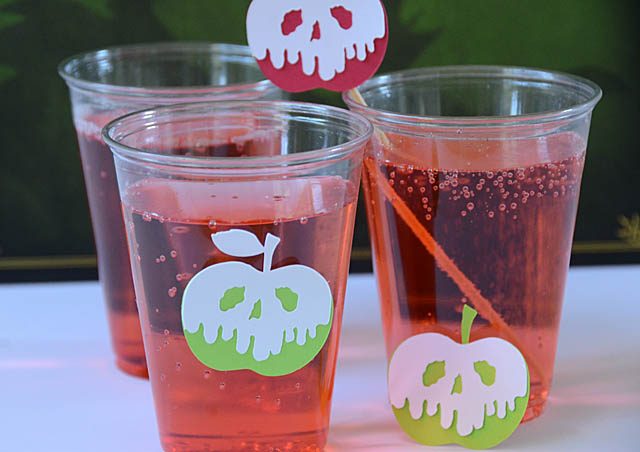
I love that a little time and a few pieces of cardstock created such awesome details for our dessert party! I’ve already got ideas to use this design on vinyl for a notebook cover, and the girls want bigger ones for a garland.
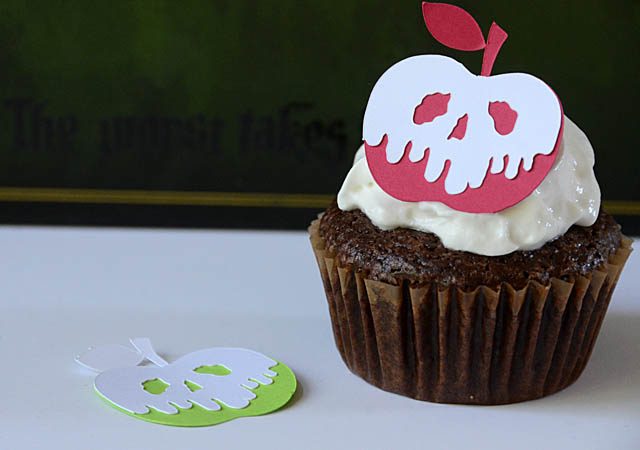
Gotta love a new creative machine, and a fun idea turning things so nicely into creative play and bringing visions to reality! I’ll be back soon with more on the DX, as well as more seasonal creative ideas as well. For more visit the ScanNCut website here for DX info!
Oh wow May – this is so so cute! What would you say now are the main differences between this new machine and the Scan n Cut 2?