One question that I hear regularly is how to use themed paper crafting products. This is no new question- back in my early scrapbooking days themed stuff was your ONLY option aside from plain cardstock! Everything had a theme, and you were “supposed to” make it work- color and styles had to fit the product, not the other way around.

Well even back then I rebelled. Forget that! I would take solid cardstock and a pair of scissors and just hand cut/create/invent my own embellishments if things didn’t work. These days, the quality of themed options is so much better, and it’s no longer a thing to be avoided… well not always. But when should you use it? How should you use the products? We’ll begin covering that today in this post.
So first up, repeat after me: If I am using photos with any theme, that is theme is already in my pictures, and is enough.
The #1 trap I see folks fall into is thinking “if I have a specific theme in my photos, I must use products meant for the theme”
NO!
I can’t stress this enough – if you have horses, airplanes, sports, baby, graduation – whatever the “theme” in your photos themselves, the theme is present. You don’t need to use anything specific. Go with the mood and your own style – and use anything you’d like!
Now can you use specific themes? Of course! When shopping for themed products I look for a few things:
- Is it my style? Do I genuinely LIKE the product?
- Is it useful in more than one way? Could I use it on other “not this theme” projects?
- Does the product look like something I can use easily, or will it be a struggle?
These three questions usually (quickly) determine if something is “gee, that’s cute but not for me” or “yes! useful! Buy it!”
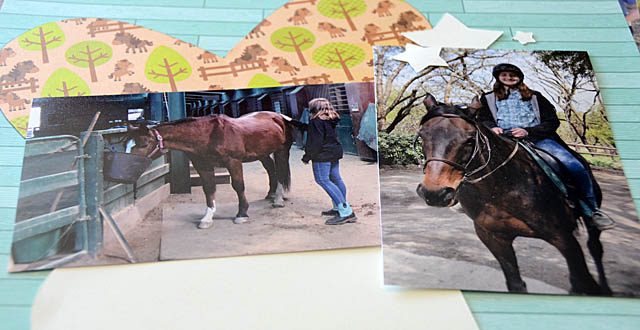
I use themed products as I have them, and as I feel like it. In this layout you see being made in this article, I purchased specifically for it a few stickers and papers from the new Doodlebug farm line that I adore. When I saw this line for the first time I had said to myself “I’ll buy that for Elizabeth’s horse lesson layout! I can make that work!”
When selecting supplies I like smaller, and simple. Think small stickers and prints on patterned paper in addition to having “no specific theme” backside on patterned papers, or general (stars, flowers, etc). I also like things like general “travel” themed products in colors that are useful to me. So how do you use themed products effectively? I have a few rules:
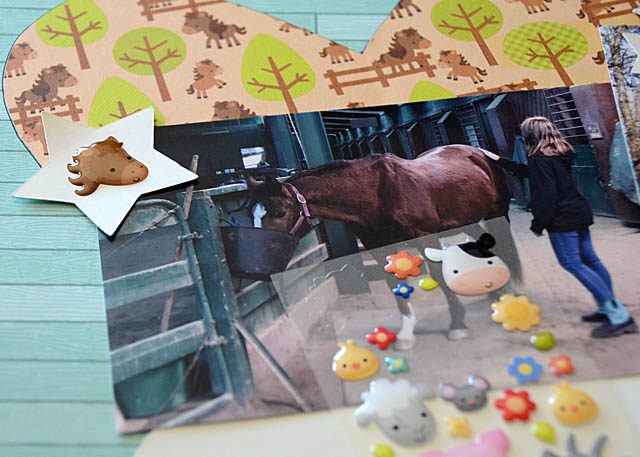
- If stickers/embellishments, ground them as you would any other. No “floating” nonsense! At a corner, in a cluster, or as you see the horse head (above) layered onto another element.
- The photos get to decide. A layout I hate with tons of specific themed products is never going to be preferred over photos on plain white paper with words written about the story. So let the photos be the ultimate deciding factor to use/to not use.
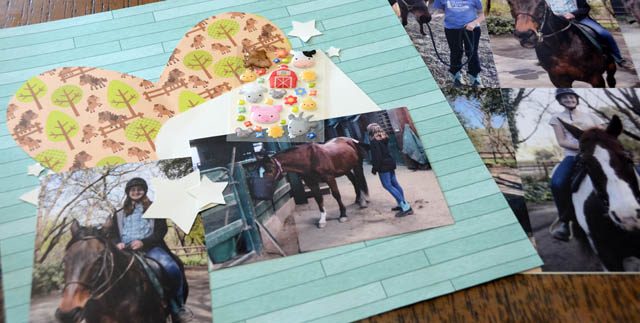
- Think mood, vs theme. Example the wood grain paper I use isn’t “a theme”, but it works well in context of horses and stables to subtly enhance the mood of the page. Colors, textures, and design can be just as effective as loud “theme” stuff!
Treat charms, stickers, embellishments all as you would anything else. Patterned paper? That I believe less can be more. A full page of wild print can be a lot and overwhelm the photos, so consider:
- a strip
- a corner
- a shape
- die cutting it
- a square/part of a grid pattern
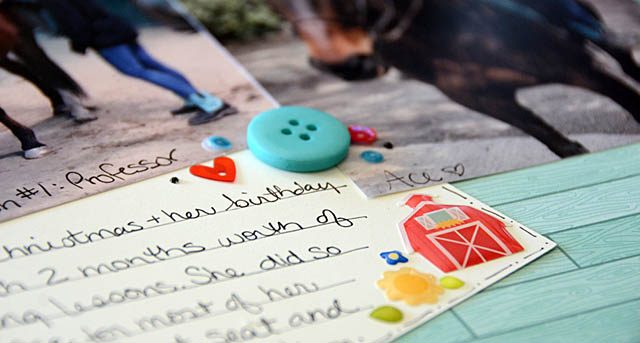
In other words, don’t hesitate to chop it up. For this page I hand cut a heart shape which worked well for Elizabeth’s love of horses as well as the layout design in mind. I used plain cream cardstock for my journaling because I wanted something simple, I was matching up with the cream cardstock stars, and I wanted another base for some theme stickers.
One final tip on the subject of themed supplies: don’t over do it. A sticker here, a paper there, a fancy title laser die cut… but not all the things all at once with 6 photos as well. Just like any/all scrapbook page you are looking to balance the design elements of photo + story + embellishments. If you go heavier in one area, the others must be lighter to balance things out.
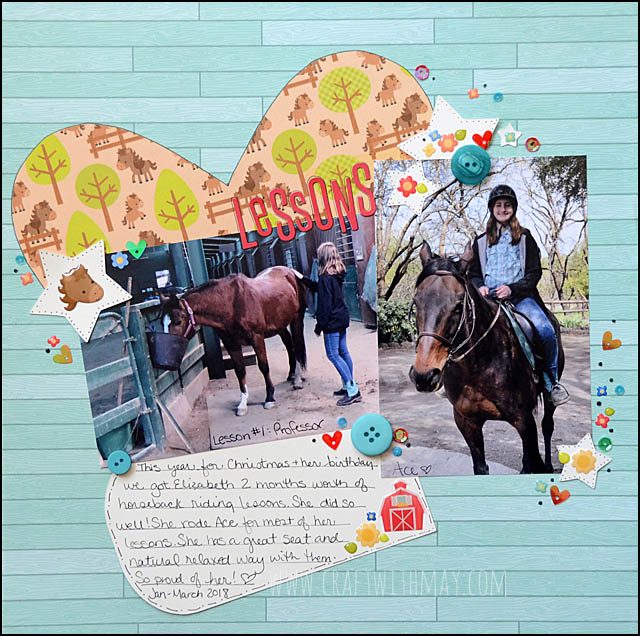
Here you can see my finished layout, as well as how I added fun details so it’s still very much my own style. I really didn’t use tons of things – though the little sticker/sequin/glitter glue groupings make it seem less plain. I love the results – and I hope you’ve enjoyed this article and hopefully if you were stuck, I’ve freed you from the theme trap.
For me – I like to use fewer photos if going “theme heavy” as I have in this layout. What do I do with the rest?
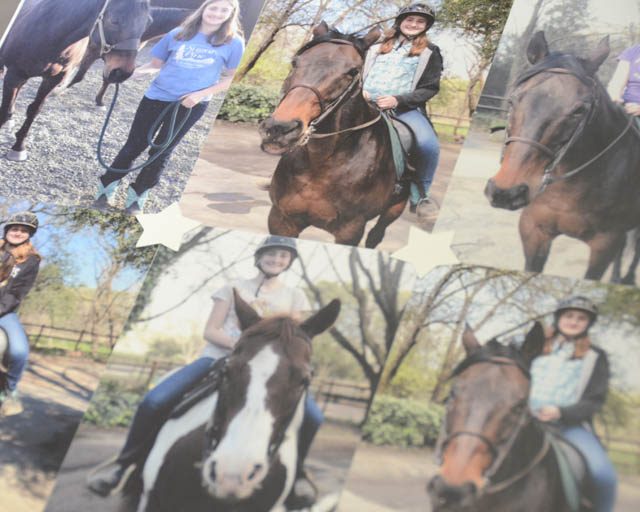
Across from the scrapbook layout I made will be a page full of pictures – seen above. I really like the knowledge that yes, I can just add photo pages in my scrapbook now and then as I like!
If you’re looking for the Doodlebug farm line – you can find it (affiliate link used) at Scrapbook.com here.
Do you have more questions about themes + scrapbooking? Let me know! I am always working on new articles and videos, and am happy to share and hopefully help as well.
Great layout. I loved reading your thoughts about themed products. I generally like universal things, like stars. I like the advice to use patterned paper in pieces. Thanks for sharing, great photos! Michelle t
Thanks May! I regularly fall Into this “theme” trap while online shopping- I love to buy it more than use it! Uh-oh! Id live to see more examples of partial sheets of themed paper in use like you mentioned. Thanks for the questions to filter my shopping choices… I’ll add “what would May do?!”
That is such a fun LO May.
My biggest problem with buying themed stuff is Disney! I have way way more than I will ever use! But I just can’t seem to resist!
Awesome tips for scrapbooking! I can use all the tips I can get and these are so helpful.