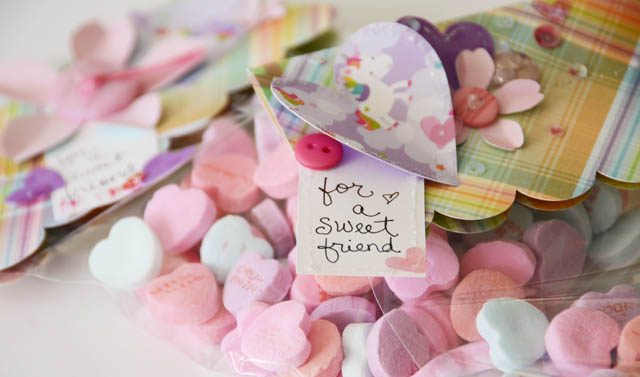
I am always looking for fun ways to add a handcrafted touch to my gifting – from class goodies to things for friends. With Valentine’s Day next week I thought it would be fun to get out some bright papers, my ScanNCut, and go to work!
the usual disclaimer that all ideas & opinions I share here are ALWAYS my own and 100% honest. That said, I share with you that I am indeed a paid consultant for Brother. Always upfront around here!
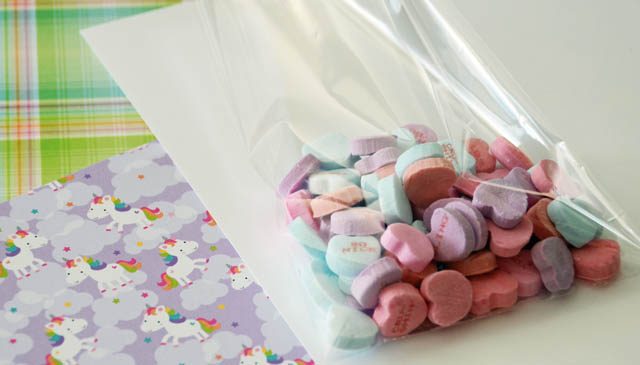
Back to the project – I first got the bags filled and measured approximate sizes so I would know what to cut. Now to show you how I created this I made a YouTube video.
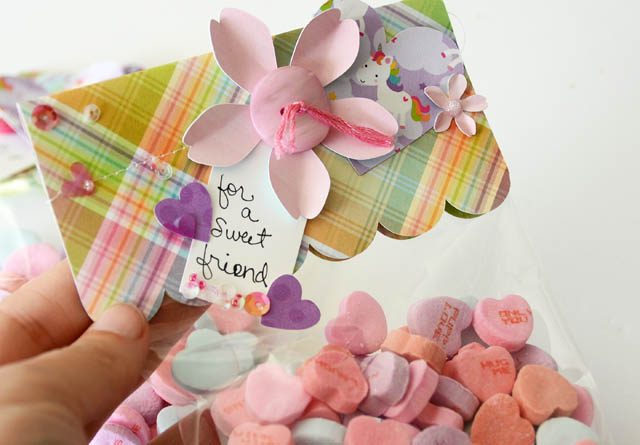
For any occasion or reason from parties to Halloween the steps you’ll want to take are:
- Measure out/size up your goodie bag once filled
- Using the ScanNCut, cut out a topper and assorted shapes from coordinating papers in sizes 1/2″ – however big you like
- Stitch or staple the bag topper onto the bag.
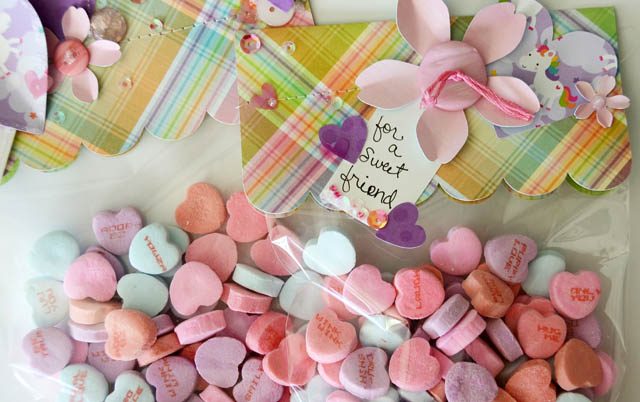
- Add shapes, buttons, and other embellishments
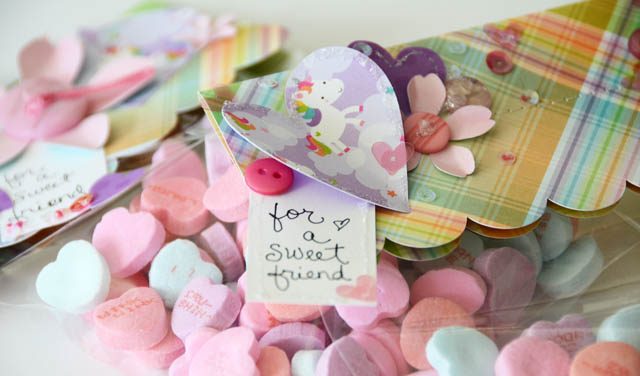
I recommend making extra tags, hearts, and flowers – after all you never know when you’ll need just a few for another craft project. I hope you’ve enjoyed this sweet tutorial – I’ve sure had fun making it!
What a cute idea! Thanks for the reminder about using the standard shapes in the scan n cut.
So so cute! I should look for a cloud shape before I buy a stencil!!
Where do you buy candy hearts in bulk like that? I love them ! great patterned papers too!