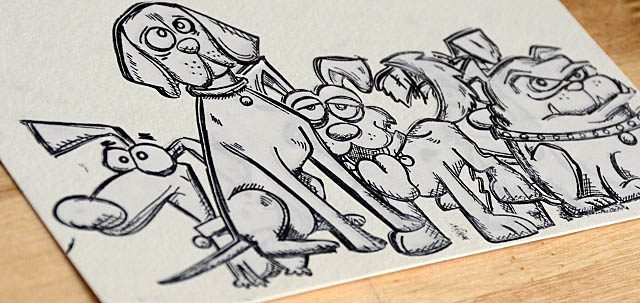
You know that the ScanNCut can cut stamps, but did you know it can also be used for creating stamp masks?
I so love the look of layered stamping, but man do I dislike having to use masking fluid, cut masks, or otherwise take a lot of time to achieve the effect! So guess what? I’ve come up with a far faster way to do it!
Step 1: Pick your stamps, and stamp them with permanent ink onto masking paper.
Step 2: Scan, and cut out the images.
Step 3: arrange/set up your scene, then stamp (starting with images you want at the “top”) and cover with masking paper images.
Step 4: color, stamp, and remove the masking paper as you please.
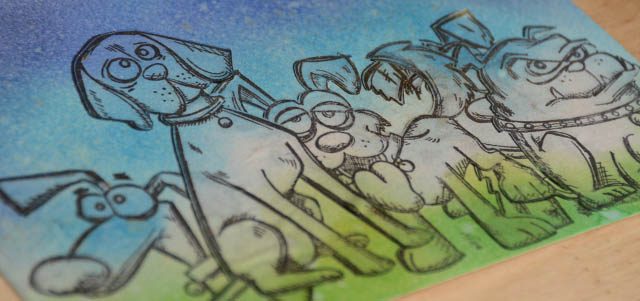
You can do this as simply or with as many layers as you like! I do have *one* cautionary tale: If working with watercolor or water reactive mediums, be sure to let the layers/colors dry fully or you’ll end up like my image below.
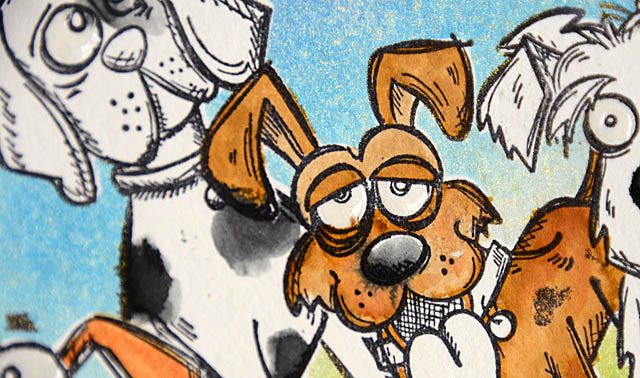
To share with you my full process, I’ve created this YouTube video.
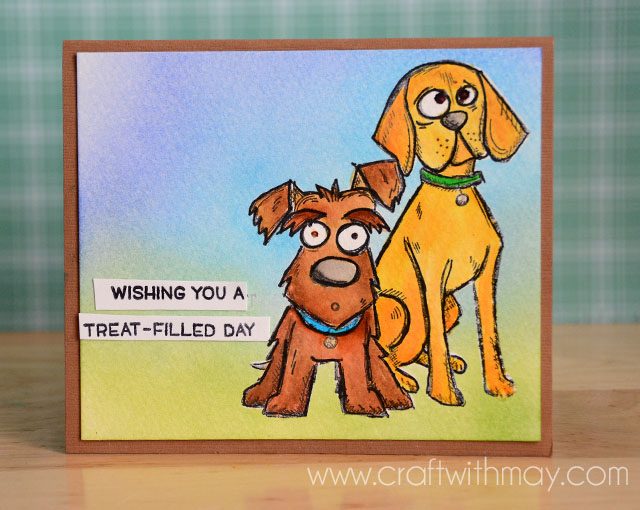
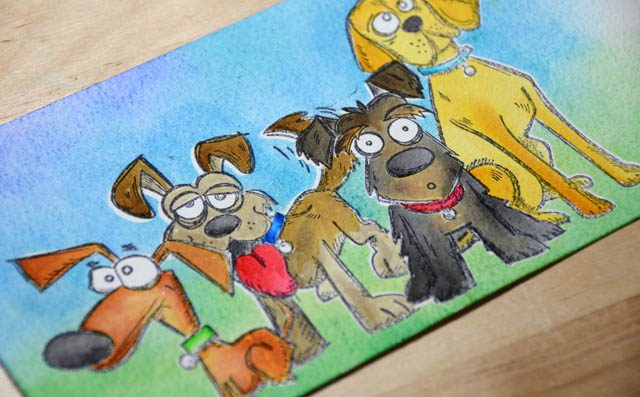
Here is my finished card (as seen in the video) – I just love how it turned out! Below you can see my progress on another version. I just love I can have this pack of goofy dogs – and spend very little time actually setting up the prep for the layers! This would work for any number of stamps, and in a few different ways that I’ll be sharing over the next few months.
Note that I am a paid consultant for Brother ScanNCut, a machine I use, love, and enjoy tremendously! All ideas & opinions expressed here as always are my own.
Very, very cute! That stamp set is definitely on my Christmas list. But I think it’s so awesome how you come up with new ways for the scan n cut to help you do lots of different things. I really love this cute card! Michelle t
love this card, or anything animal. what’s the name of the stamp, as I’d like to order it….thanks for posting today!
Love the card, love the technique. I knew there was some way to use my scan n cut to do that! Can’t wait to try it.
Adorable card … and I love the idea of using the Scan n Cut to make masks for stamps!