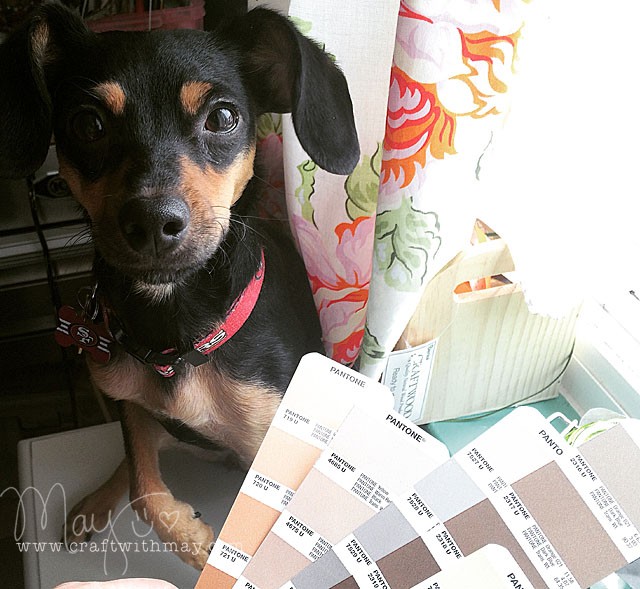
With school back in session these two work hard all day with me. Scrappy is helping me pick some colors for a project, and Ranger is supervising.
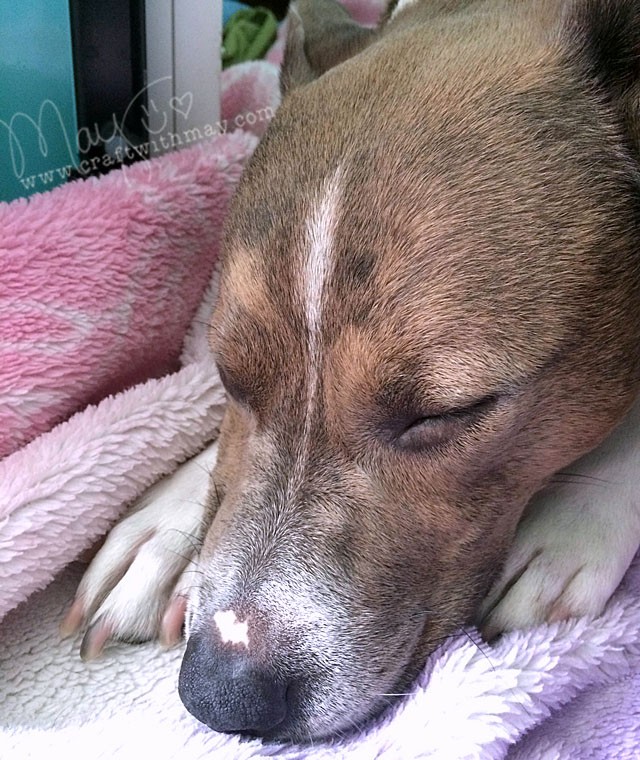
These two – so glad they’re in my life and keeping me company here in the studio!
no rules, just happy crafting
With school back in session these two work hard all day with me. Scrappy is helping me pick some colors for a project, and Ranger is supervising.
These two – so glad they’re in my life and keeping me company here in the studio!
As always, I start my ScanNCut post with the disclaimer that I do work with Brother, and they did provide me with the machine I use. However, all ideas and opinions are mine alone. Now let’s get to the fun stuff because this is AWESOME FUN!
Before I get going this does actually work with ANY ScanNCut model, but you may find that the original machine (vs 2) requires a bit of extra help along the way such as thickening your exterior stamp line. But welding and creating something like this? All ScanNCut machines can! Hooray!
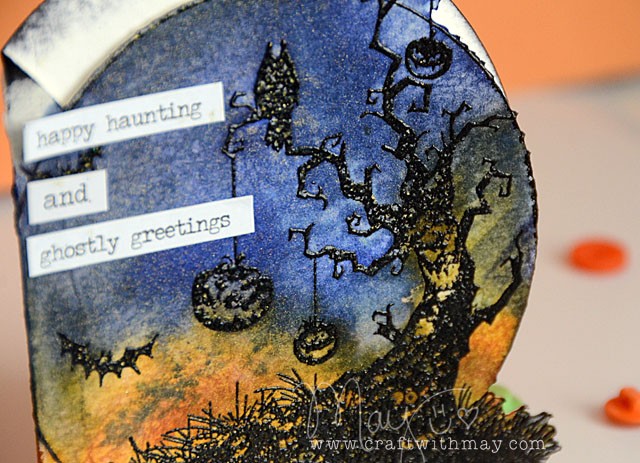
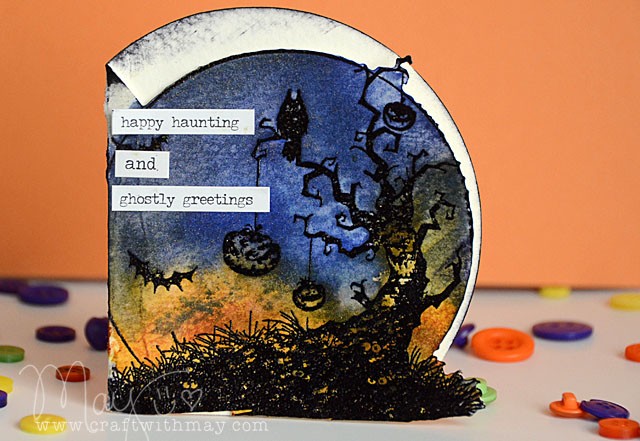
For this card I scanned the stamp but didn’t cut it out. Then welded a circle to the left, then cut it out. So easy, and once done a quick swirl of color, some extra black ink, a bit of sparkle mist, and a few words had my card ready to go out and haunt someone.
For those of you with ScanNCut machines I know you’ll wanna see the exact how-to. So check out the video I uploaded today here: link to YouTube
I’m off to haunt some more new ideas and scare up some fun…
Looking for your own ScanNCut2? I use the 650w model, which is exclusively available at Brother dealers. Also available (and that has same functions in general as my machine) is the 350 – aka the other SNC2 model. You can find that all over the place including (affiliate link) Amazon.
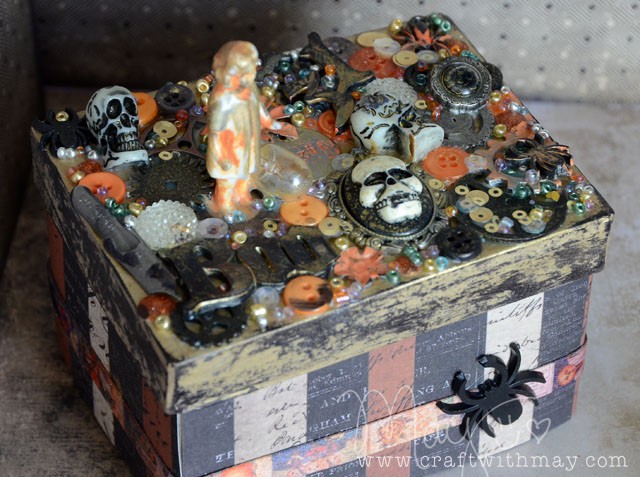
This project was the spookiest and most fun I’ve had in ages! To make your own gather some of the fabulous new Tim Holtz Halloween goodies. Wrap a paper box in paper. Paint the lid gold. Add PPA (affiliate links used – PPA is a fave and available at Ellen Hutson, Simon Says Stamp, and more) and get wild!
Start with a few big pieces…
add a few more…
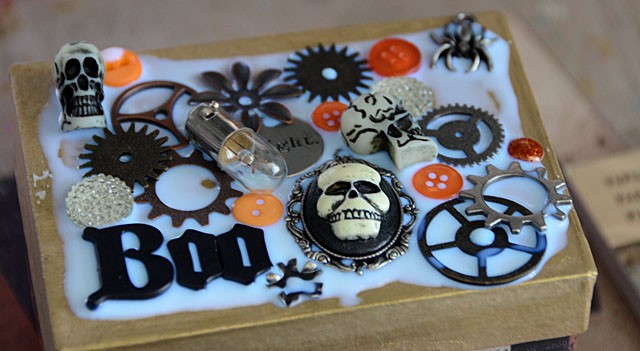
and then once you have the big pieces put in place, add little details!
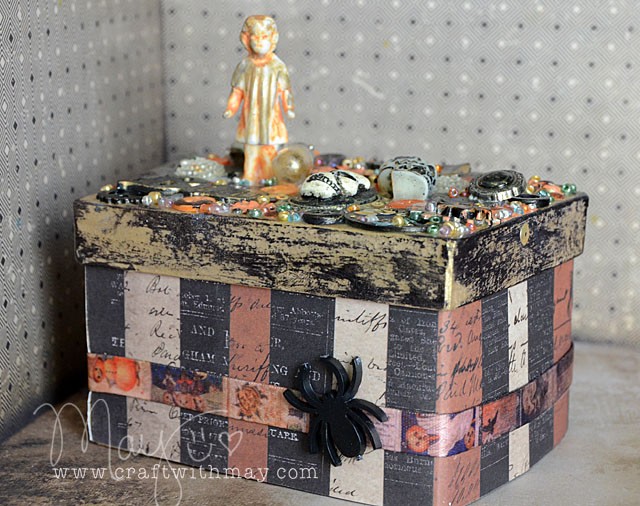
My “creepy” girl was altered by simply applying some orange paint that I wiped off, and then the same with gold. Just acrylic dabber paint from Ranger – no big thing. The black on the edges of the lid is just archival ink. While this project looks super intense and like a ton of work you’d be surprised how fun, quick, and easy these come together! I’m going to be sharing a video post of my process next month so that those of you who want the step-by-step process can see just how easy it can all be.
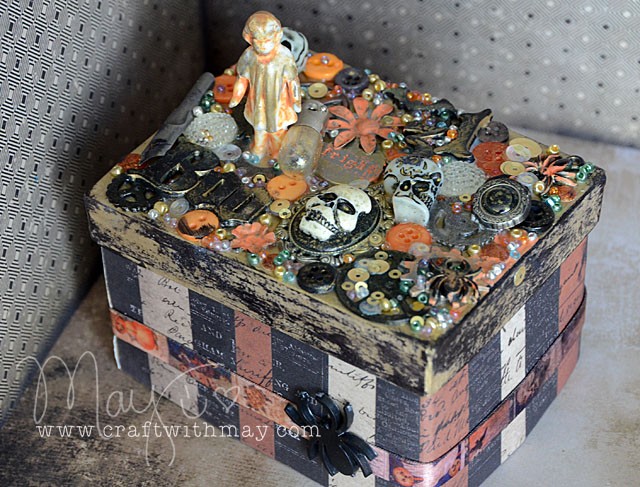
This has become a part of my décor for this year – I simply can’t part with it! It makes for a fun little addition and boy did I have a good time. Things are sure spooooky around here…
Looking to shop? I’ve got you covered – and thank you in advance to those who use my affiliate links used below. Costs nothing extra – just helps me keep the lights on and the free content coming! BlueMoonScrapbooking, Ellen Hutson, and Scrapbook.com carry most if not all of the supplies I used, and so does Simon Says Stamp.
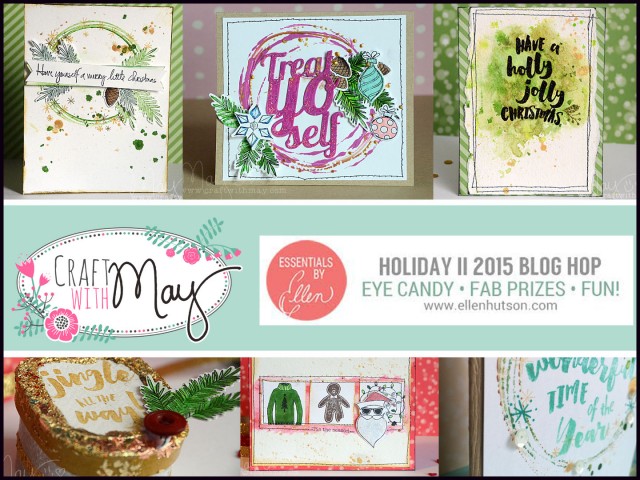
If you’ve just hopped over from Julie’s blog – welcome! I’m excited that Julie & the Ellen Hutson team asked me if I would take part in this holiday release hop to celebrate the new dies (some coordinating with existing stamp sets!) and stamps that they are releasing as a part of the Essentials by Ellen line.
If you know anything about me – I adore holiday crafting! I have several projects and ideas to share with you here today- and you’ll be seeing more from me featuring this release over the next two months as we count down to Christmas as well. I know I know – we aren’t quite ready for that! But trust me – time is flying and we need to get crafting!
note – affiliate links used below, always at no additional cost to you. Should you make a purchase it simply helps support me and all these crazy ideas I love to bring you by giving me a small % back- thanks!
I was tasked with featuring a new stamp set, and a new die that coordinates with an existing stamp set. Challenge, accepted! If you’d like to see the entire release you can do so here. Looking for all the supplies I’m using? See the end of this post for a list. But first buckle up because I’ve got a lot of projects to share!
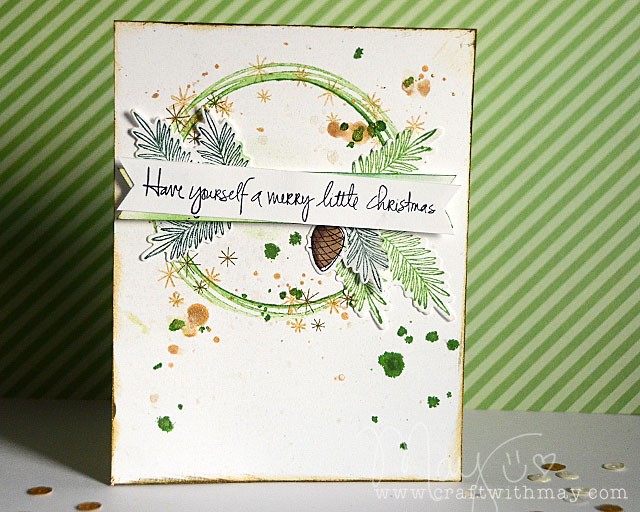
My wreath cards feature the Christmas Scribbles Stamps and new coordinating dies. Love them both and it is simple enough:
There’s a bit more to do – more on that in the video. This is great when you’re wanting to utilize those tiny stamps in a set, or when you want to use stamps that you’ve die cut out as I have in both of these new cards.
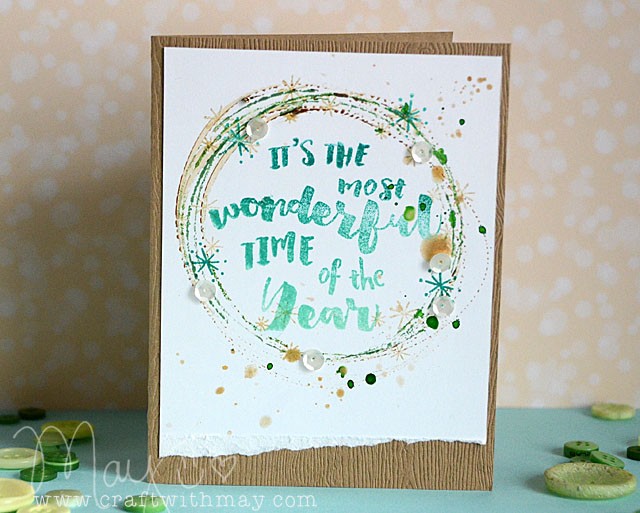
I mentioned a video – oh yes I’ve made a video to share with you! It has tips and highlights of all the projects you see made here today. Not quite a full project tutorial and a closer look at these stamp sets and dies that I’ve used. While making the video I ended up creating a whole new card as well, which you can see below.
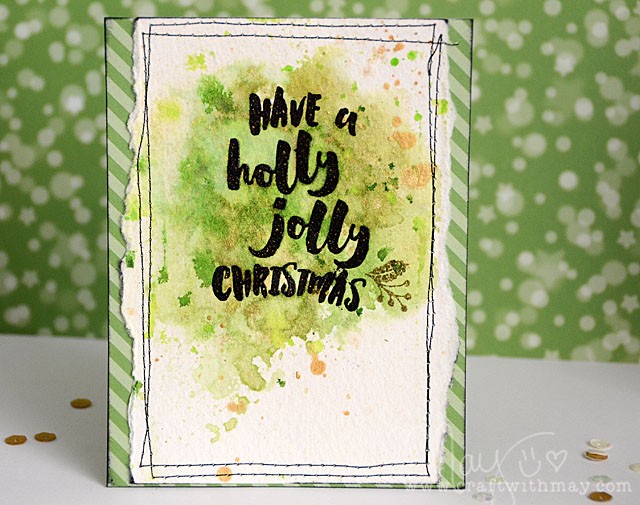
I created this video with technique and ideas in mind that you’ll be able to use on cards, giftwrap, Project Life or December Daily entries – or however you like to use holiday stamps and dies! I’m such a fan of all things holiday crafting – let’s keep on going! The next project features “Holly Jolly” which is a fantastic new sentiment focused stamp set. Love the fun font!
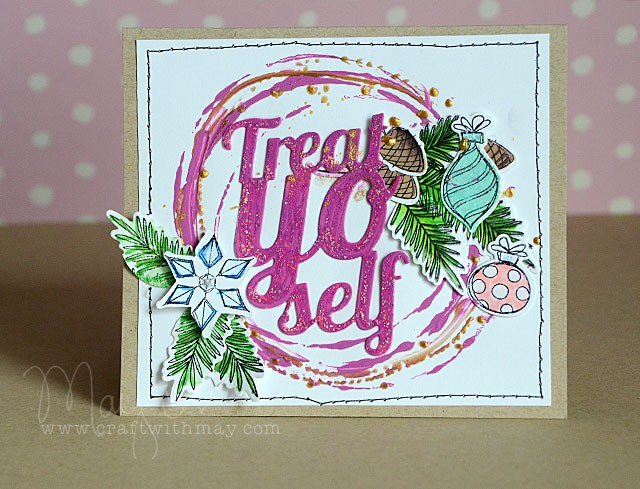
I love the ‘paint with distress’ you see above – it’s just fun! One of the cards I created not seen in the video is below (featuring just the scribbles stamps) –
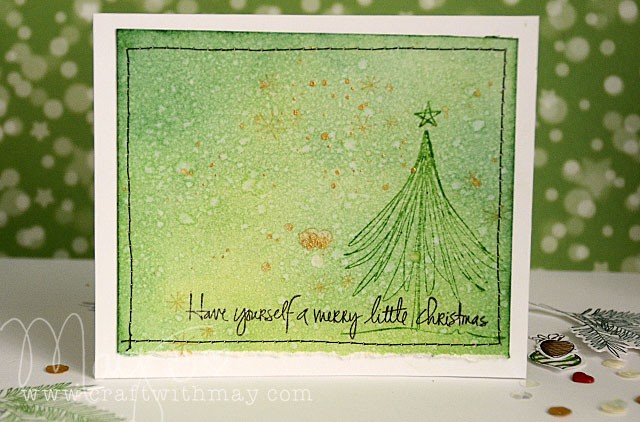
Just a simple and very re-creatable/mass producible design requiring just some distress ink, water, gold ink, and of course paper + thread. I like making designs that I could recreate easily and without buying more of anything other than paper now and again. You never know when you’ll need 20 cards quick, especially this time of year.
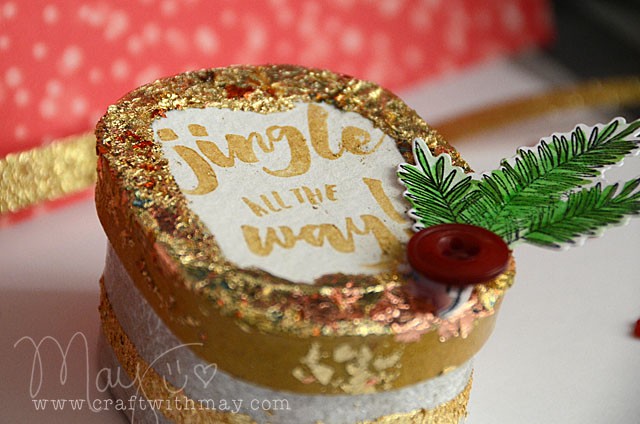
Back to Holly Jolly…
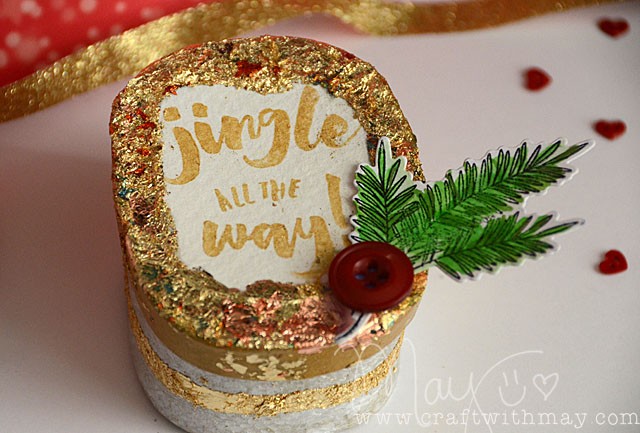
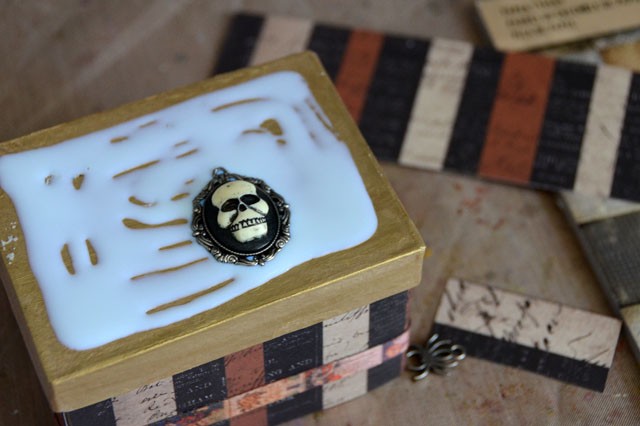
I explained the little box above in the video – to recap it’s gold leafing! The lid is done with liquid adhesive. Just leave it all on there until totally dry, then remove gold leafing. The edge is the tape method I demonstrated in my video. If you’re wondering “wait… how with liquid?” stay tuned. Full video tutorial on my gold leafing with stencils coming next week!
The other notables on the box are that the sides are painted (silver and gold), and that the sentiment was stamped on cardstock then adhered to the lid.
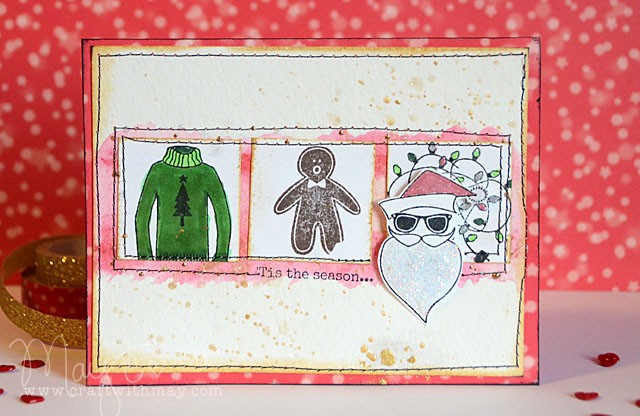
This EPIC blog post is coming to an end. I just had WAY too much fun with this release and couldn’t stop making tons of fun things! This card is using a stamp set + NEW die I thought I was supposed to feature… until I realized I wrote down the wrong one! ha! It’s still a lot of fun – so I had to include it of course.
If you’re thinking “geez this girl has a lot of ideas…” yep. You’d be right! In fact all my favorite ideas + how-tos are currently being gathered in an online card making class right here! Pre-registration ends 10/31 you might wanna check that out! (note students will have access to an Ellen Hutson discount code as well…)
Ah but before you run off, gotta share the next fabulously creative ink in the hop! Click here to check out Kristie Goulet’s post. If you get lost, please visit the CLASSroom blog for a complete list of all the designers.
I also get to give away an Essentials by Ellen stamp set! The winner may chose ANY Essentials by Ellen brand stamp set (maximum value $15) currently in stock at Ellen Hutson.com To enter for your chance to win my giveaway, please leave a comment on today’s post with a valid email address by October 27th. There is also a crazy good Grand Giveaway in the CLASSroom! To enter, be sure to leave a comment there, also by October 27th, with a valid email address. Winners will be announced at the CLASSroom on Friday, October 30th.
Thank you again to Ellen & Julie for asking me to play along, and to all of you that made it through my epic post!
Links to key supplies used:
Who likes painting with distress ink over a gesso coated surface?
This girl!
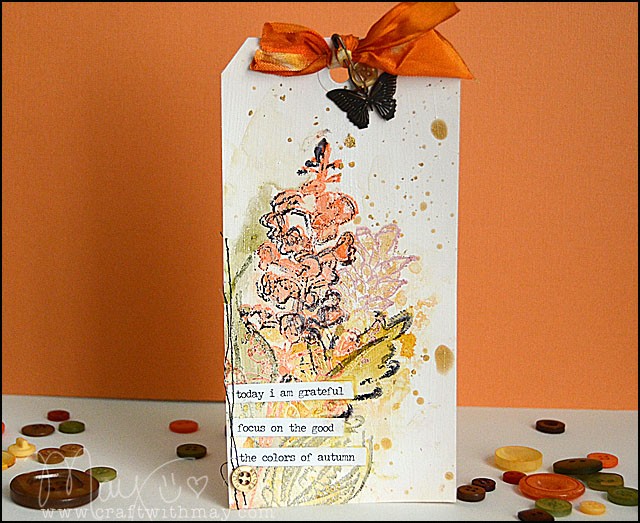
I used the new Dina Wakley Stamps (affiliate links used) that are available at shops like Ellen Hutson and Simon Says Stamp. I also used Dina’s gesso, a wide variety of distress ink colors, my beloved Heidi Swapp gold mist, and of course some of the ever amazing NEW Tim Holtz phrase stickers. Of course I’m not going to just tell you how I did this, I’ll show you!
I hope you enjoy my tutorial – and try some painting with inks of your own!


