
Sometimes I want a fast tag, something semi-homemade but cute. Today I want to share a hybrid tag featuring an image from www.rhonnadesigns.com that only takes a few minutes.
1. Open up the digital image (in word, photo editing software, etc.) and print out onto paper a size that is slightly larger than your tag. I printed 6.5in high for mine.
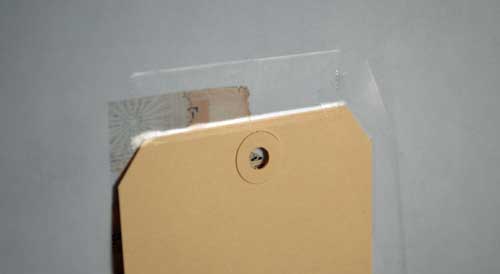
2. Tape your tag to the paper across the top. This will let it smoothly run through the printer, and because you pre-printed you know exactly where the design will print.
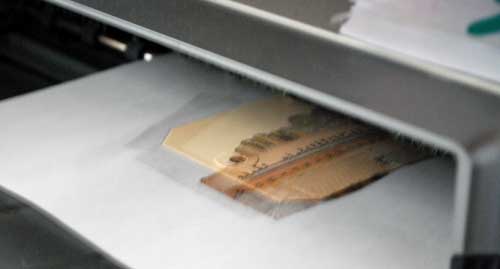
3. Carefully remove the tape and you’re ready to play!
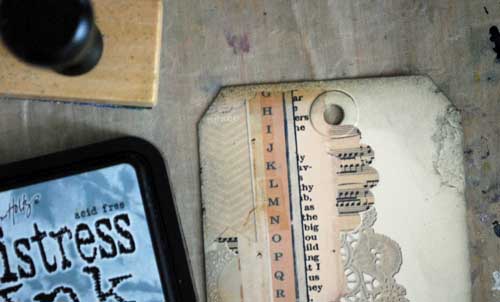
There is a tiny space where the tape was that you’ll have no printing on. It didn’t bother me, but I used a bit of Tim Holtz new limited edition distress ink on mine and made it barely visible! At this point I also highlighted a few areas with glossy accents + allowed to dry.

I could add glitter, more layers… but instead I just spritzed with my favorite template + current favorite mist.
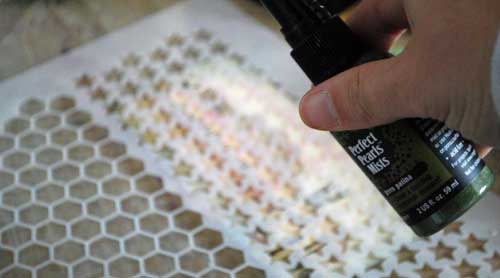
And there you have it.
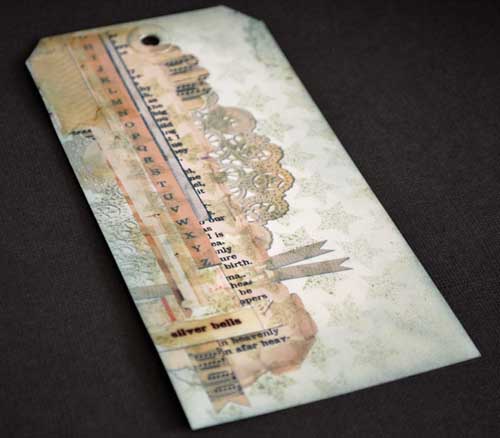
I will definitely be pulling this trick out more often – and yes you could re-print easily and/or print more than one at a time.
Supplies:
Note: The links to the seasonal distress inks (above) are to Scrapbook.com and simonsaysstamp.com – and they are both on sale as of this post! Get ’em while you can!!
Amazing! Looks like hours of work!
May I love this tag, would really like to add one to my Dec. Daily!
Gorgeous! At first glance I thought you spent hours cutting, pasting, embellishing. What a great idea. Love that you can make a few at a time. TFS
Oh girl,
This is fantastic!!! I’m off to try this out :). LOVE!!
Have a Blessed evening,
Dawn
this is really pretty ♥
Very cool May
If you don’t want any white space where the tape has been, I do this all the time with removable adhesive on the back 🙂
in my printer that won’t work – the tag edge will get stuck. But yes, for thinner paper that’s a great idea! 🙂