Hawaii layout with Hero Arts stencil & stamp

051

Today I’ve got a quick & easy layout tutorial featuring a Hero Arts stamp, ink pads, and a brand new stencil too. This tropical stencil is the perfect size for a card background – but I think if I use it twice (so it goes across my layout) it will make the ideal scrapbook page background too!

003 (2)

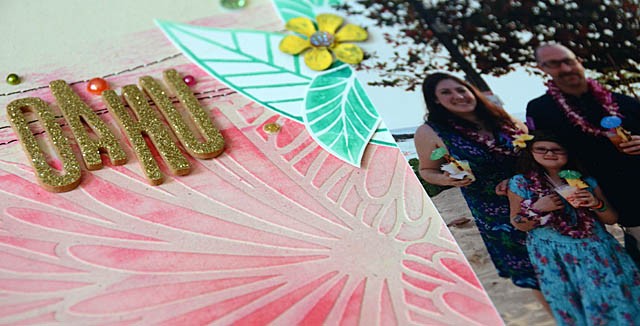
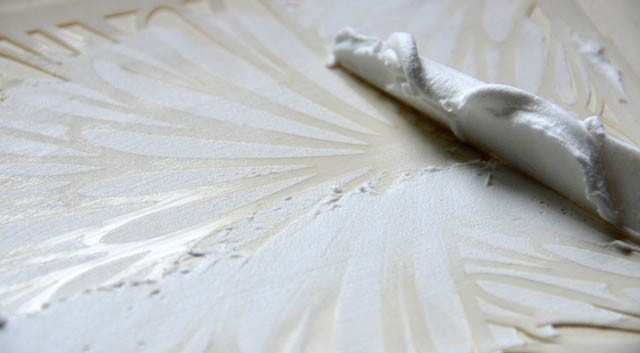
First up, I taped down my stencil and applied paste to it. I did this twice so that the stencil design would stretch across the middle of my layout. Note that there was about a 1″ gap in the middle – but that is ok! It doesn’t matter because there will be a photo covering that part.

005 (2)

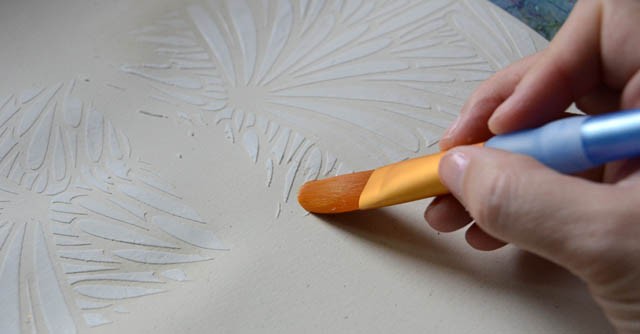
Once I had that done, I used a paintbrush and a bit of water to smooth out a few edges to make the edges of the stencil a bit more gradual. Love this design!

011 (2)

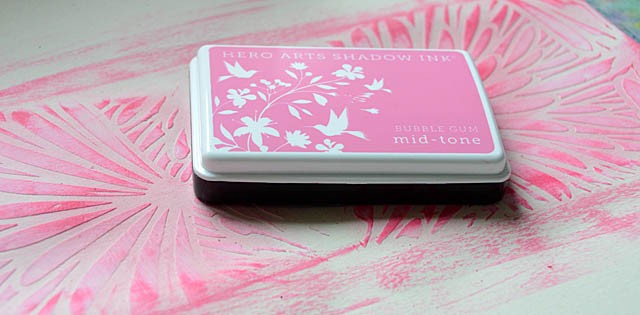
The hardest part: I let this dry totally, and then let it dry overnight underneath some heavy (wood mounted stamp) blocks. Next up: I took my ink pad and rubbed it lightly over the stencil, as well as along the edges. Once that was done, I also stitched along the edges of the design.

020 (2)

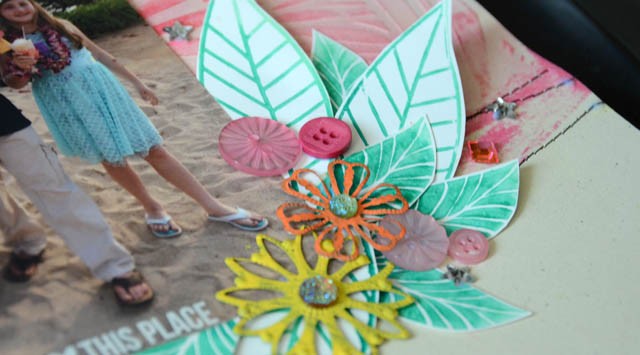
Ready for more inky goodness, I broke out my mint ombre ink pad and stamped some leaves!

008

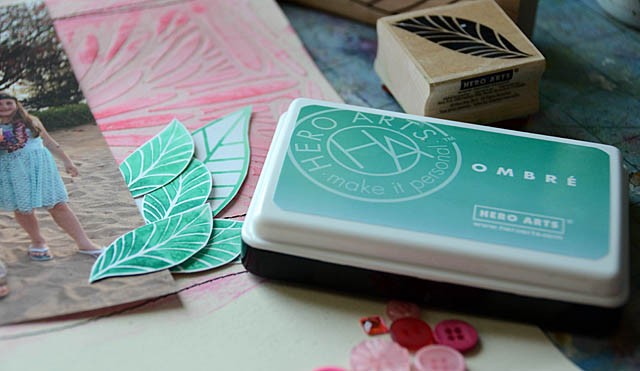
Note that the big leaf isn’t a Hero Arts stamp… I don’t know whose it is! It is on an unmarked block. I really am enjoying these ombre ink pads and you can see (above) the slight change in color that makes for a blended look so easily. I will be doing more projects and a video on these new ink pads next week.

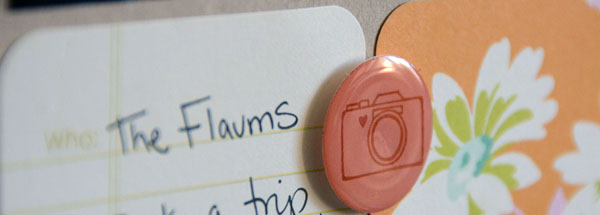
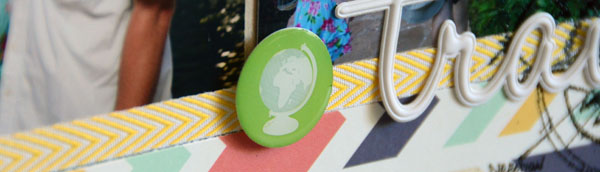
Back to the layout – just a few embellishments added and bam! Look how those stamps, stencil, and ink pads got me into a fun layout in no time at all.

046

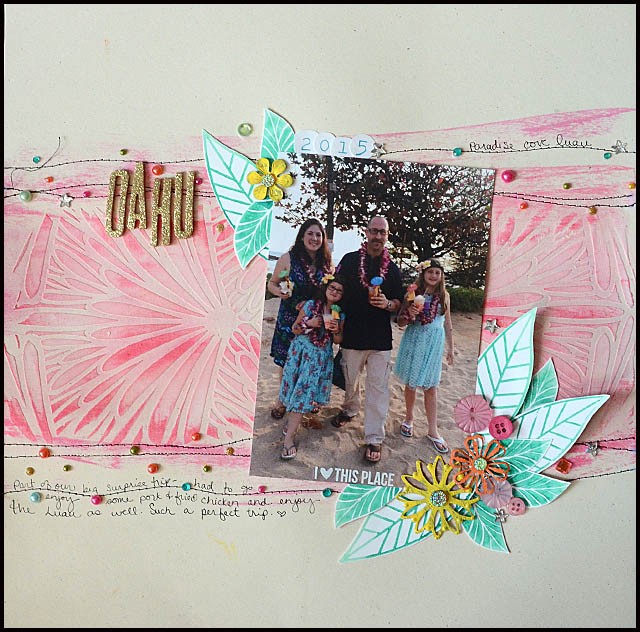
I hope you enjoyed this quick layout tutorial and that I’ve encouraged you to bust out some stencils, stamps, and ink and get crafty today!

049

Project Hawaii: an introduction

ph2

First of all, the photo you see above is a Field Guide sneak peek! Yes, the project I’m about to talk to you about will make an appearance (in week 7) of Field Guide. That class starts next week – so please be sure to check it out and get signed up asap if you’d like to join in!

If you’re a project life fan, perhaps you recognize some of the Olive Project Life kit shown in the picture above. Yes, I’m getting it used already, and if you could guess  from the title of this post what I’m using it on for the moment is a project I’m calling Project Hawaii. Bottom line is this: I’ve got a lot of photos and tiny stories/quotes/notes about our trip last winter to Maui that I want to scrapbook quickly and in a minimal number of pages. I want to have creative fun, but I also want to GET IT DONE.

Here’s my introduction (rambling at times perhaps) video explaining more:

[link to youtube]

In the video I mentioned Melissa Stinson’s amazing video – actually it is a two video installment and is up as a part of the Two Peas (FREE!) PL class. You can check that out here. Her process and those videos helped me really combine the various ideas floating around in my head, and really make me decide that NOW. Right now. I’m going to put these papers + photos together! Super inspiring.

Ok, so now the challenge begins! As I said before I’ve worked a “project hawaii” video + handout into Field Guide as a bonus (and it was such fun!) but I will also be sharing layouts as I complete them here on my blog each week on Wednesday or Thursday until I’m done. How’s that for a big project? Oh I’m excited! If you have any questions please feel free to ask away! Happy to answer or clarify my process. I’ll be sharing my first page next Wednesday, but I’ll leave you with one more teeny sneak peek from my Field Guide Project Hawaii layout…

ph1

Happy Crafting!