bold watercolor with ScanNCut

As I sometimes do when contemplating use of my ScanNCut, today I got a wild idea. The usual disclaimer that the ScanNCut is a machine I love and use often, all ideas & opinions are my own. That said I am a paid consultant and I always say so on my posts so things are 100% honest and upfront here!

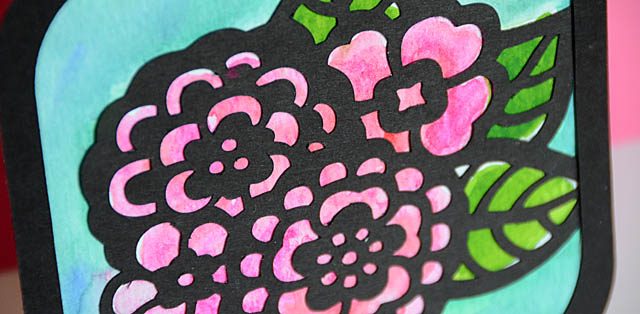
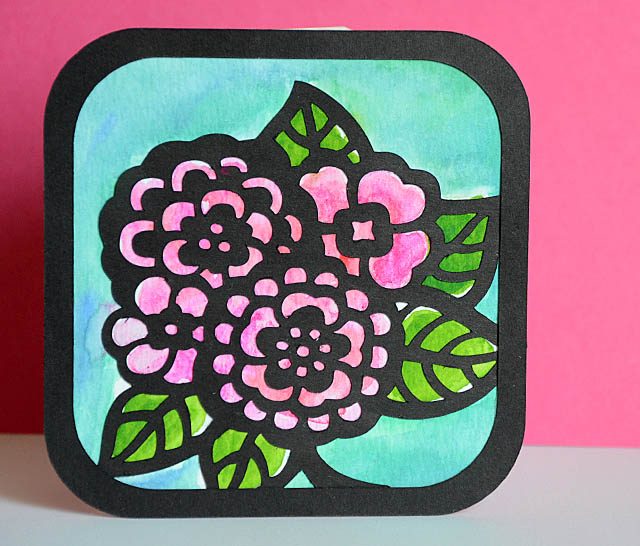
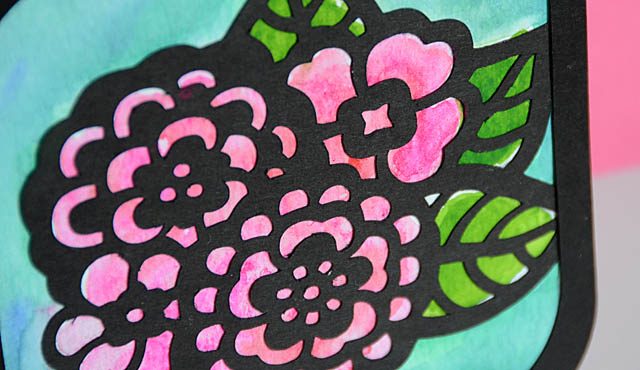
The idea went like this: Could I do some kind of thin black outline, and layer on top of a watercolor background? The answer, is yes and here is my YouTube video tutorial.

I mention in the video I could have gone into Canvas and tried some more editing/creating a single cut file but I didn’t. You see the way my brain works I often do better having physical pieces I put together myself. In fact sometimes when I put all the things together simply and easily in a video I have already done exactly this before filming.

On this card, I really am wowed by how this turned out and I already have a few ideas for changing up the look and layers to get an even more exceptional “wow factor”. I am thinking about using the draw function so I know exactly where all pieces will be and do more in depth color shading as well as building a piece for canvas, shadow box, or home décor project.

When it comes to creative ideas with the ScanNCut, time and time again I find that the only limit is my own imagination – and I love that!

Coloring with Scribble Sticks

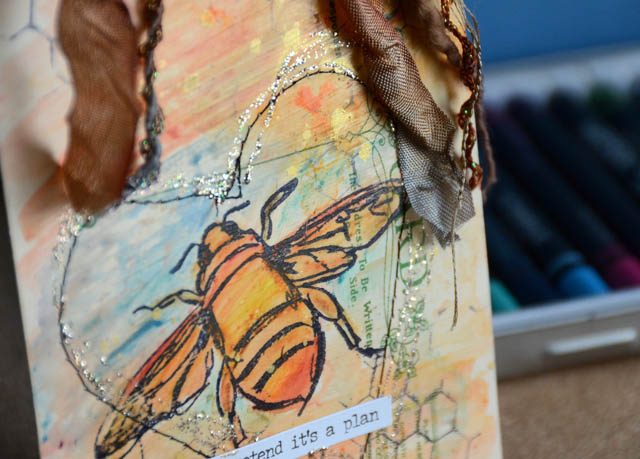
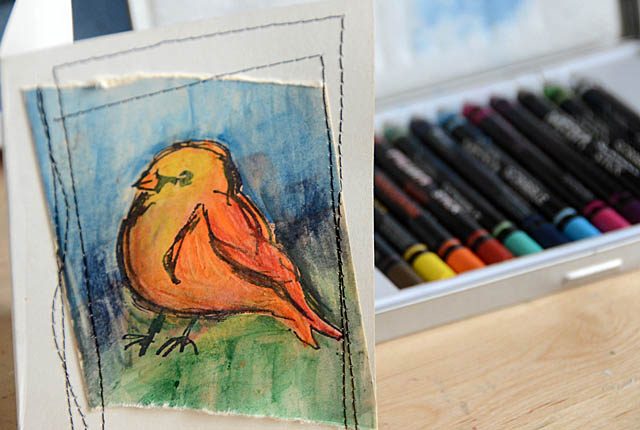
What are Scribble sticks? Quite simply they are sticks of color that are water reactive/soluble which means they react & play with any other mediums such as gelatos, watercolor, distress, dylusions, and so on. What I love about them is how much rich color I get from a small amount. I also love that they are pure color sticks – which means they’re very dry and hard which means I can’t break them and tons of shards don’t go flying like some other mediums.

I find that plain paper works, but I mostly like either treated (matte gel or gesso) paper or smooth surfaces or manila cardstock. I did not have success with these on heavily textured or even moderately textured surfaces. This is important because if you work mostly on paper? These may be the colors for you! But if you like a lot of coloring textures and such… well maybe not.

I created a video to show how I’m using these – here is a link to YouTube.

Below I will also (affiliate links used – thanks in advance for supporting my site!) list supplies used and a special code good at the time I’m posting this to Ellen Hutson’s site! I really am enjoying these colors they are bright and beautiful, and I’m loving that it adds some new (easy to store!) colors to my mix & match stash of mediums.

Ellen Hutson has a sale! (I’d like to think just for my birthday – ha!) 20% off all in stock items use code momsday17 when checking out. (more details below. In this post I featured:

Scribble Sticks – available as a set in stores now including Ellen Hutson

Small version of bee stamp I used

Birdy stamps as shown above

gel medium matte finish (or) gesso

Save 20% on EVERYTHING in the Ellen Hutson  shop May 14th – 16th!
Upon checkout please use coupon code:  momsday17
Sale is on in-stock items only, does not apply to previous purchases or the BCRF Fundraiser Set, and ends May 16th at 11:59PM PDT.

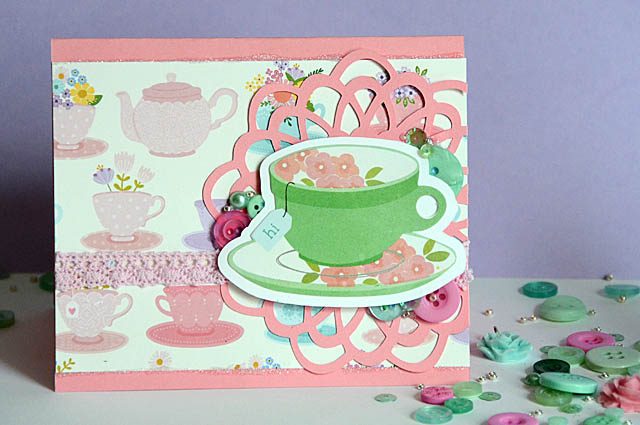
Hi! A tea inspired card featuring the ScanNCut

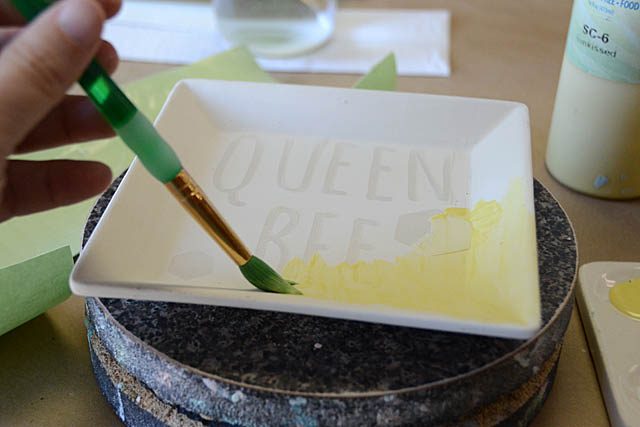
I totally enjoy (and always disclose) the fact that I work with Brother (paid consultant, but as always this machine I adore and all ideas & opinions are my own), and I always love when they give me a new challenge. Below you see a sneaky peek of something I worked on today – stencils + pottery painting! If it turns out as good as I hope? Well I’ll be doing a LOT more because it was amazing and awesome.

I won’t know the results for a week, when I get to go pick up the finished pieces that I did today. Don’t worry – there will be a full video tutorial here, and I’m making one for the Brother website as well. I just couldn’t help adding this peek in since I spent my day down at a pottery studio and man, it was FUN!

Speaking of fun, I needed a card for a friend and fellow Girl Scout leader and fast! But what to do? I wanted something fun and then I saw it. This teacup paper die cut that has been plaguing me for months! maybe a year or more. Since I’d just spent the day enjoying pre-cut shapes from my ScanNCut to stencil pottery I thought… let’s pull it back out and see what I can do!

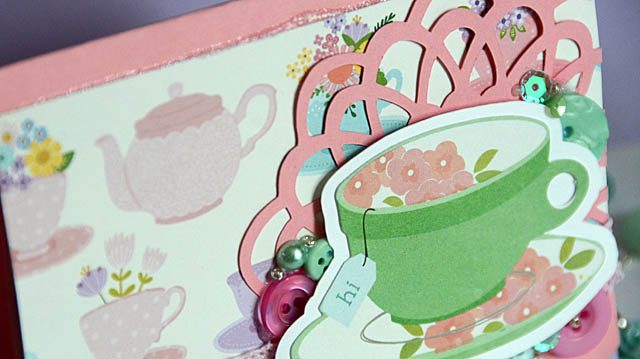
Here is a link to my full tutorial on YouTube. This turned out even better than I expected, and I was able to do a thicker outline so I love showing you that when usually I use a very thin outline. I also love any excuse to use this particular doily-esque pattern as well!

“Grounding” everything to the one side as well as that bit of lace trim really brought this card together beautifully for me. I hope you’ve enjoyed it as well – and I wish you all the best for a most excellent week.

Photos + Memories

Congrats to winner from my previous post: Tiffany M! Email me (craftwithmay at gmail.com) to claim your prize! Include what class you’d like and mailing info.

Stories by themselves are nice. Photos in a frame are lovely.
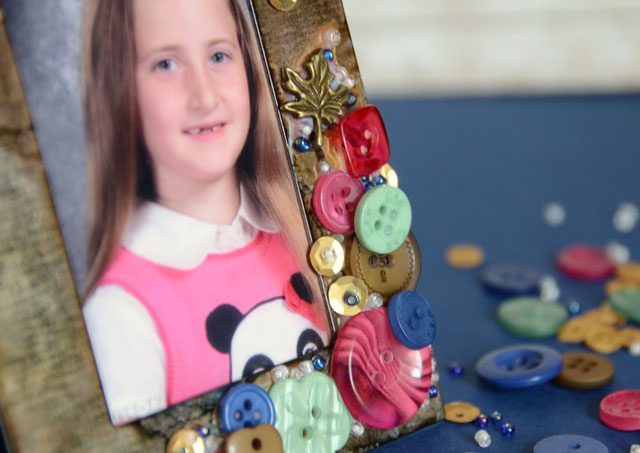
Combining the two, is when the magic of scrapbooking happens. I’ve been scrapbooking since the second grade, and yes I still have the book with photos + stickers + words that I created way back then. My aunt is the one who got me started and kept me interested in the idea as a child, and I’ve never stopped loving it.

The wonderful thing about a “scrapbook” is that what exactly you do, and how precisely you go about making one is entirely up to you. It doesn’t even have to be a book! I once saw a beautifully written story placed inside of a photo card behind the photos of an event. Photo + story.

No Rules.
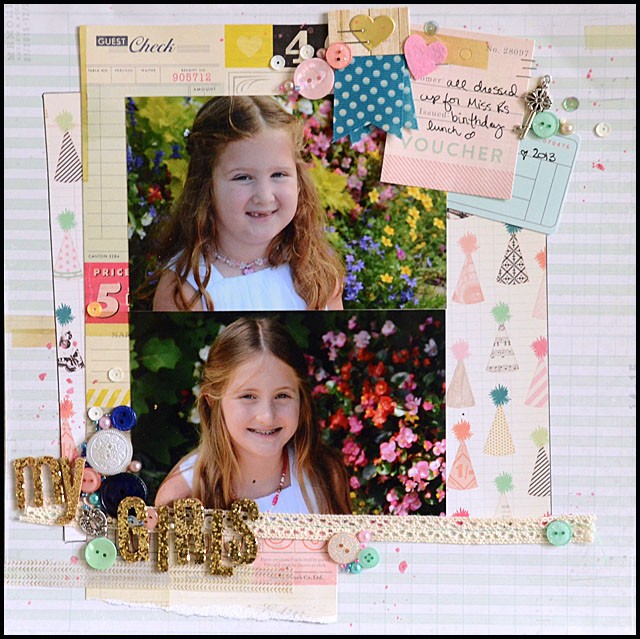
These days there are so very many options as well. You can work in a variety of sizes of binders. With full pages or ‘pocket’ pages. You can create mini books. Work in an art journal. People are even adding photos + stories into their day planners these days.
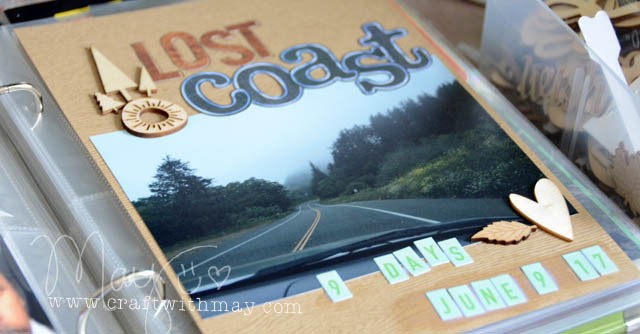
If you like things simple, fancy, quick, or slowly thought out. Digital, just vacations, photo books, or shadow boxes. There is an option that works for any lifestyle, any preference. There also isn’t any kind of rule about how much you document, or what you document. Maybe you just make a Christmas album or project each year. Perhaps you tell the stories of your epic road trips.
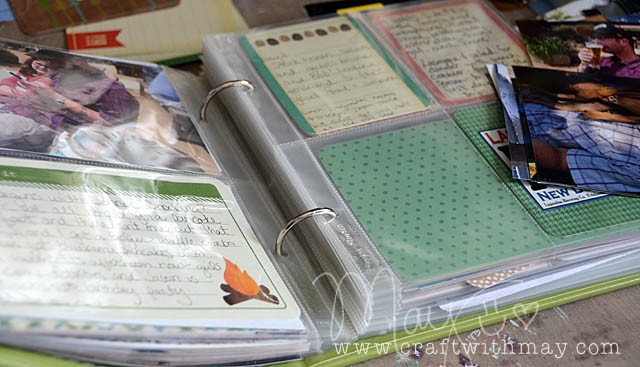
As yet another birthday approaches, what I find is that looking back through albums, at ‘scrapbook’ type projects of many kinds, I don’t particularly care what format I used. What I care is that I can find the stories. The photos. The memories. And walk down nostalgia lane…
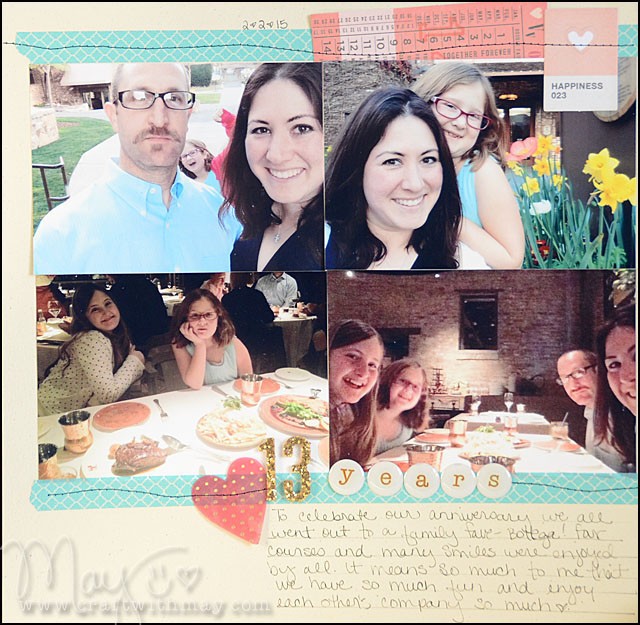
This year for International Scrapbook Day I did a blend of working on assignments and playing in my 2016 pocket page album. It was a lot of fun gathering thoughts and stories, and both of my daughters grabbed a journaling card and made an entry themselves. I’ve always been very open about letting anyone who wanted to contribute to the story do so – and I was thrilled that they added “from the dog’s point of view” notes to the book as well as their own.
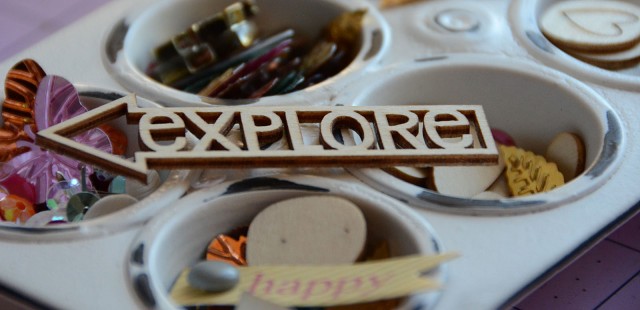
I am finding a good balance with myself telling stories + documenting memories I want preserved with creative outlets as well. For a while I only scrapbooked, and that wasn’t a lot of fun. Don’t get me wrong I love scrapbooking – but I like to dabble and I am happiest when I am mixing and matching a blend of things.
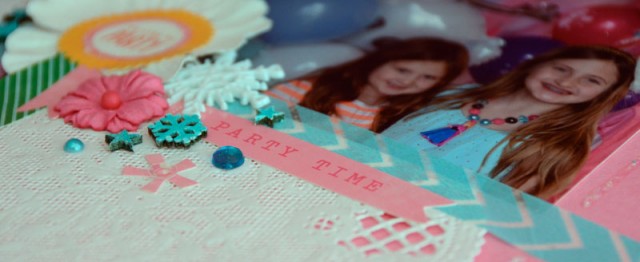
Doing some simple documenting myself this weekend as well as working on a new class and flipping through old albums really has me grateful that I have always been a keeper of memories and stories. So much gets lost in the pages of time – the details, the “oh yeah I forgot” elements.
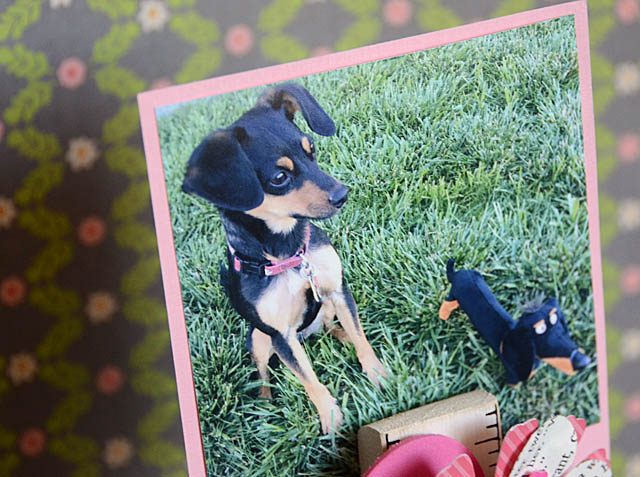
If you’re reading this and thinking you’d like more ideas, you’d enjoy some options outside the usual scrapbook page… well stay tuned. I’m working on a photo based class that is anything but the usual and for everyone whether they consider themselves a memory keeper, scrapbooker, photographer, or nothing of the sort.
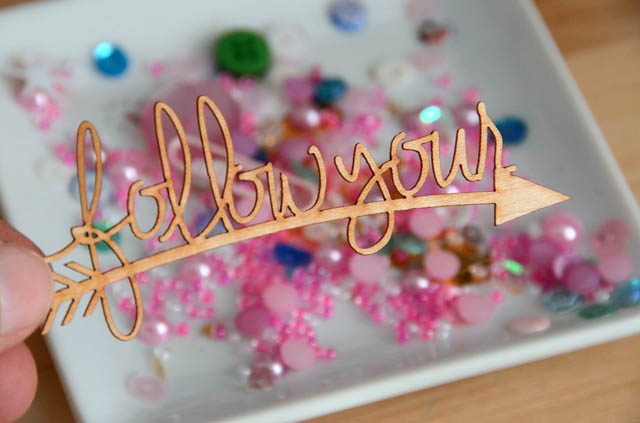
If you do enjoy scrapbooking or any kind of photo crafting, I’d love to hear in what form, or what you love doing. Do you keep up every week? Just vacations and special occasions? Randomly? I don’t believe there is a wrong answer here.

I hope you’ve had a fantastic weekend, and that things are looking bright for the summer season ahead. I can hardly believe “end of school year” and “graduation party” and such things are being talked about already. Time flies…
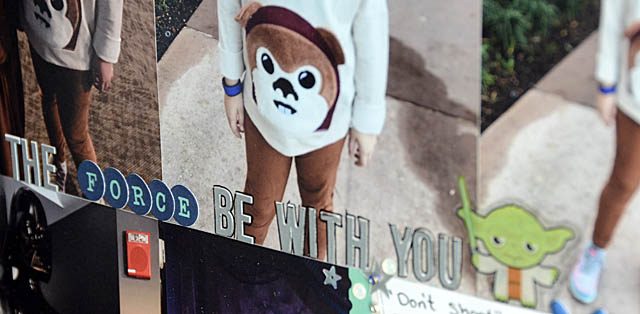
May the Fourth be with you! (intergalactic scrapbook page)

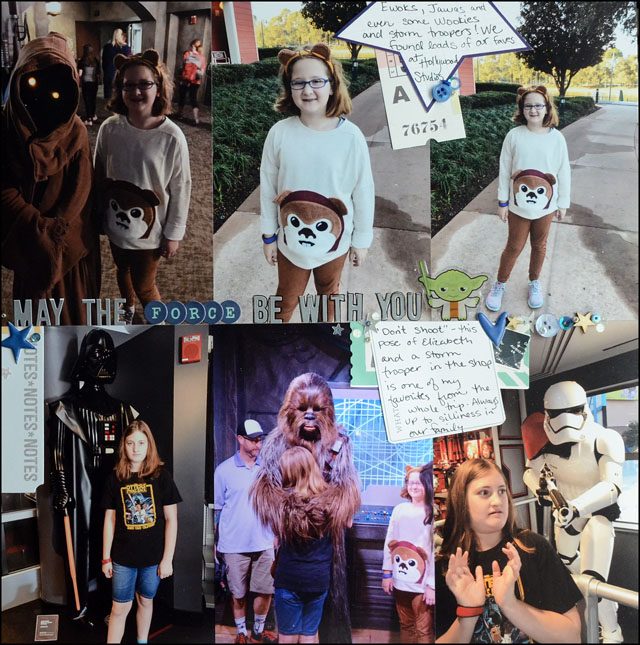
To all my fellow Star Wars fans- happy May the Fourth! We’re going to attempt a Death Star Pizza & Yoda Smoothie (random, I know) for dinner. But in honor of this day that my kids are oh so into, I wanted to create a scrapbook page with six photos taken in Disneyworld last year. Now I had a video all made – and the laptop ate it. I wish I was kidding. The good news is this: This is the only video harmed in the random disappearance, and this is a layout I can easily explain with a blog post!

Years ago I did a “Project Hawaii” series (here’s a link) in which I took photos, filled pages, and created in a Project Life inspired way but directly on 12×12 paper. This is a GREAT way to do that style without special pocket pages or having to have the same design front and back! Today I’ll be making a page in that same way.

My tips:

  • Put photos together in a way that allows for embellishing spaces Example the two lower right photos – I made a journaling space!
  • Always “ground” your embellishments by having them on the edge or otherwise attached to some other element.
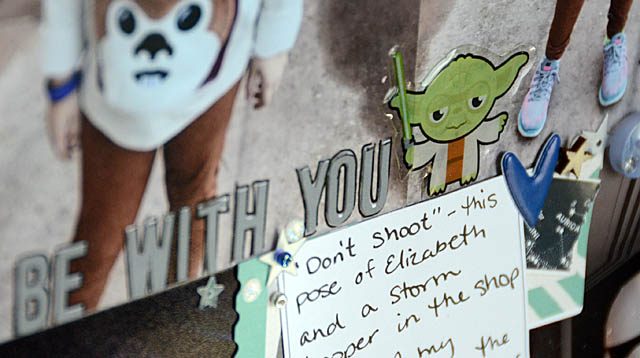
  • Mix and match! I had some random buttons, some blue stars… and Yoda! This clear sticker from Hallmark is great on this page bringing just a touch of theme sticker fun to an otherwise simple page.
  • Use “ugly” or “never gonna use it” cardstock or patterned paper for the base!! Great way to use it up since none will be seen.
  • Mix & match! Need more journaling space? Leave a photo out!
  • Work biggest to smallest. Always easy to find little nooks & crannies to work small things in.

Most of all – have fun! This style of layout is so quick and easy because there is no in depth layering no design woes. Just glue & go!!

If you love vacation scrapbooking – make sure you’re in my (self paced) Vacation scrapbook guide!! It has my complete cruise + Disney 2014 vacation album and so much content! One of my favorite classes for sure. I have such fun sharing ideas – and on National Scrapbook Day stay tuned for a special scrapbook post here on my blog.

I hope you have a great day – may the (scrapbook) force be with you!