It’s been an exciting few weeks over here and I’m checking back in and catching up this afternoon. I’ve got two classes to tell you about but first – Mary Anne Perlmutter is the randomly drawn winner! Please email me craftwithmay at gmail. com to claim your prize!
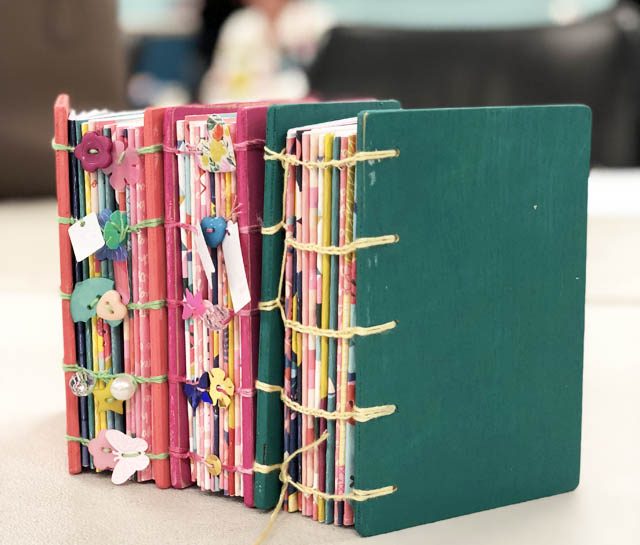
Yesterday I took an all day class with my daughters – so wonderful! Paige Evans taught us Coptic book binding and it was a lot of fun – here are our books.
One of the questions I get a lot as a brand ambassador for Brother ScanNCut is about scanning images and what you can do/how you can do different things. When I’m doing demos or talking to folks whether hand drawn or stamps or any other image you’ve got. The #1 rule for me, is to have something with a clear line. It must be obvious what you are asking the ScanNCut to do.
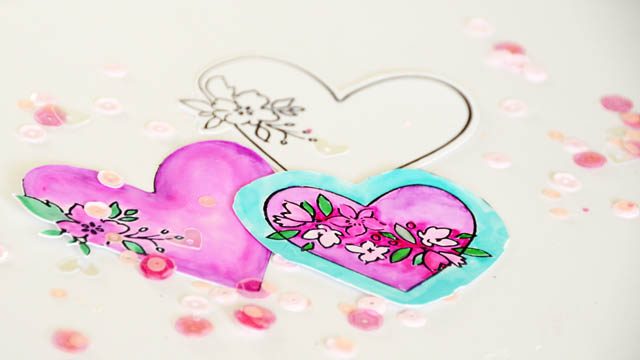
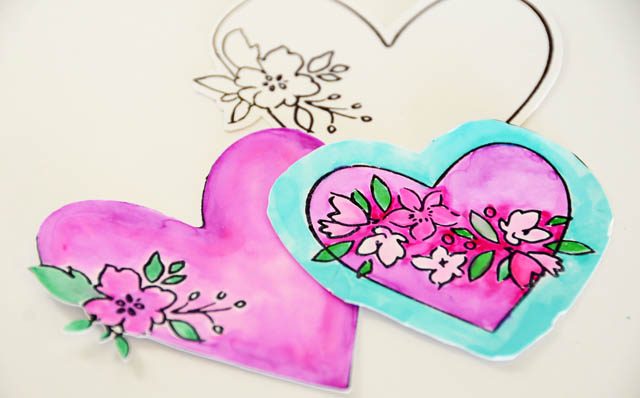
For today’s example I had been stamping with a heart + floral stamp and got to thinking about how I could cut it out, and what I would do with it. I shot a short video showing the ScanNCut in action for YouTube.
I am reminded that stamping & testing things – or simply using images with clear line designs from simple coloring book images to clip art – is always a good idea! I love to test color vs black and white, cut margins, and so much more!
Remember if you are having trouble to pause, take a breath, and look at your image again. I realized my watercolor was very ‘stroke filled’ and so clearly causing havoc. Yet I was able to come up with an alternative after all. Would I have done it differently for a project? Probably. But these creative sessions of mine are meant to spark new ideas – not necessarily result in a finished project.
I am saving all three of these for possible future project inclusion. They all worked – and could all be used some place! I think my next experiment will be about sizing a general shape to fit a collage or scene without scanning. So many ideas in my head – and it’s my pleasure to share some of them here with you. Stay tuned – I’ve been crafting up a storm!
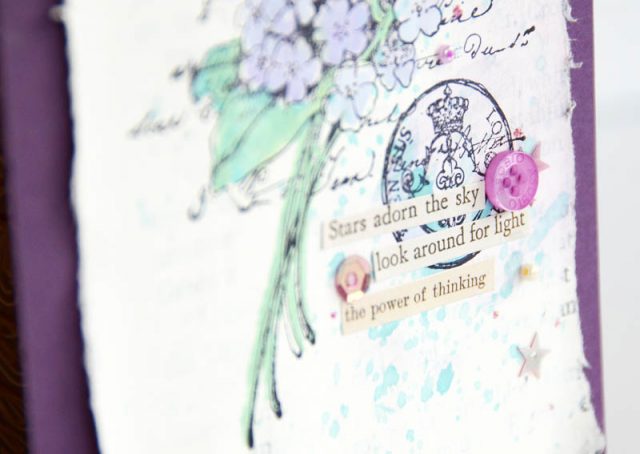
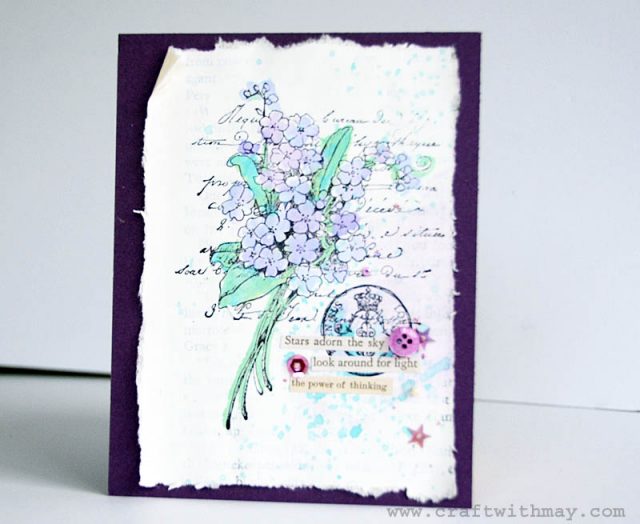
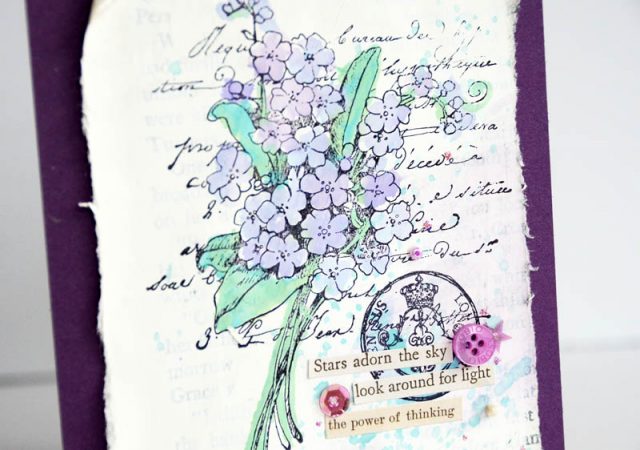
While Mardi Gras gold and bold colors seemed the obvious inspiration today, I decided instead to go for the softer, more blue side of purple hues and pair it with green colors. In this YouTube video I have walked through the coloring process if you are interested in the full tutorial. I used distress inks – one of my favorite ways to have watercolor fun simply and easily.
A few tips for a project like mine:
Use watercolor paper and archival ink for most reliable results
Feel wild? Coat a book or other paper (as I did) with gesso and play!
Don’t forget – a few small embellishments can add a lot to a simple card
When in doubt tear with a ruler for a semi-straight edge!
Don’t worry about the end result – have fun and play!
If it does turn out well – use for a collage/wall hanging piece or simply mount on cardstock and make a card.
Soft blue-ish purple hues + green and blueish green is a classic for a reason – it’s an easy win! There are of course a lot of shades of purple and there are many color and craft project ideas. I’ll be back next month with a new idea – it’s only February but I’m loving this year of purple…
I’ve got a new class going on (it goes live this week on the 17th!) – you can find/preregister here. I’ll talk about that more next week. For today, I’ve got a gift for one of you!
In honor of Galentine/Valentine/general love for all of you lovelies – one lucky winner will get my new online class, the class kit (this is used in the “in person” class I’m teaching this weekend!), love stamps, and a surprise or two.
To enter and get your chance to win, just leave a comment here! I will draw a winner next week around the 19th and update this post. This is open to everyone/everywhere that it is legal to enter. If you sign up for class then win – of course I will refund you. Good luck – and happy crafting!
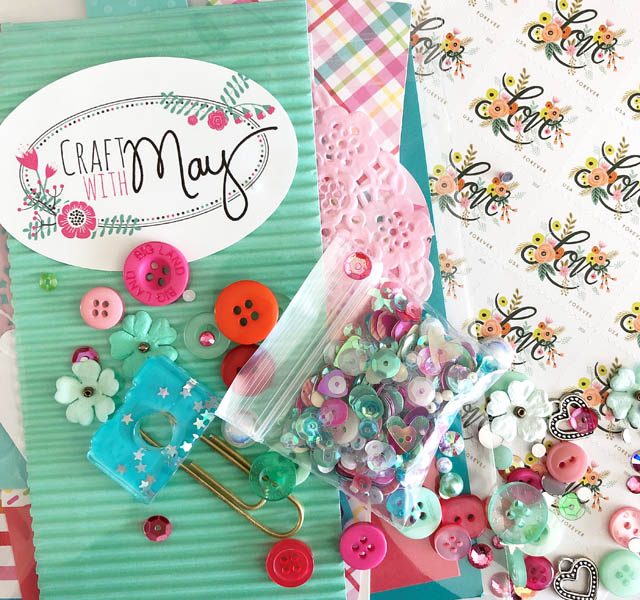
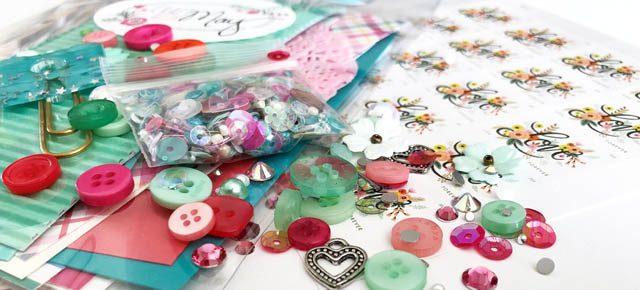
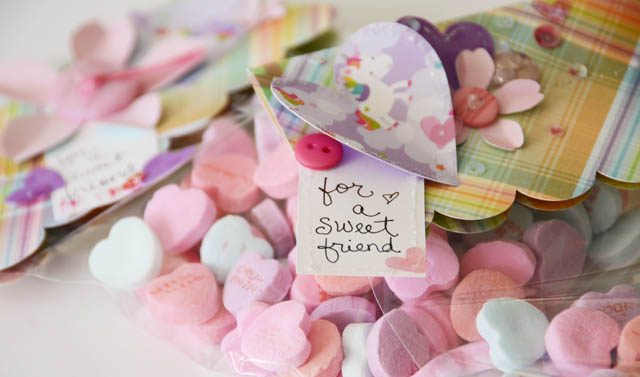
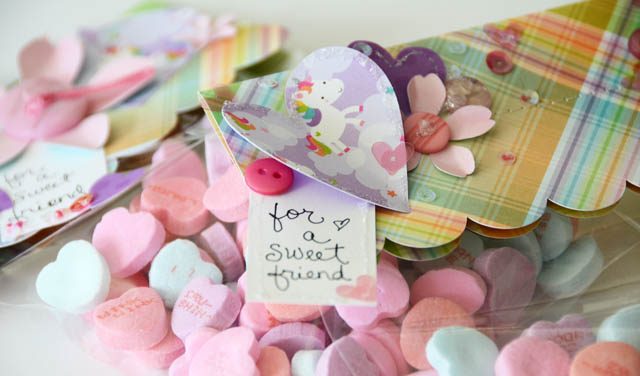
I am always looking for fun ways to add a handcrafted touch to my gifting – from class goodies to things for friends. With Valentine’s Day next week I thought it would be fun to get out some bright papers, my ScanNCut, and go to work!
the usual disclaimer that all ideas & opinions I share here are ALWAYS my own and 100% honest. That said, I share with you that I am indeed a paid consultant for Brother. Always upfront around here!
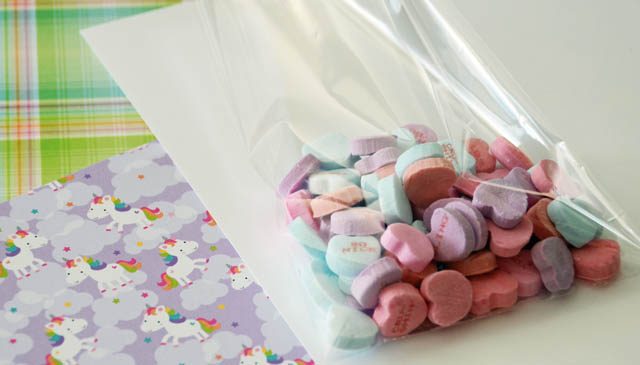
Back to the project – I first got the bags filled and measured approximate sizes so I would know what to cut. Now to show you how I created this I made a YouTube video.
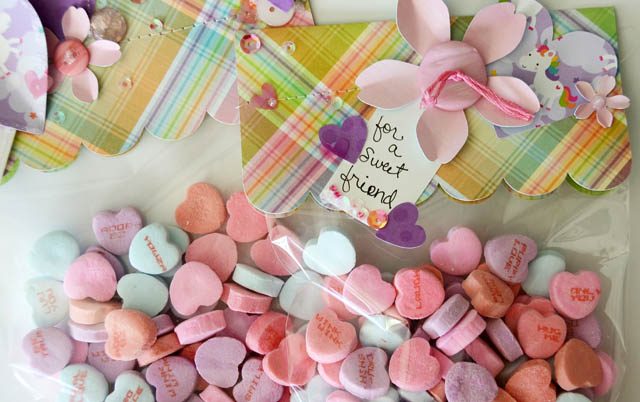
For any occasion or reason from parties to Halloween the steps you’ll want to take are:
Measure out/size up your goodie bag once filled
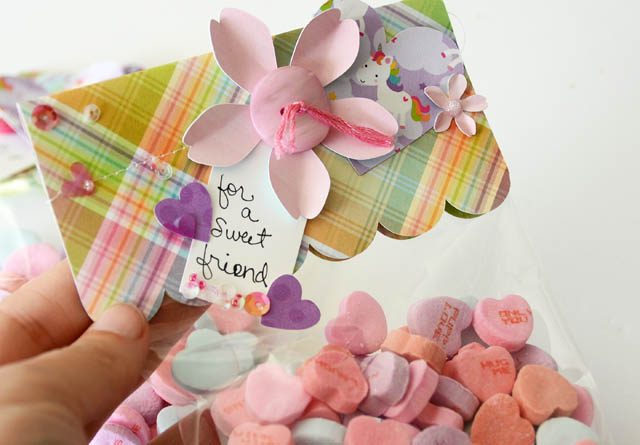
Using the ScanNCut, cut out a topper and assorted shapes from coordinating papers in sizes 1/2″ – however big you like
Stitch or staple the bag topper onto the bag.
Add shapes, buttons, and other embellishments
I recommend making extra tags, hearts, and flowers – after all you never know when you’ll need just a few for another craft project. I hope you’ve enjoyed this sweet tutorial – I’ve sure had fun making it!