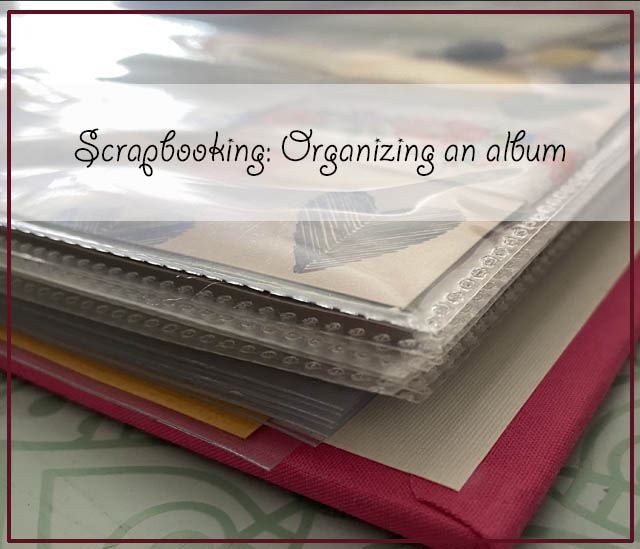
I am a few years behind in my scrapbooks – and it has started to bother me. Now, I don’t subscribe to the need for chronological scrapbooking, nor do I believe every story or photo needs to be in the scrapbook. That said, I am not happy with my current system and want to prioritize getting more pages made. In this article I will cover my process – it took only a few hours- and explain what you’ll be seeing from me in the future!
Goal: Have full (though additions could be made in future) albums for each year that cover main happenings/details I want noted in the book
Plan: A mix of styles from embellishment heavy to pocket page, get the photos in, and the stories told laid out chronologically in 12×12 album
With these two things known (What I want, what style/size I intend) I have a simple blueprint to sort and plan my attack. I decided I would start 1 year at a time (beginning with 2019, since those photos are on top and memories strong) and lay out, complete the pages, and close the album before moving back to other years. With this plan of action, it became clear that all I needed to do was:
- place any already created pages into a scrapbook
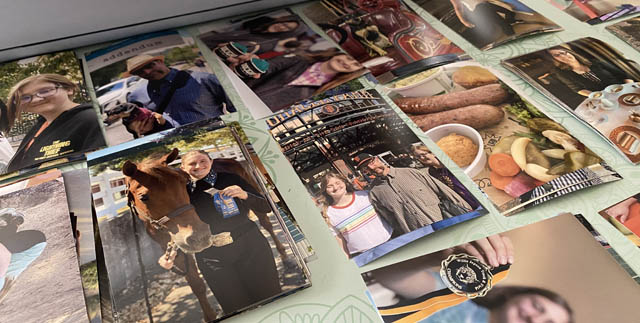
- Sort photos and prioritize happenings/scrapbook pages
- Mark pages by topic, keep photos sorted by topic
- As pages are made remove placeholders and insert finished pages
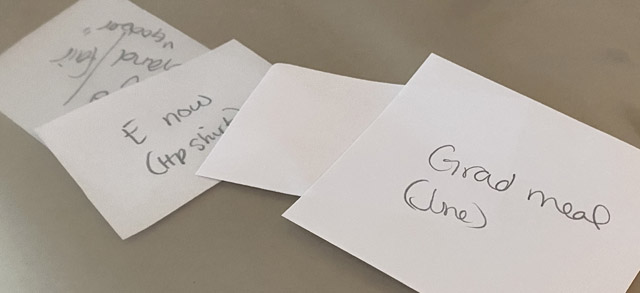
Using scraps of white paper I marked the events/memories that I want to include in this scrapbook the most. Are there more stories and photos I could add? YES, but for the sake of not overwhelming myself or getting into complex multi-album projects here I am limiting to one, and prioritizing. Now I did not narrow down the photos to the exact ones I’ll use in the scrapbook, but I did sort and keep sorted by event.
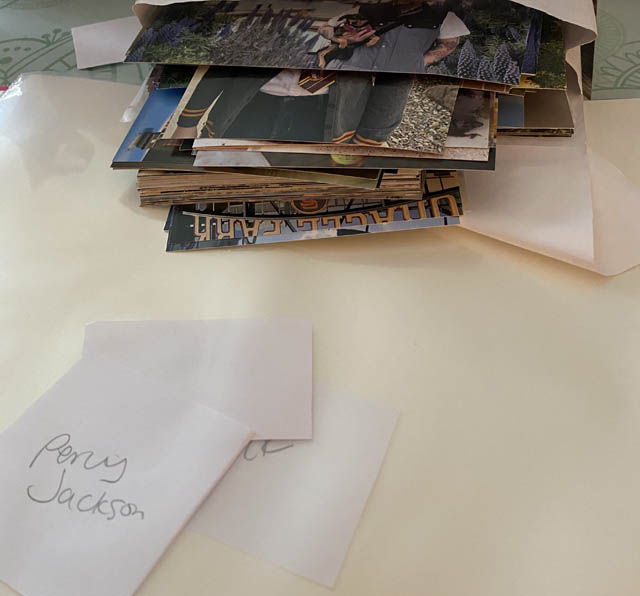
With these photos sorted I now have a single place to come and grab pictures each week during scrapbook time, and I know where the page goes because I took that scrap of paper and tucked it into the album in order inside the page protector. This way, I can easily fill and organize my album with ease as well as knowing if there are pages that I have allotted 1 or 2 pages for within the album.
Another way of doing this would be to place the photos, any ephemera, and anticipated background paper into the page protectors. I actually don’t recommend this method anymore because I find that if and when I do this? Well I never make the page! I just leave the pictures and any stuff in there and move on.
My intention is a blend of pages – some very simple and without embellishment (like the Hamilton page I posted here a few weeks ago), and others more time consuming or technique heavy.
How do I decide that? It is 100% mood, and what the photos and story seems to need. In many cases simple is what I crave, sometimes a pocket style page where each photo has nothing to do with the others – it is a collection of photos + words to capture memories. Other times I get an idea and a creative page is born.
The bottom line? There isn’t a wrong way – you simply want to set yourself up so that when you approach the project it is welcoming and you create, and you don’t find yourself buried and overwhelmed. Need help? You’re always welcome to message me on social media!