If you work with any electronic die cutting machine (or have access to one!) heat transfer vinyl can be one of your best friends and go-to materials! Why? What is it and why do I love it so? In this article I will cover the basics, my favorites, and when I use it.
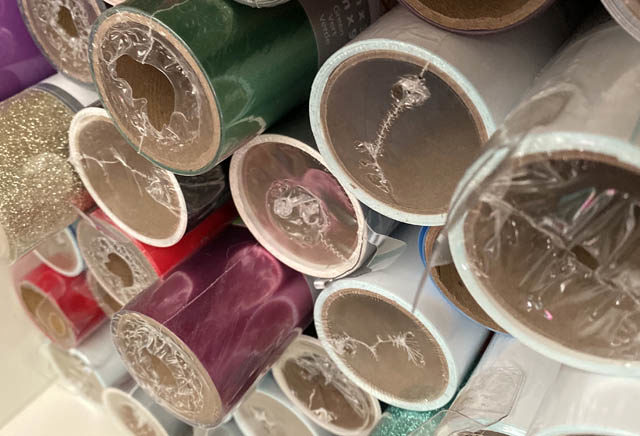
HTV (heat transfer vinyl) is a material that comes on a transfer (clear) sheet in matte, glossy, flocked, glitter, and other finishes. To use it you simply apply it to a fabric surface and use a press or iron to heat set it. That easy!
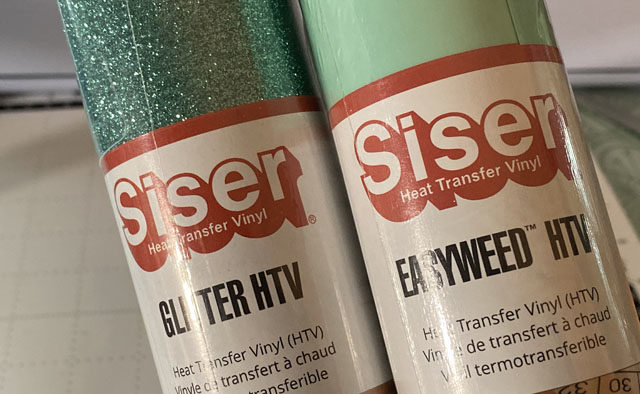
There are a lot of brands available, and the quality can vary quite a bit. I have found Siser (found at Michaels, Amazon, etc – here’s an amazon affiliate link) to be an excellent choice for quality, getting good consistent results, and variety of colors. I am picky about color!
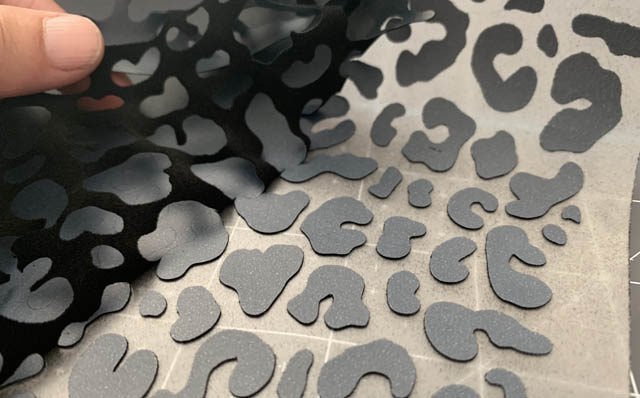
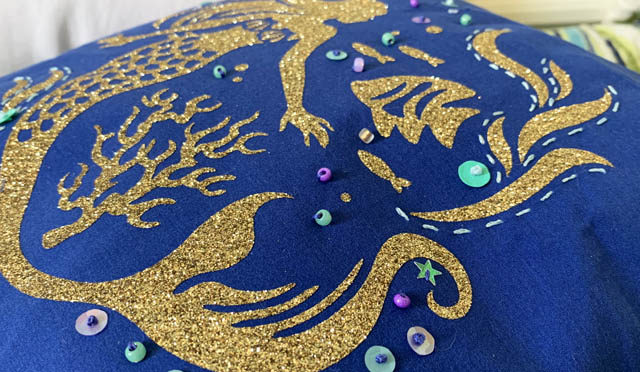
The only ‘hard’ thing about HTV is weeding. For this you’ll need some kind of needle or pick tool, and some patience. You see you will weed or remove all of the bits you do NOT wish to transfer off. This leaves you with your design on the transfer sheet, held beautifully in place. This transfer sheet/backing is VITAL to designs (like above) where there are tons of intricate bits and pieces that would move and wiggle without it. It is possible to transfer without it (if you ever needed to) – it’s just harder in general.
When might you do that? Well I had a sheet of glitter iron-on and I was just doing simple sturdy hearts. That material runs thicker, and I wanted to use every single bit of it so it made sense in that example. Most of the time (like the above design!) it would be a nightmare to attempt.
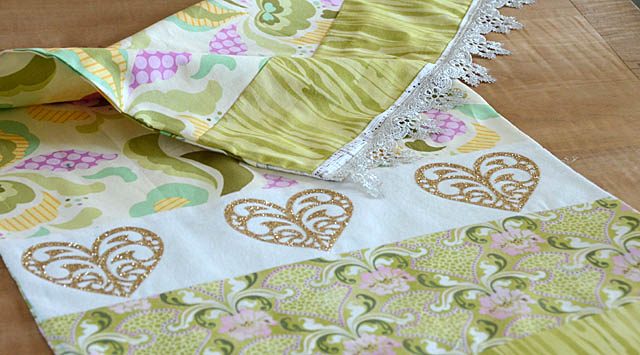
So when and why would you want to use it? Well any time you want to add a design to a fabric item without sewing is the short answer. Here are a few projects I’ve used HTV on:
- pillow case
- t shirt
- sweatshirt
- skirt/dress
- apron
- table runner
- placemat/napkin
- quilt/blanket
- wall hanging
- chair covering
- curtains
- luggage/purse/bag
- scrapbook album cover
Essentially, if you can heat set the vinyl on, you can use HTV.
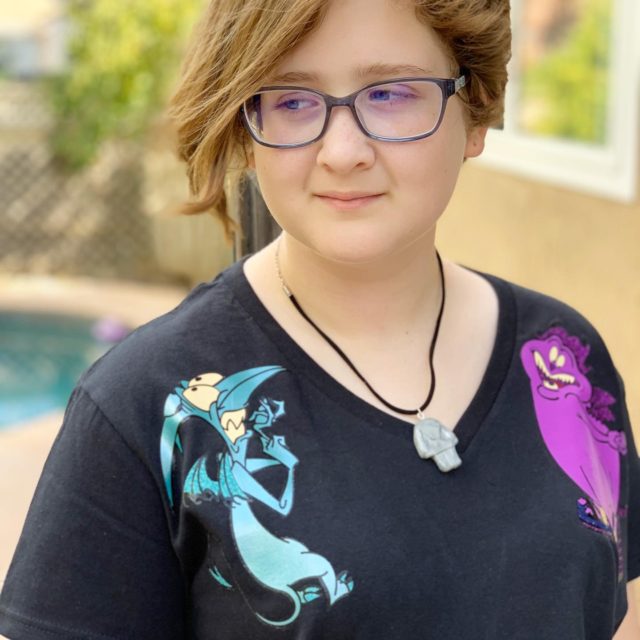
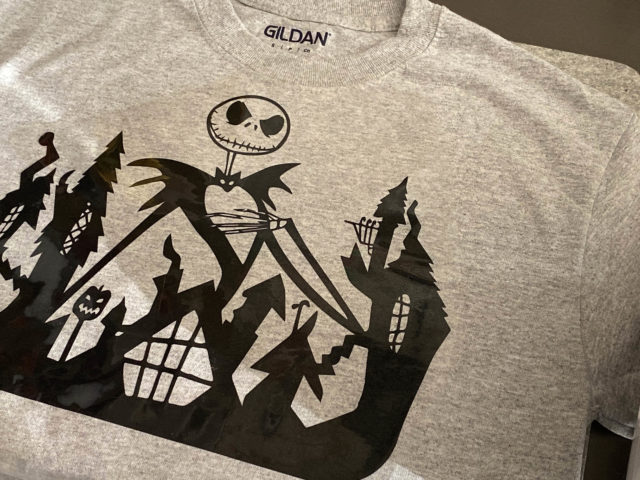
Your advantages? Speed and precision. While the above top took me several hours to create for Rebecca, it would have taken days and been nearly impossible for me to get the level of cut detail with most any other medium. I have created custom gear bags for Elizabeth for sports, personalized my luggage, and of course created one of a kind aprons and attire for myself and family.
Essentially you cut a design, weed it, and then apply to your surface. Here are few tips on the process:
- Never EVER touch your iron or heat source to the vinyl directly. I have melted more than one element on accident. It isn’t fun!
- Feel free to layer/heat over time multiple pieces, but always make sure the previously set vinyl is covered/not directly touched by iron
- Some vinyls are tougher than others! For example, I find most of the glitter to be really hearty vs some matte finishes that are very finicky
- Don’t do this in a hurry! Be relaxed, take your time.
- If all goes wrong you can work over and put new vinyl over the top in most cases.
I have added some favorite vinyl colors, the felt mat I use, and a few other products I recommend to my amazon craft page if you care to check out more here is the link.
From text to characters, custom to working with .svg or cut files that are pre-designed there is a lot of fun to be had with heat transfer vinyl! If you have any questions please don’t hesitate to ask. Also, if you have any suggestions or favorite projects I’d love to hear from you and see them!
Oh wow May! Your creations are amazing!!
How well does it stand up to the wash? I’ve been idly considering vinyl tshirts as an alternative to paint, but I worry that they are 2 wash and done.
So far, so good but I am very careful, hand dry and wash in cool water. I think a part of that is making sure the vinyl is high quality and transferred fully.