While I don’t often blog about products, I wanted to do a quick one about this! I just received my pre-order of my Pipsticks planner. This will be the second year I use this brand, and I’m a fan!
The planner is available (free shipping!) on Amazon – here’s an affiliate link. What I like about it are a few things. First and foremost – it’s happy, bright, and really simple. It sets me up to actually want to use it! Secondly, it runs August 2019-Dec2020. I’m a really big fan of planners that start mid-year (I never have time to start new things in January!), and I like my planners to overlap – what I mean is, I’m going to be switching to this in August, and anything “August and beyond” will go in there. But the things I needed marked before then are in my old planner, so up until this one arrived I had a place to put those notes other than a post it.
Sound too complex? Well I manage a three ring circus around here! So here are a few notes about this planner:
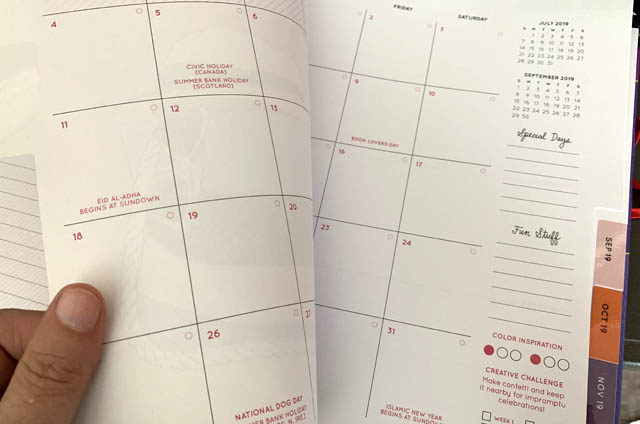
Monthly view comes first
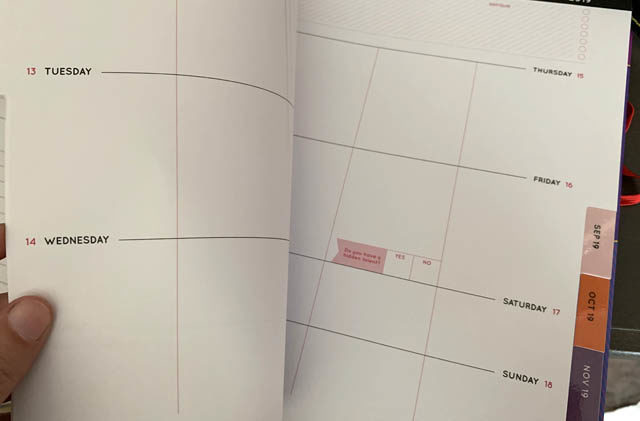
Then weekly view for each month
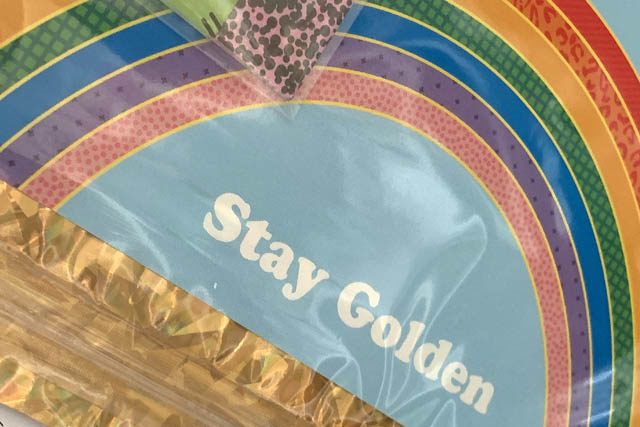
It comes with some fun stickers
The ring binding is really stable – I take mine everywhere and beat it up and it stays strong!
It is very simple/clean design, so you can easily customize it to your own needs
Above you can see the sticker packet – so fun! There are also different designs, but I’ve been really partial to rainbows and happiness plus my whole studio theme is a full rainbow so it made sense for me.
With one kid going into Jr High, the other in High School, and both full of activities – well let’s just say life won’t be slow or boring around here! I’m happy to have planners (this one is my work one) that help me stay organized and like I can indeed manage all that goes on here. You can purchase these directly from Pipsticks, but I found Amazon.com to be the much better price and shipping. If you have any favorite new products or things keeping you organized lately- I’d love to hear about them!
Last month I posted about getting started, and the minimal amount of supplies needed (here’s a link). Now I’d like to talk about some reasons for scrapbooking, and why your motivations do matter!
Your own motivations and goals will matter for your scrapbooking for a few reasons:
What size album works best (12×12, 6×8, odd shaped mini books…)
What supplies you use (archival)
What format you work with (pocket page, digital, etc)
To be clear, there is no wrong answer. I scrapbook for many reasons but the #1 is this: I enjoy it. I love documenting moments, vacations, stories, and I adore playing with stickers and papers. It is FUN to me, and that in recent years has circled back around to being my main focus: it is a hobby I enjoy tremendously. For you, what you want to do with scrapbooking will guide you in different directions, and you should ensure that it is your own desires, not what you think is correct that leads the way. This will ensure a lifetime of something I’m a big fan of: happy crafting.
Scrapbooking is a choose your own adventure, and I’ll remind you that you can change your style album to album! In other words, if you’d like a slow moving, loads of techniques and tons of time invested album for your last vacation… great! Want to just plug photos in and print a photo book in 2 hours for the next project? Cool! You should never feel that you are trapped in one style or way of doing things. The motivation and the “why” and “how” can change even within a project.
So why does your motivation matter so much and determine your format for scrapbooking? It is about style, and maximizing your joy in the experience! For me, I want to avoid computers (I do enough computer work already, thanks!) so you rarely see me do digital scrapbooking or printed elements that require a computer. Likewise, this choice to avoid computers means that I print photos about 3x a year, and I print them all 3×5 or 4×6. I print the photos that I want to have copies of, and scrapbook the ones of those that suit my needs. In other words, my preferences and goals guide how I scrapbook. I do not scrapbook in a way that I feel is trendy or “cool” – I have done that in the past with disastrous results. It simply messes with my head and is not at all fun! So what will be fun for you? What style should you try? Here are a few ideas…
Digital Scrapbooking covers a large range from creating your own digital scrapbook pages to printing your stories in computer fonts. You may find you want to use a little technology, or entirely go digital. You can utilize digital photo processing site templates to create photo books if you like, or take your time with effects and custom work in a program like Photoshop.
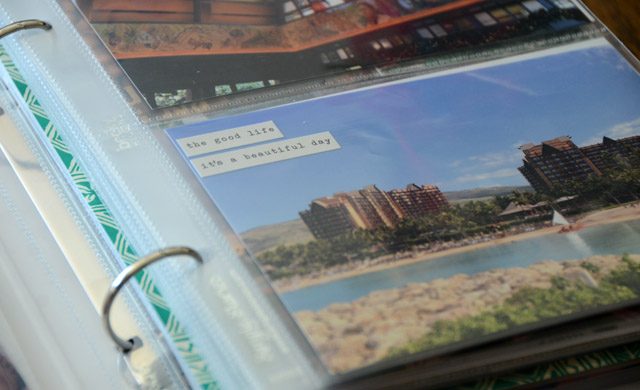
Pocket Page also referred to as Project Life style, the immediate benefit here is working in small compartments vs a whole page. If you do not enjoy design, if you want a very packed album with no wasted space, if you prefer to work in compartments and the look appeals to you – this is your spot! I tend to use these a lot in my small (6×8) albums, and occasionally in my other scrapbooks. You do not see a lot of these in my albums because the one and only drawback is that the pocket design on the front side of the page will be the same on the back side.
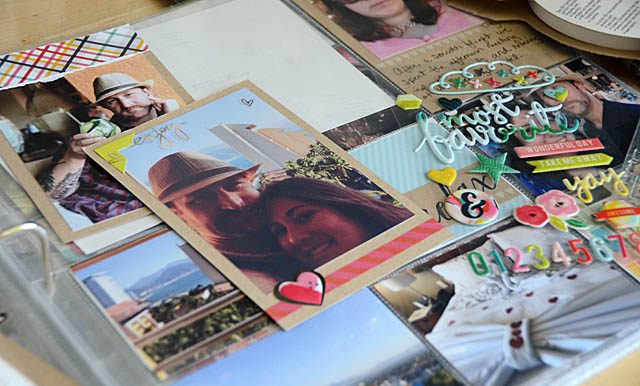
Above you see a 6×8 pocket page album. I love these! I also incorporate what I call faux pocket pages in my larger albums. What I mean is, I lay out the sections as if making a pocket page, but I use a traditional page holder with just one large pocket. This lets me have a similar look, but does not dictate the back side of my page. There are lots of 3×4 and 4×6 decorative products made (bonus! quick and easy!) for this style of scrapbooking. I enjoy them for the time savings, incorporating more photos into a page, and for the ease of use. You can see a whole series I did called “Project Hawaii” on my blog here.
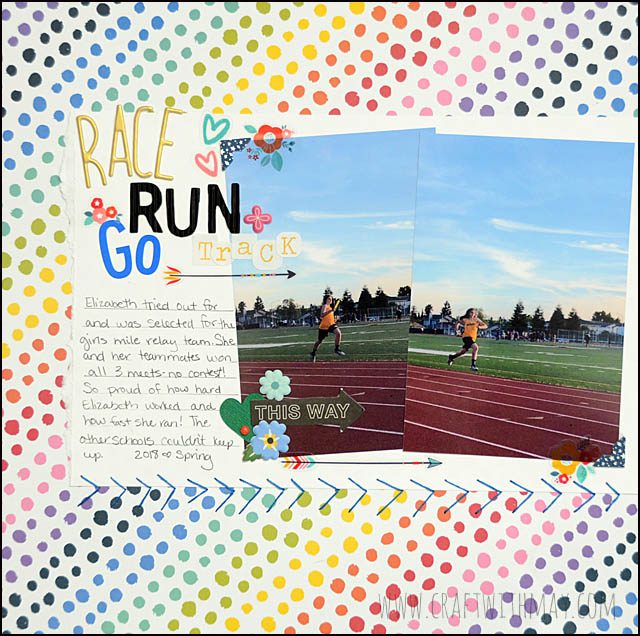
“Traditional” scrapbooking is what I call the pages where there is a full (blank) page the size of your album page, and you fill it with papers, embellishments, and words. For the purposes of this article (we’ll break it WAY down in future pieces!) I am including mini books, traveler’s notebooks, and all other scrapbooks here. This is a lot of fun in my book- you have the most “hands on” approach vs any digital play or pre-set designs. If you want to try out different techniques and embellishments this is a great choice. I will point out you can always bring a pocket or digital page out and include it in a more standard page type album.
Alright so… what do you choose? Remember last month’s article and lesson: start SMALL! Keep it basic and investment of money low and see what you find. Add slowly, as needed, and enjoy the journey! What you select will also depend on your goals! How do you want your scrapbook to look? How much time do you want to spend on it? And so on.
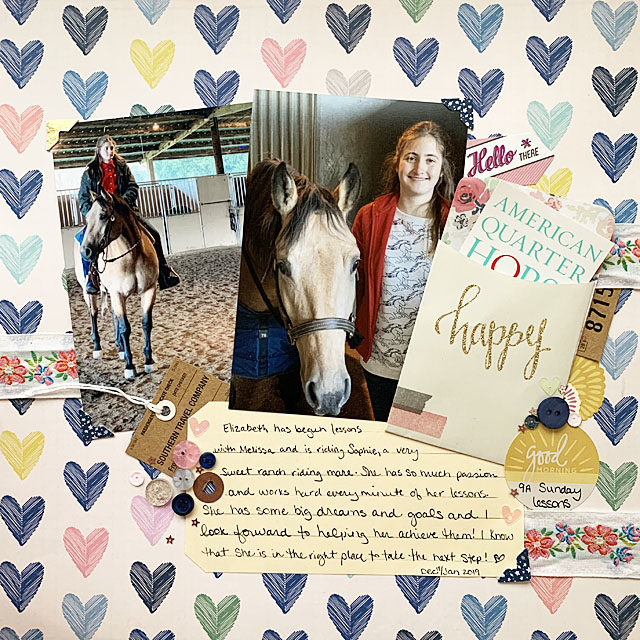
“THE WHY” will also determine how you’re scrapbooking within the style you select. If story telling is your goal perhaps you will mix typed stories (more space efficient) with handwritten notes and just a few photos. Aiming to preserve all of those photos? Perhaps a more photo-centric, verbally sparse direction is what you take. All about the archival quality and preserving old pictures? You may keep it very minimal, with only archival safe products.
While it can be a lot to consider, I’d urge you to start simple: Why are you scrapbooking? What is the appeal? (Or, what do you want from it?). Knowing your why will help guide you through, and help you be more pleased with the results you get. Just remember – there is no wrong answer, and it’s ok if you have a few answers or multiple thoughts on the subject!
Once you have your answer(s) what do you do with them? How do you work into a good system and flow? We’ll dive into that next time! Also in future articles I will dive into scrapbook layout designs (yay!), in depth look at products and choices, and so much more! If you have any questions or requests let me know – and happy crafting!
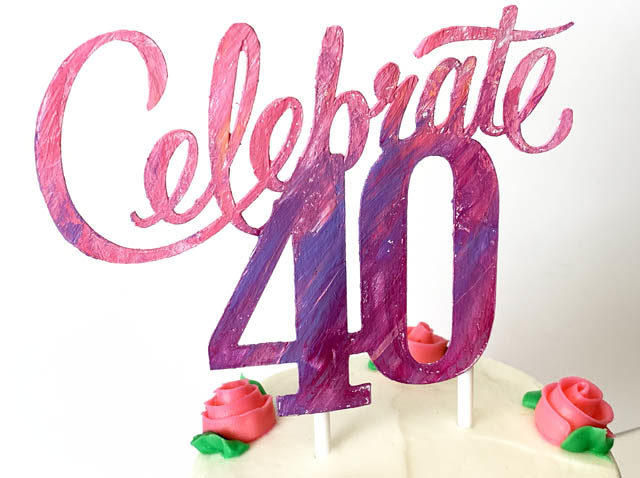
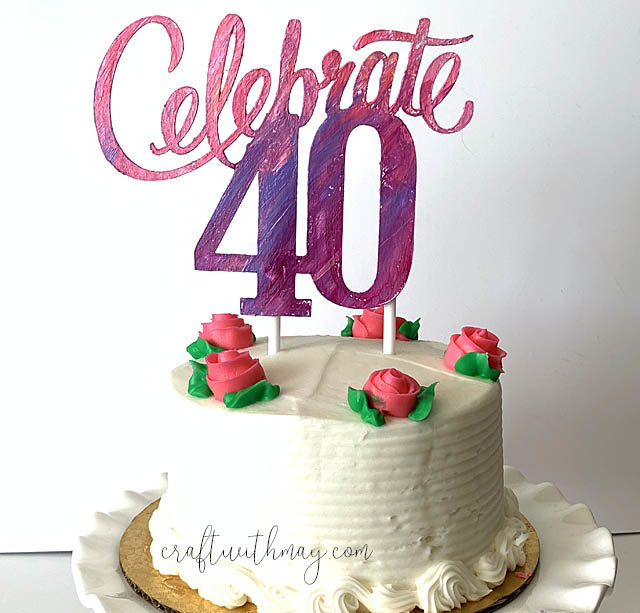
I celebrate my birthday this week, and I wanted to make myself a cake topper for the occasion that was fun! I enlisted the help of my ScanNCutDX, some paints, and of course some food safe cake pop sticks! Disclaimer: I work with Brother as a paid consultant, but all ideas and opinions are my own
I created a YouTube tutorial (here) to share the process of this and how to weld files together on the ScanNCut to create one cohesive design. I absolutely love the results!
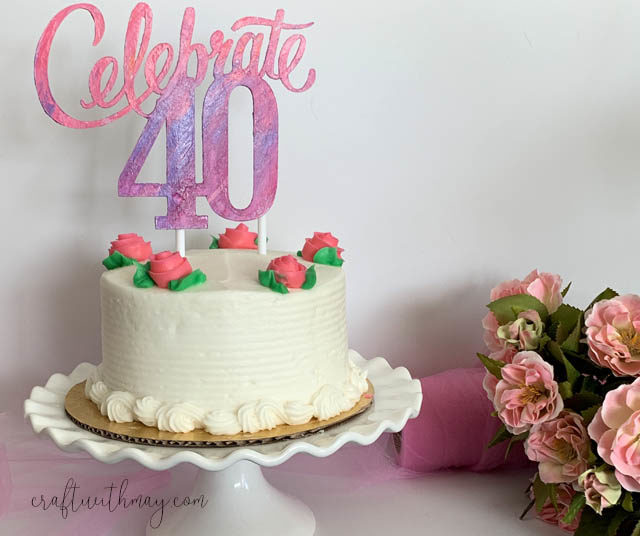
As you can see my cake pop sticks work perfectly (and keep everything food safe!) and my wild painted cut file from Chipboard perches atop the cake nicely! This concept will work for cakes, cupcakes – whatever you like! I love that it can be custom, use pieces from my existing craft stash, and have fun making it!
I hope you have a cake filled fun week – I’ll be celebrating in hand crafted style!
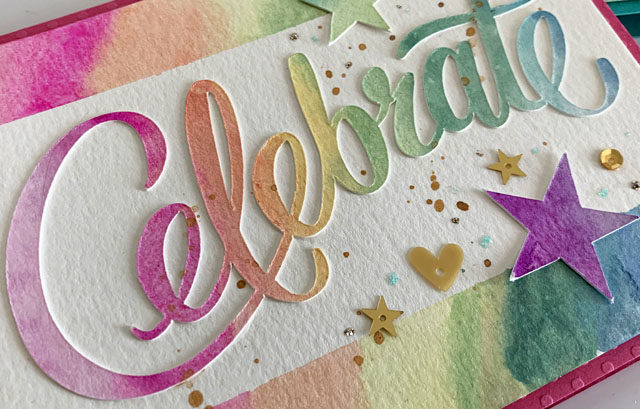
As I tried to make graduation cards for my girls, none of the usual cap, black and gold kind of themes seemed right! I wanted color and fun as they move into a new school and chapter of their educations! That’s where my ScanNCut came in! Disclaimer as always – I am a paid consultant for Brother, however all ideas and opinions are now (and always!) my own
My inspiration was to utilize a favorite built-in cut file along with some custom water colored fun! For the full video tutorial you can view my YouTube video here.
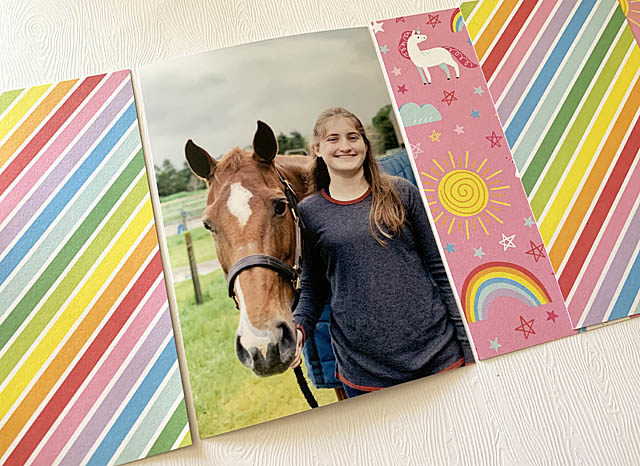
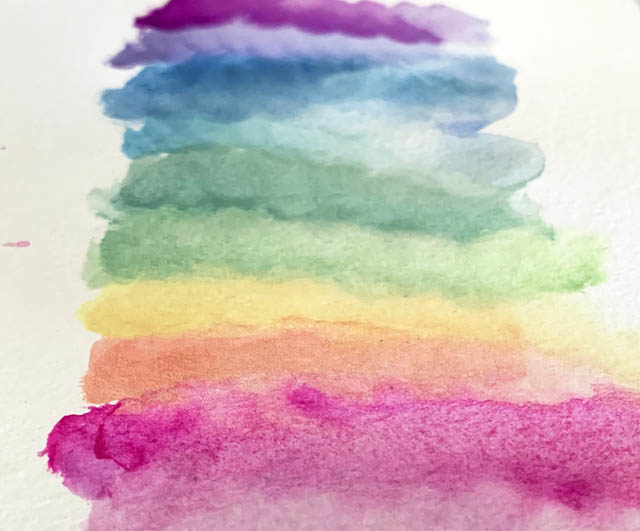
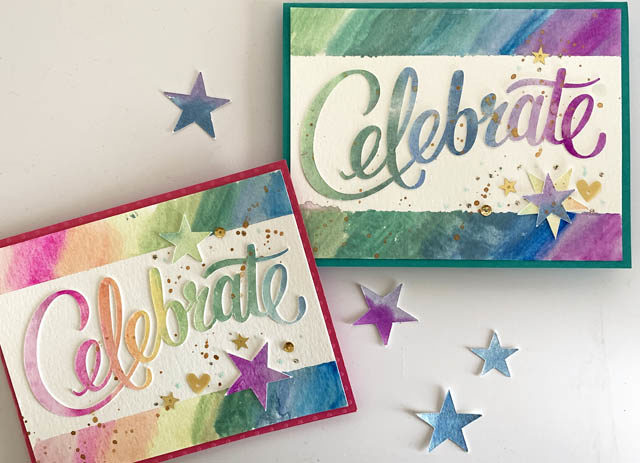
You’ll need to start with a colored surface. In my case, I watercolored a rainbow of soft colors (as you can see above), and let it dry fully. I really mean FULLY! Watercolor paper gets very soft and that = tear/mangling vs a clean cut with any die cut (machine or not!) so let it dry.
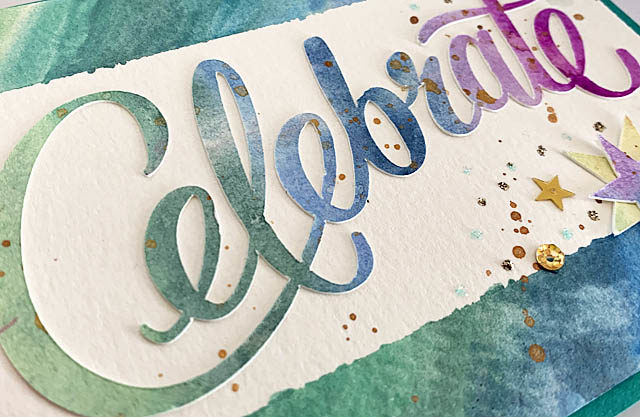
Once it is dry, you can cut to your heart’s content! I love that the ScanNCut allows me to scan the paper I’m cutting so that I can see exactly what colors I’ve got, and where I want pieces to go. makes for such a beautiful finished product! (exact how-to in video linked above). I cut stars as well as my “celebrate” before mounting onto watercolor paper (with edges colored), adding some flecks of gold and sequins, and putting it all onto a folded card.
I LOVE the results! These are such fun cards, and they could be done with any word, for any occasion! You can also use the idea for scrapbooking or other paper crafting embellishments as well. I will be remembering to pull out this colorful technique for more word art in the future – just love the results so much, and love the reminder that Grad stuff doesn’t have to all be black and white!
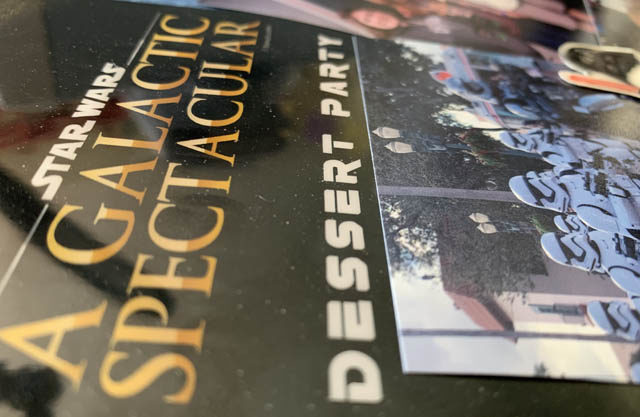
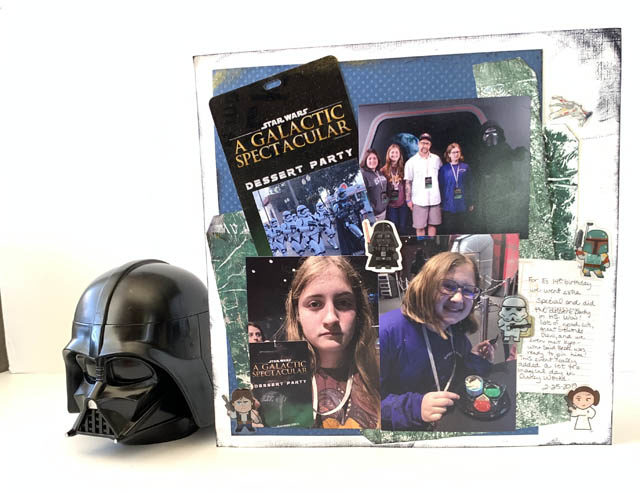
I have a new scrapbook to start planning out (more on that soon!) as well as wanting to get some Star Wars themed scrapbooking shared today. Why? It’s Star Wars day AND National Scrapbook day! hooray!
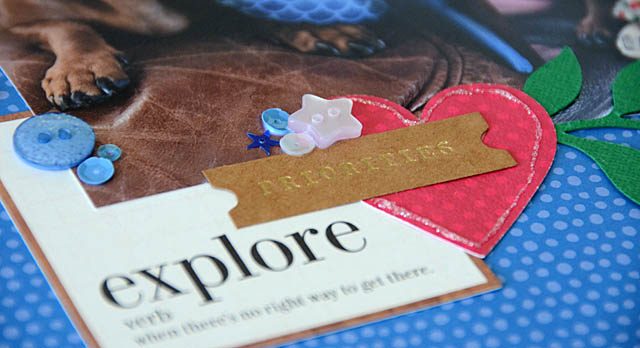
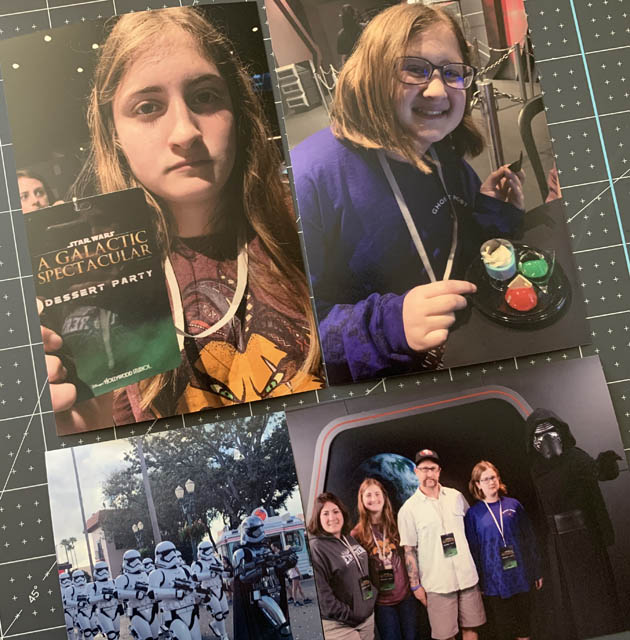
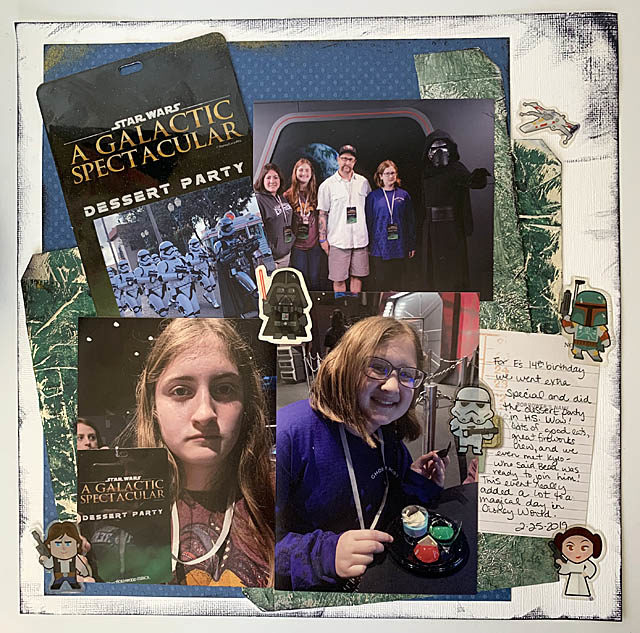
My process of creating this (or any) layout is to really look at the photos and think about color, mood, textures – and what I have. I really couldn’t find anything I liked (aside from themed stickers) in my stash. Time to go shopping? NO! Time to get creative and look a little deeper. Look for colors, materials, and textures that fit the mood.
In this case green painted foil (more on that in my video linked above), blue paper, white cardstock, and some black ink helped me make the wild and grungy page to celebrate this dessert/birthday party. I was able to fit all of my photos and journaling in, as well as some fun details too!
I really like how this turned out and I’m loving that I got ephemera worked in as well. Capturing details like how we celebrated a birthday (while on a vacation!) is just one thing I adore about scrapbooking and I’m happy to have shared with you today! If you do any scrapbooking and post to social media, be sure to tag me. Or, as always I welcome you to email me as well. Love hearing from you and sharing this wonderful hobby of ours!