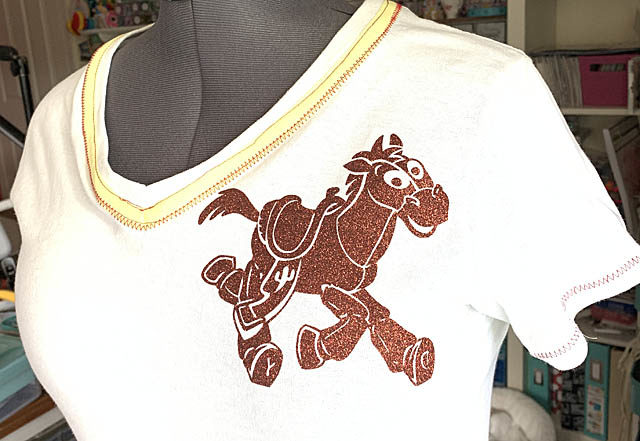
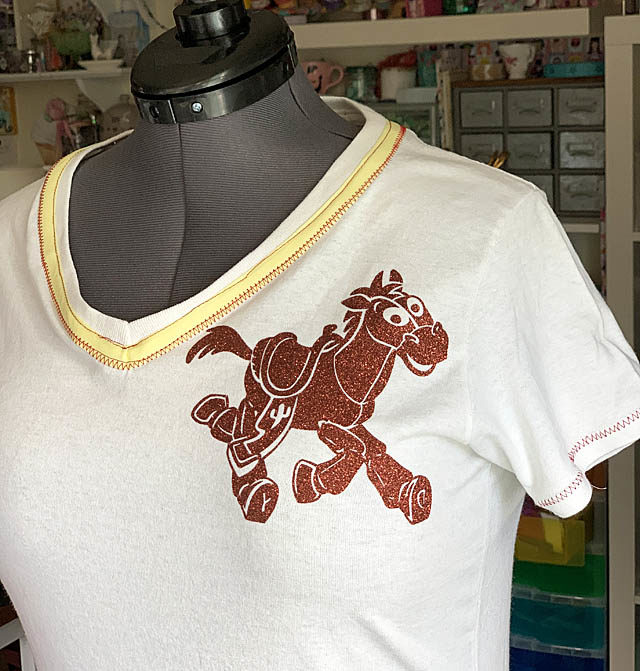
What could be more fun than galloping off on vacation? Having a new custom shirt, of course! Finding themed shirts for the girls isn’t always easy now that they’re older and so tall – so I enlisted my ScanNCut to give my cowgirl Elizabeth a new look!

Disclaimer: I am a paid consultant for Brother, but all ideas and opinions are my own. The ScanNCut is a machine I use and enjoy, and I love coming up and sharing ideas with you!
For this project you’ll need a white Tshirt, red thread, brown glitter vinyl (iron-on), yellow binding tape or folded fabric, and an iron in addition to a sewing machine and ScanNCut. You could skip the stitching or do it by hand – it just adds a lot of fun detail that I enjoy.
The process for my project can be found on YouTube for the ScanNCutDX exact instructions. To make a project like this:
- Purchase the Toy Story designs (available through Brother Dealers) and activate in Canvas Workspace. Then ‘grab’ the design you want there and transfer to your machine.
- Place your vinyl material (transfer sheet side down!) on your mat, and fire up that ScanNCut! I am working with a DX, but any model can cut vinyl!
- Select your pattern, follow prompts to cut – and if using a DX make sure to take advantage of “1/2 cut” so that just the vinyl cuts. This feature is so fun!!
- Weed your design and iron it on.

Now is where you get into the sewing if you would like. I put red thread in my Brother SE1900 machine (here’s an amazon affiliate link to that machine) I set a zig-zag stitch and added a decorative stitch around the sleeves. Then I put down some yellow double folded bias tape along the neck and stitched that as well. These are optional steps of course, but I like what it added to my shirt.
The best part? My daughter LOVES the shirt and can’t wait to head out on vacation wearing it!
Oh wow May, this is fantastic!!!