
It has been a wonderful year creating projects of all kinds – and once again my ScanNCut has been a vital tool to allowing me to do more with my crafty time! the usual disclaimer – I am a paid consultant for Brother, but all ideas & opinions are always my own!
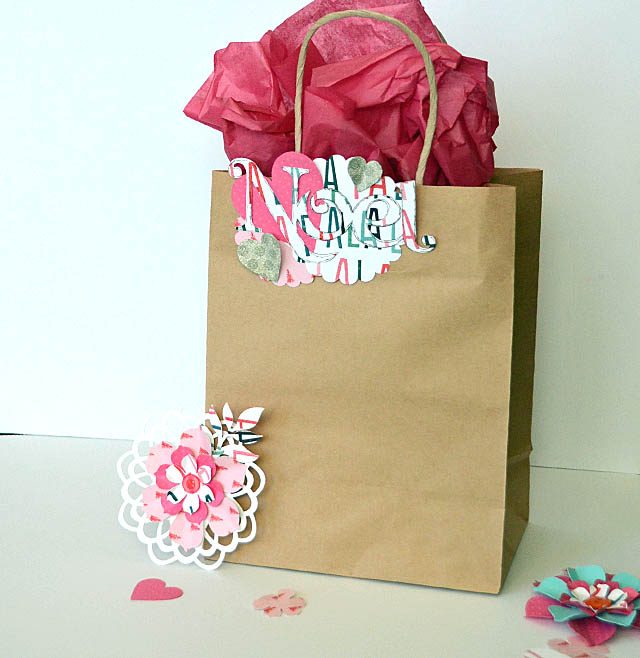
One of my latest passions? Using cut designs from the ScanNCut to whip up gift toppers! From packaged gifts to bags, topping a bottle of wine to dressing up a gift card – it’s quick, easy, and a lot of fun!
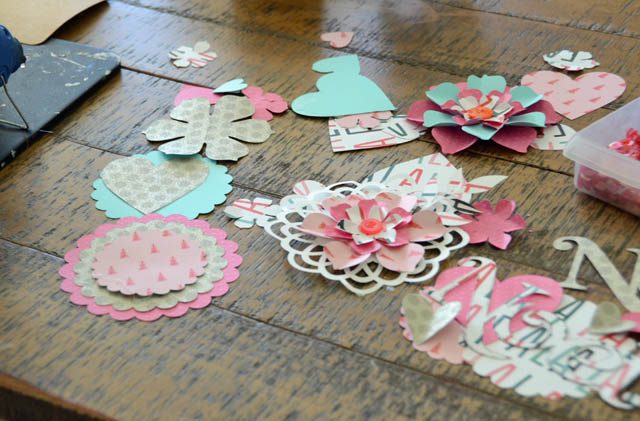
Step 1: Cut out full papers full of shapes. Circles, doilies, stars, hearts, flowers, words – no rules! Just make sure you’ve got a wide variety of sizes. I usually range from 1/2″ up to about 5″.

Then it’s layer time! I often use hot glue since these need to be sturdy but temporary and that’s the quickest.
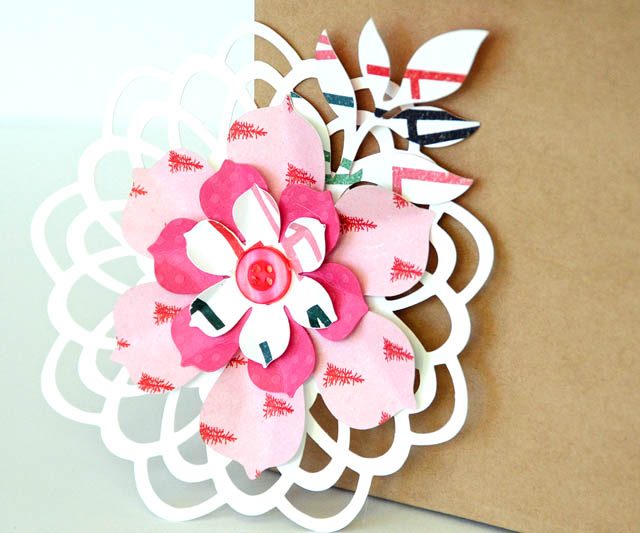
As a general rule, I try to mix up sizes, layer 3-6 items, and make sure there’s a variety of patterns, colors, and textures.

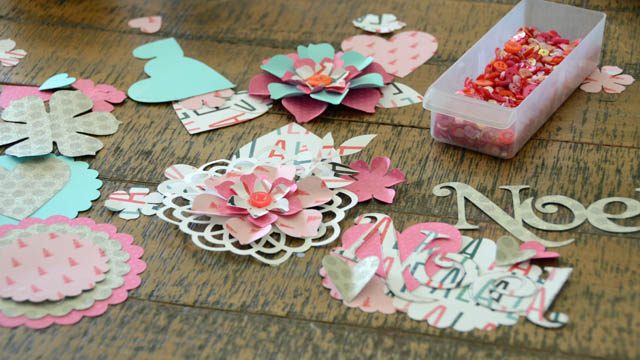
During the holiday season I make sure to cut extra basic shapes like these so I can play and add handmade touches to every gift I give. From boxes of candy for teachers to topping a special gift for my husband – I love combining the hustle and gifting of the season with my crafting.
I hope that your December has been Merry & Bright! I have a few more posts and ideas to share with you over the next week… stay tuned!
Great idea, May! I took your advice about not keeping little scraps but cutting them with the scan n cut instead. I just used a bunch of shapes for birthday cards and was happy to have them. Your layered flowers remind me to do it more often.
so so pretty