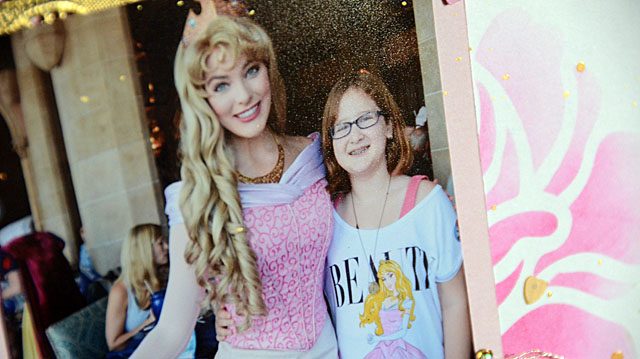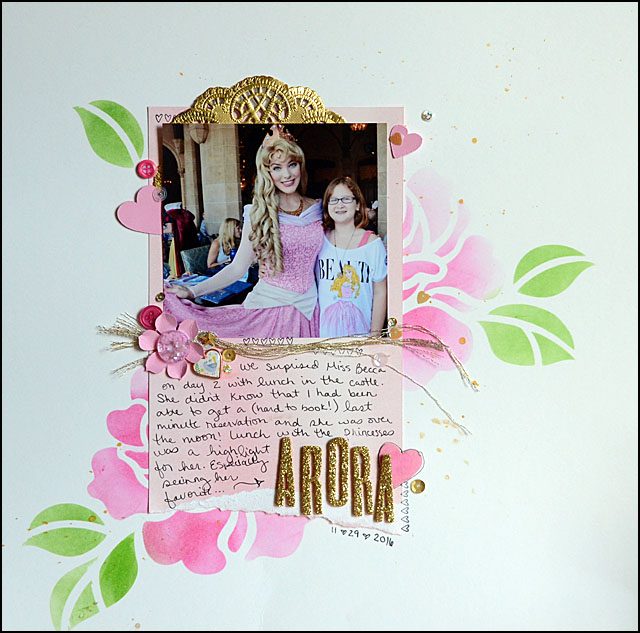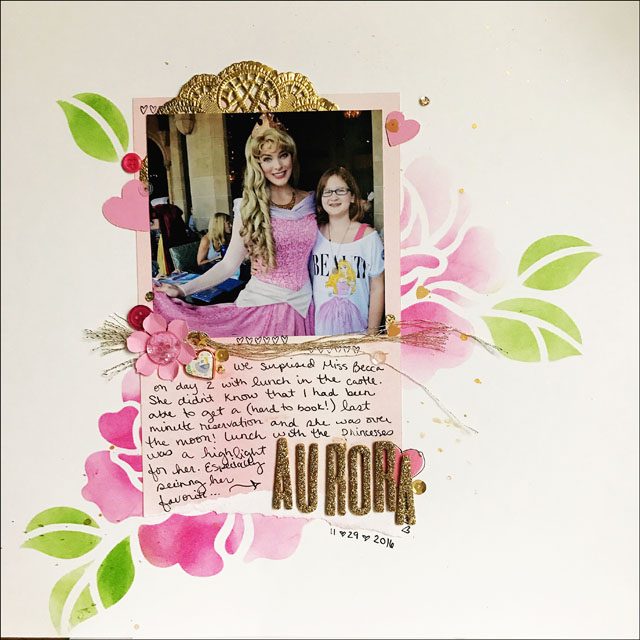
I’ve been making an effort to scrapbook a bit more – and today I’m excited to share with you that I created a layout featuring the ScanNCut and stencil material as well as one of my favorite photos from my last vacation. (disclaimer that I’m a paid consultant for Brother, but all ideas and opinions are my own) I created a full YouTube video tutorial that you can watch here.
I love how this layout turned out!

Using shading and ink, a bit of gold spray and wow! That stencil has long been a favorite design in my machine and this is by far the best way I’ve used it. It reminds me that when I don’t have the right themed embellishments, I should make my own themed stuff with my ScanNCut!
edited to add: I did indeed catch my whoops on my title and fixed it – but I didn’t initially load the right photo of the layout! Whoops x2. That’s ok! When scrapbooking mistakes happen, and we can almost always fix them. By gently removing my letters and re-applying with liquid adhesive I was able to quickly and easily fix my layout with no damage or issue.

In scrapbooking especially, don’t worry about making mistakes… because they’re bound to happen! Know that there’s almost always a fix and usually a fairly easy one and have fun!
Oh, I love the layout and using the SnC as a stencil cutter is a clever idea! But .. oh dear … you’ve misspelled the Sleeping Beauty’s name … it should be “Aurora”. An easy fix, I hope?
(and I have NO idea why my Shift key is not working! the lack of capital letters offends my eyeballs!)
The wrong photo was loaded on this post thanks for noticing – I’ve added the correct one and a note.
This came out so pretty! I’ve got a bunch of princess pictures to scrap from our last Disney trip and don’t want them to be too similar, so this is a fun bit of inspiration to consider.
So so pretty