Today I’m excited to share with you a simple tutorial using the weld function on the ScanNCut to create a colored card. Before we get started – a disclosure as always that I do work with Brother/am a paid consultant but that all ideas are my own.
To create a card like mine you’re going to go onto the ScanNCut and weld a rectangle with an intricate design. See THIS VIDEO from last year if you’d like step-by-step on that process.
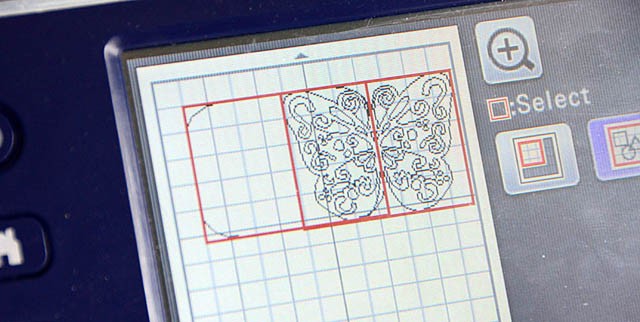
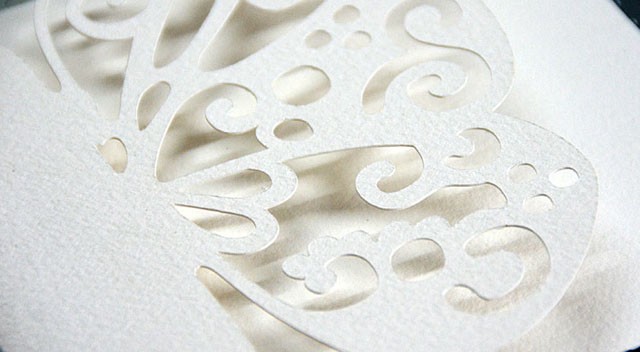
Once the design is selected and welded, cut it out from watercolor paper and fold.
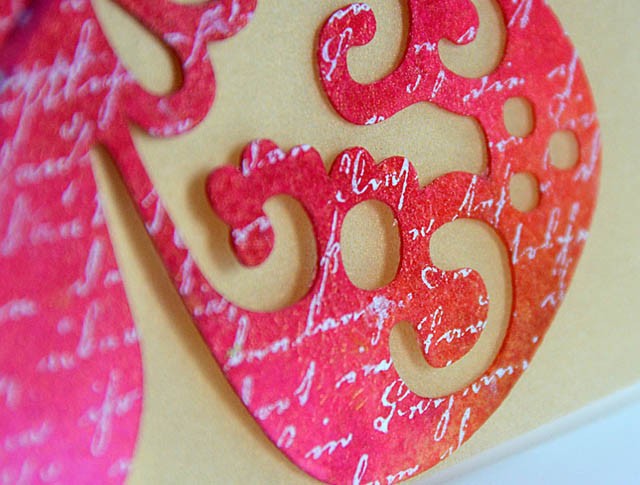
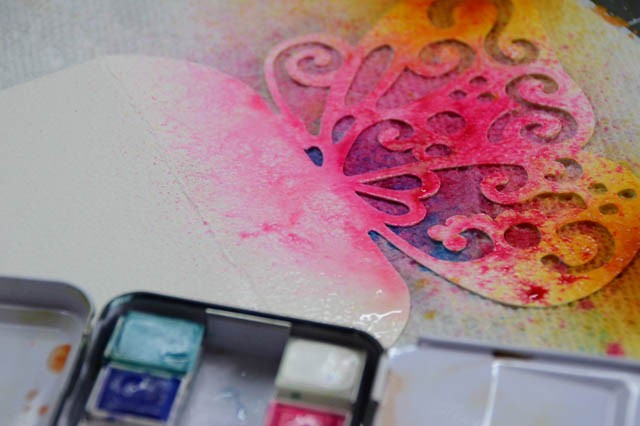
This process is so simple and fun! Next up color with spray mists, watercolors, and anything else you like. Then coat in matte medium to set the colors. Once dry, spray with a sparkly mist (if desired!) and stamp script or other background stamp onto the front of the card with white pigment ink.
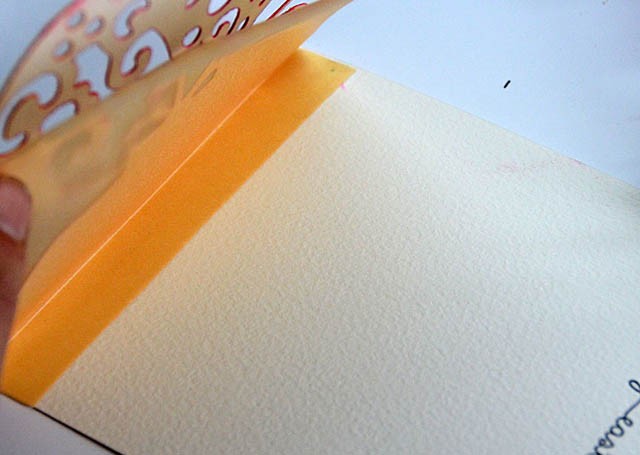
Finally, stamp a sentiment along the far side if you’d like, and to create an additional layer inside the card fold and tape a piece of vellum inside. I used gold vellum, and I love how easy this is! Just adhere with a strip of tape along the fold – shown below.
If you’re feeling extra fancy add a charm and some trim, and it is done! This card is so lovely – and it utilizes one of my favorite techniques too. 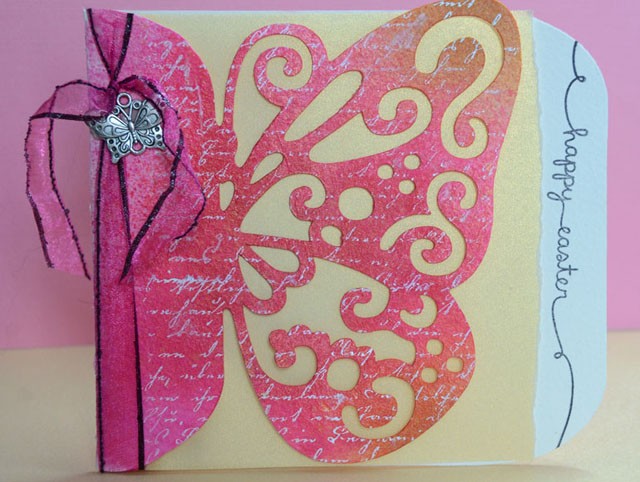
I hope you’ve enjoyed this quick tutorial. I’ll be back with even more soon!
Pretty card. Love the color. Michelle t
May, just beautiful. Thanks for sharing all the tips and tricks and all your craftiness.
So pretty. gorgeous colour