When it comes to little treat containers I tend to purchase mine. The idea of designing and folding and measuring my own? So much work! But today I had an idea. What if I cut out simple pieces, designed it myself, then just traced the shape and cut it out with my ScanNCut? 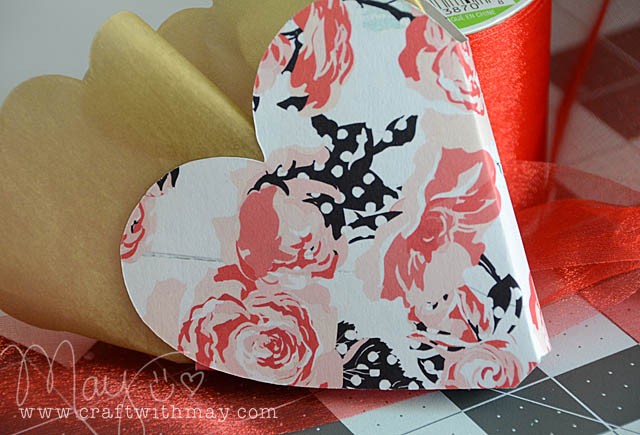
You see – I find that my brain works better with paper in hand. Yes, there’s a lot I can do with computer software and such… but something in my hands I can see and touch works better! That’s one of the things I adore about the ScanNCut! It lets me just scan in my idea when I’m ready!
disclosure: I am a paid consultant for Brother, however the ScanNCut is a product I adore and all thoughts, opinions, and ideas are entirely my own!
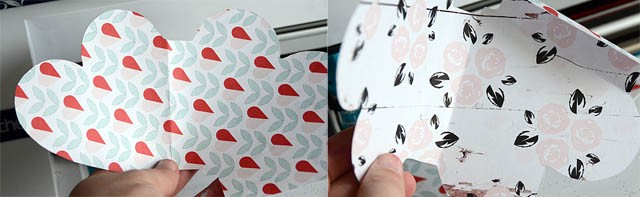
So to get started I cut out a design. In this case, I welded a small rectangle and heart together in the ScanNCut and cut it out (twice) on old very used up scrap paper.
Prefer video? Here’s a link to my YouTube Video
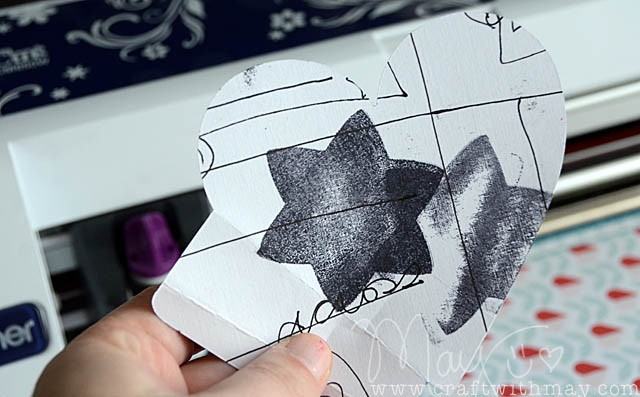
From here I folded it and figured out how it would best and more importantly easily fold to create a little heart candy holder for Valentine’s Day. Once I figured it out I traced it onto a clean white sheet of paper. Scanned it into my ScanNCut. Made a cut file. Done! It seriously was that simple!
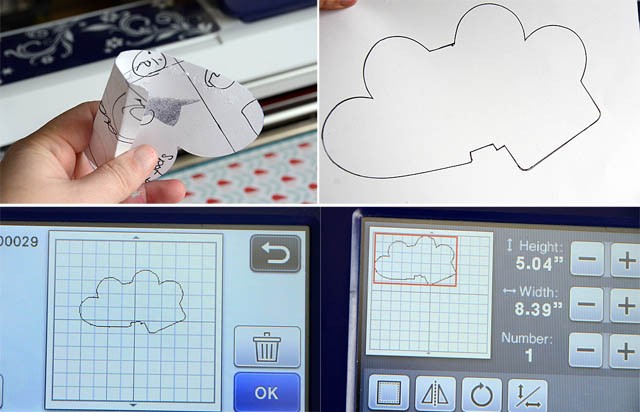
Now once in the machine as a cut file I’m free to re-size it. Edit it (for example, I could add another heart and create a window inside the design!) and more. All that is left to do is put some paper onto a cutting mat and cut it out!
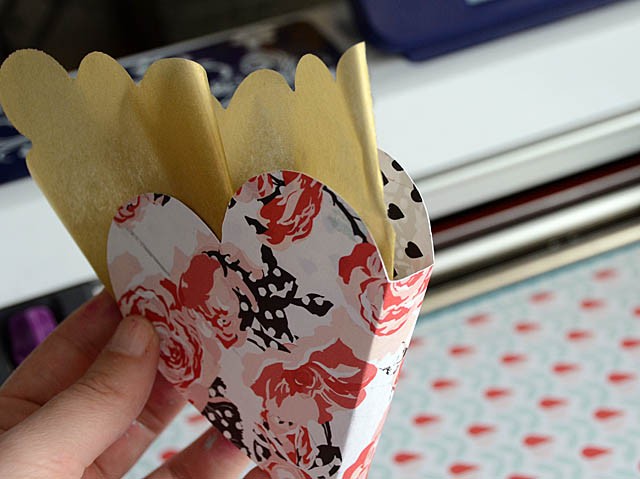
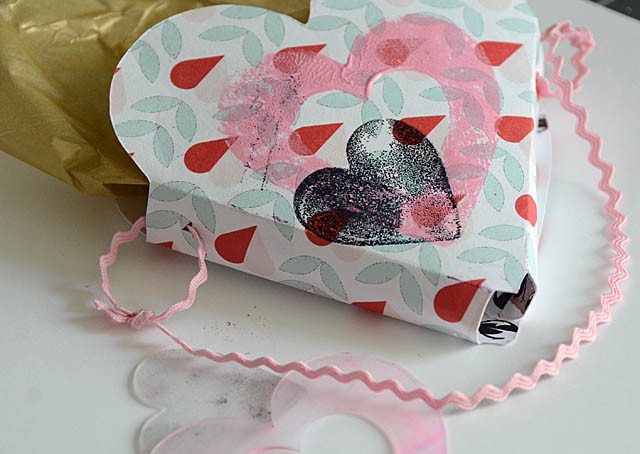
Here you see my first attempt – and I’ve added some tissue (left over from Christmas) inside. Super easy! The only place it is adhered is one side – which I think makes it sturdier too.
This is the basic how-to. Obviously you could get wild with your shapes, designs, and other options! I just really like that I was able to sketch it onto paper and cut it out vs trying to figure out what angle would fold best via computer program. I’m ALL about doing things in ways that are easiest/best for you. This definitely qualifies!
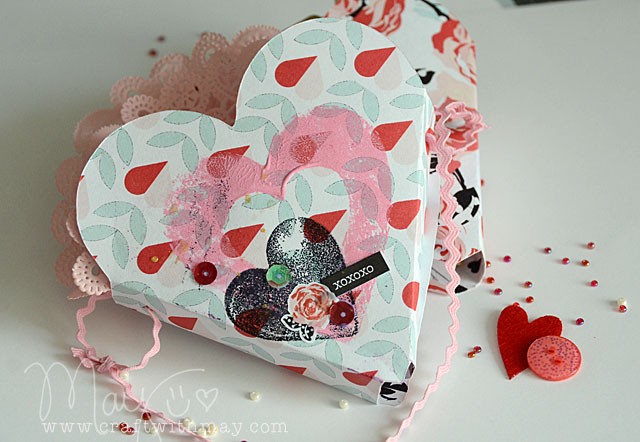
Here you can see a finished one – I added stamps (cut from my ScanNCut! More on that soon!) a few stickers, and sequins of course.

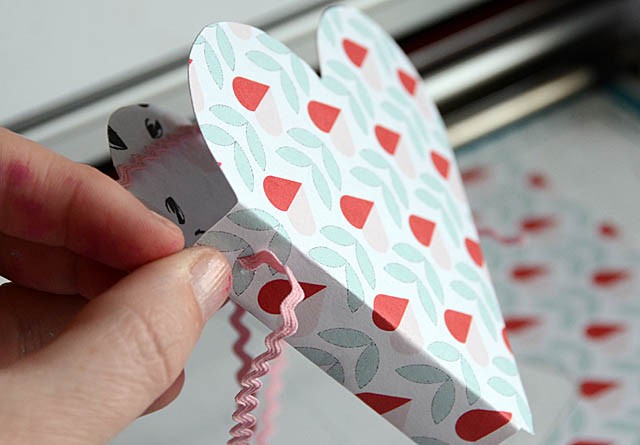
Another option would be to add a string/tie/handle. How cute is this? I think it’d be great for party favors!
I hope you’ve enjoyed this tutorial! If you have any questions or requests let me know! I can tell you that you’ll be seeing a shaker/window version coming from me for Easter!
In the meantime, just loving on Valentine’s Day and sweet treats for some sweet little girls…
This is cute! Great idea. I’m so impressed with what the Scan n Cut can do. It’s a pretty cool machine. Anyway, love your ideas. Michelle t
You are so clever May – love it!
This is so cute!! I love that you were able to drain it yourself!
May, I looooooove this, so adorable! I just got the scanncut, can’t wait to play with it. I’d love to make this for my sons class but I can’t even draw a smiley face, never mind something as awesome as this heart box. I have the cricut as well but I still don’t think I could make this, lol. You should make a die like this, I’d buy it for sure. I love your new line, Everything’s gorgeous. Thanks for sharing and inspiring.