Let me start off by admitting that last week I threw a bit of a hissy fit. You see, I’d ordered some “planner” stickers and when they arrived everything from the color quality to the sticker finish annoyed me! I was not pleased one bit, and I knew there had to be a better and way less expensive way to cover up when I have a change of plans or need to scratch something out.
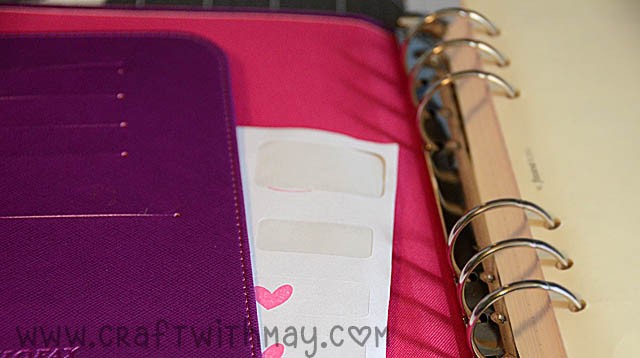
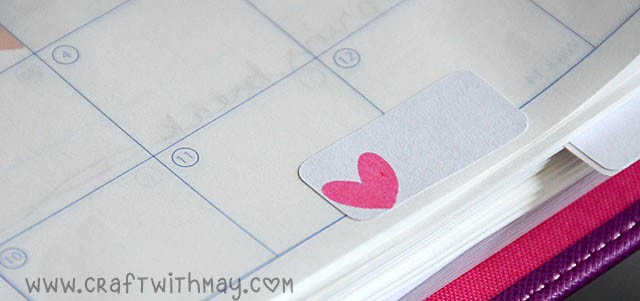
Then it hit me. Didn’t I have a sheet of Brother ScanNCut stickers? Couldn’t I just cut those to be the perfect size? Any size whatsoever? Then couldn’t I also tuck them into the pocket so that I would never be without oopsie cover up stickers in the exact right size for mere pennies?
The answer, of course, was yes to all!
Before we go any farther with this tutorial I will as always disclose that I am a paid consultant for Brother, but of course all opinions and ideas (crazy or otherwise) are my own. I will also disclose that I use affiliate links – and I thank you for your continued support! While it may seem silly to disclose this stuff every post – I am happy to do so! I always want to be upfront and a clear as possible with you.
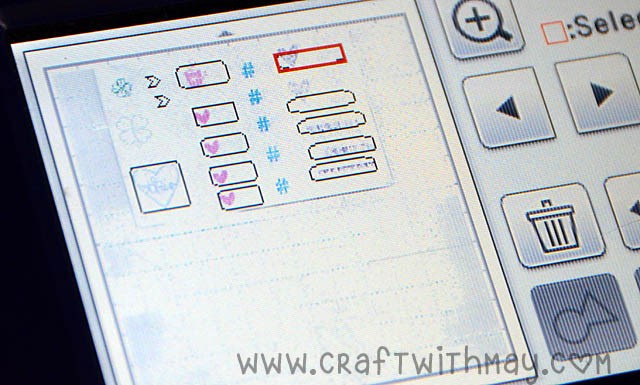
So let’s get back to the sticker making. The key how-to is this:
- Use a label or sticker sheet, and do a test cut. I found 2.5-3 to be ideal.
- Have a plan for the sheet – have it stamped (if using stamps), printed upon, or whatever you like!
- Jot down measurements if you’re aiming for specific sizes
Here is my video tutorial (link to YouTube)
Working in batches has become a serious focus and mantra of mine – so I could crank out 50-100 of these easily and within minutes then have enough for weeks if not months of fixes!
tip: if I had a specific set-up or size I use a ton I could save as a cut file (even with multiple shapes, yes!) then just open and use that to skip positioning and setting up the sheet in future.
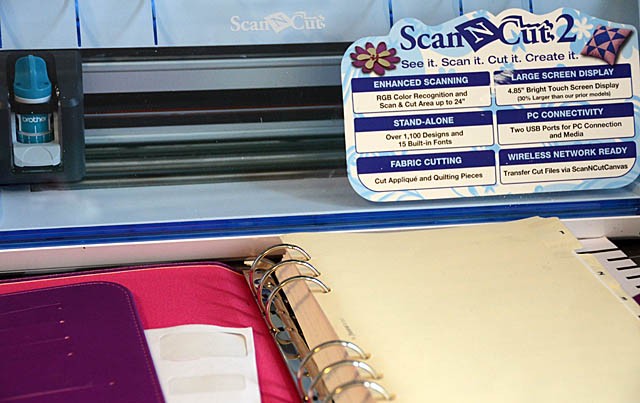
The ScanNCut2 is available in stores, and can also be found online at shops like amazon.com. The sticker and laminate kit I mentioned is also available.
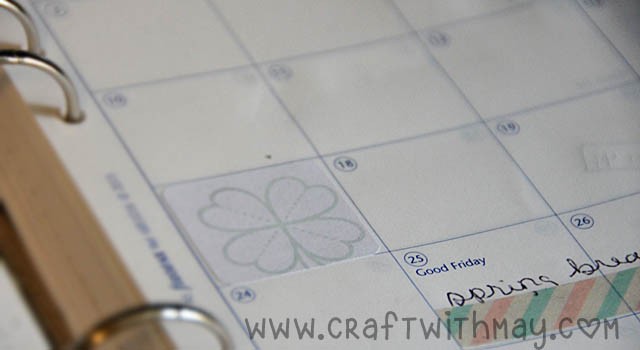
Now my St. Patrick’s day is festively decorated (though very inexpensively and quickly!) and the whoopsies I made are all covered up too!
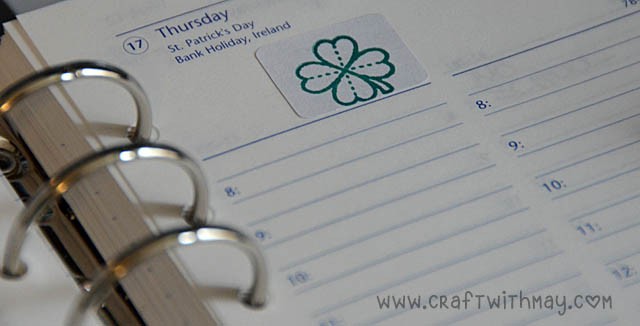
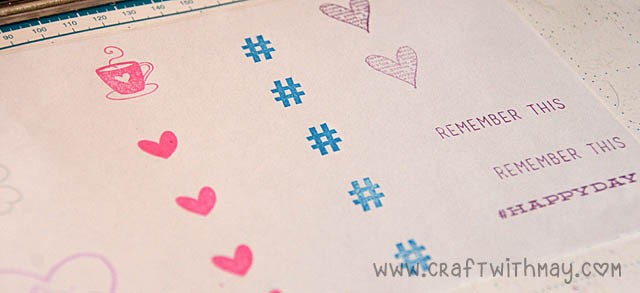
I showed stamping in my example but you could also use:
- washi tape
- printed designs or patterns
- rub-ons
- stencils
and basically anything that adds the pattern, color, or look that you want and will set onto the paper you’re using.
but wait – there’s more… that’s right I will be back with more! Below you can see that you can easily scan and cut stamps, printed shapes, or whatever you might like for more shaped stickers…

I will be back in a few weeks with a follow up and even more ideas.
That’s cool! Michelle t
Just what I have been waiting for. I often download free sheets from Vintage Glam. because she includes light and dark the light does not always scan to be cut. Could you please look into this and maybe in the future give a solution to get around this so the whole sheet would scan for cutting. I will try what you have shown today and perhaps box around the lighter individually. Thanks elli
So so cute!