Disclosure: I am a paid consultant for Brother International Corporation and have received a ScanNCut from Brother to evaluate. However, the opinions expressed are entirely my own and based on my use of the product.
I was asked by my youngest if she could help make a scrapbook layout. This prompted me to think about my process, and how I could make a space for her to organize and set up photos, as well as place the embellishments as she wished while still making a page that was mine.
Tricky stuff!
Ultimately what I decided for a collaboration was that I would want to create a page template, then it was a matter of fill in the holes and decorate around the edge. Something simple does not mean something easy, sadly! Luckily my Brother ScanNCut was up to the task.
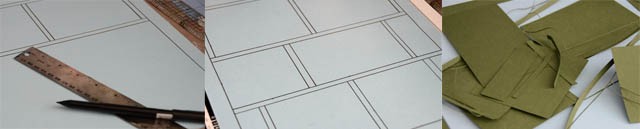
There were MANY trials. What did NOT work was drawing out all of the lines because obviously (to me, after having spent so much time working on it!) it would want to cut every single line! It *is* absolutely possible to do this using the wonderful Canvas program software (from Brother) – but for me to have pieces of paper I can move around and visualize was really a great way to approach this for the first time. For my brain and process- having something physical to work with really helped me work out the kinks! I will be trying this with the program as well and will report back.
I found that I didn’t like a thin border. I really wanted a thicker border around my photos for stability, and a good 2″ at least around the outside.
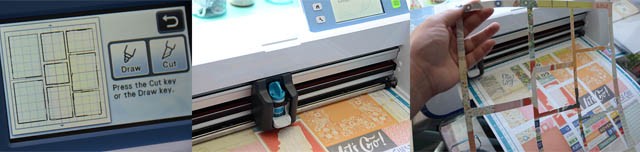
The best method I found to create my template was to lay pieces of black or very dark cardstock down onto a piece of white paper in the exact positions I wanted. I then scanned in the paper (see below on right) and saved the design. I envision making a few designs like these! I made my photo holes 3 1/2 x 5 1/2″ at the maximum so that the photos could fit nicely.
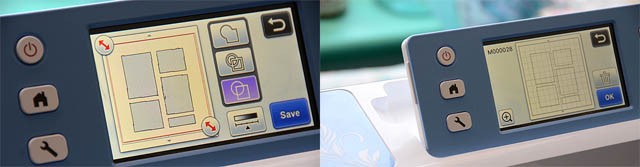
Once my design was scanned and saved? Well now I can cut it out as many times as I like!
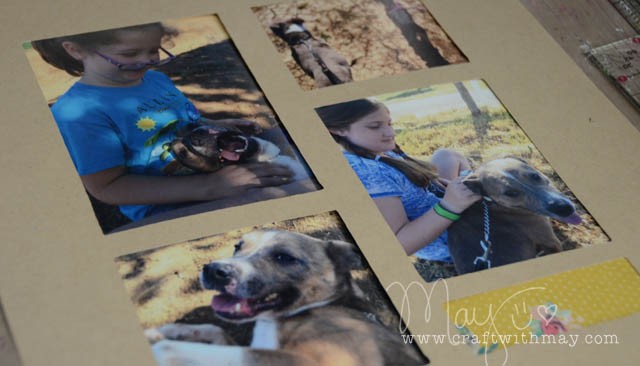
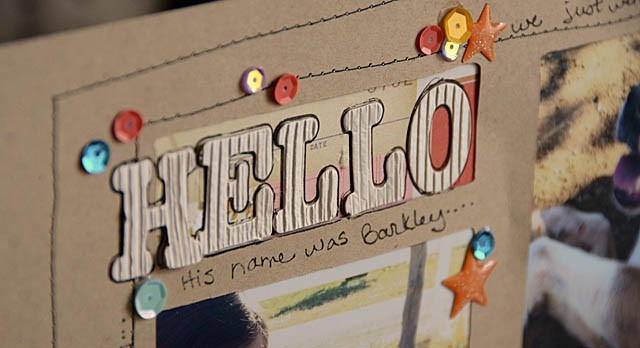
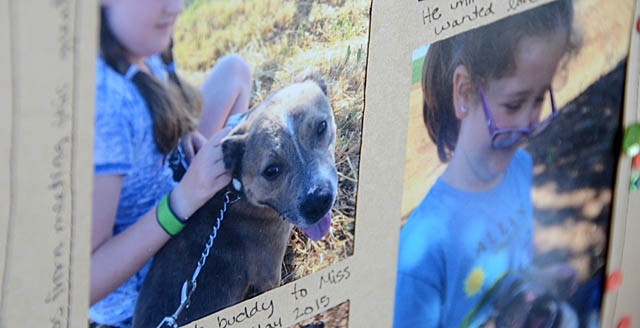
Here you can see the photos behind my new page template. I love it! But I think a bit of stitching would be good…

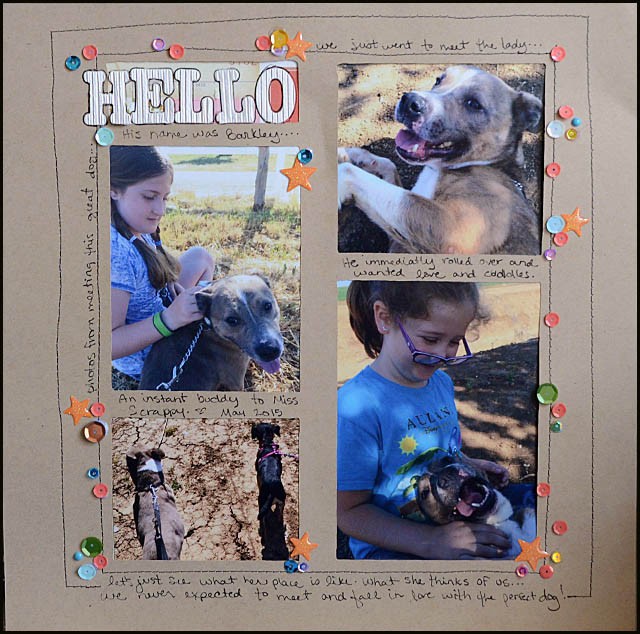
With stitching and photos done, and journaling added it was once again time for kiddie fun! Miss Rebecca grabbed the glue and sequins and some epoxy accents and went to town.
The finished result? A blend of her ideas and mine, and a layout we’ll treasure about the time we met our new dog!
I am really excited by the idea that I can use my ScanNCut to crank out page templates for my kids so they can pick photos, place, and have an easy time figuring out where to put things. Some of these blocks could have been used for journaling as well. The only thing I will change for next time is I would have liked a thinner edge in the center between the photo columns. I didn’t need that to be quite so wide.
Overall though I’m really excited with how I can use paper scraps and do this. My final tip is to use a (unlikely to be used/wild color or pattern) piece of paper to mount your photos on for added stability for this kind of a page. In my case it was lime green 8 1/2 x 11″ cardstock and the difference was a lot of added strength for adhering things.
Neat idea to make these templates for the girls. Fun that they want to scrap with you. My daughter, not so much, she’d rather do it alone, but hey, she’s interested. Thanks for sharing your great idea. Michelle t
Such a great idea! Love the finished page. Will Ranger get his own album?