Scarlet Lime Layouts {July 2010}

It’s the 1st, and that means time to share my www.scarletlime.com layouts for July!!

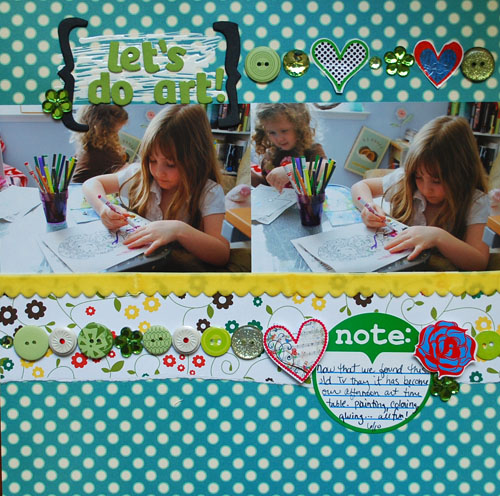
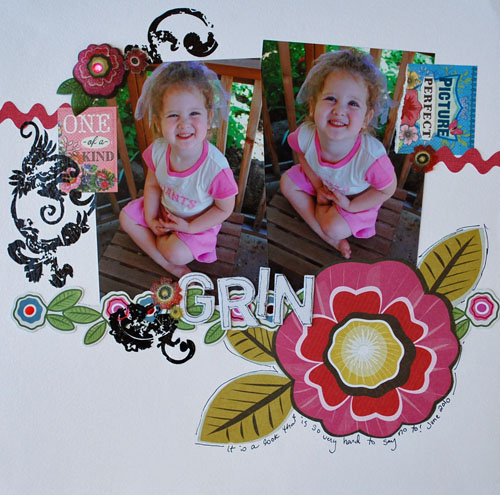
Favorite parts: the rub-ons that are put onto white cardstock + propped up on foam dots and the enamel accents (Ranger Ink) behind my title done in a moment of creative “aha!” when I was feeling stuck.

then…

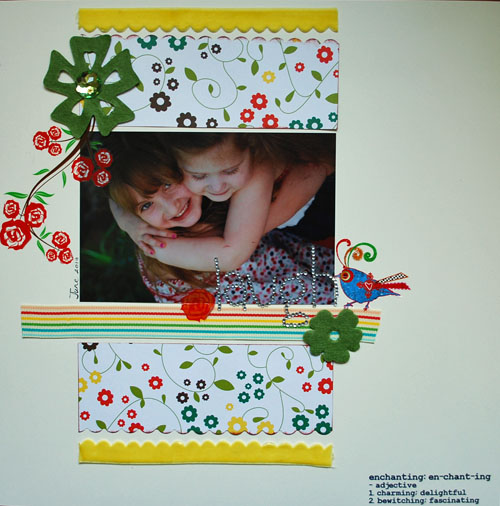
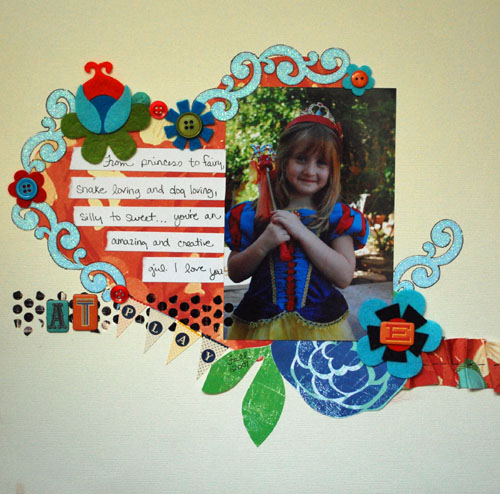
favorite parts: lining everything up the way I did + use of that crazy bird rub-on.

Then I played with the main kit…

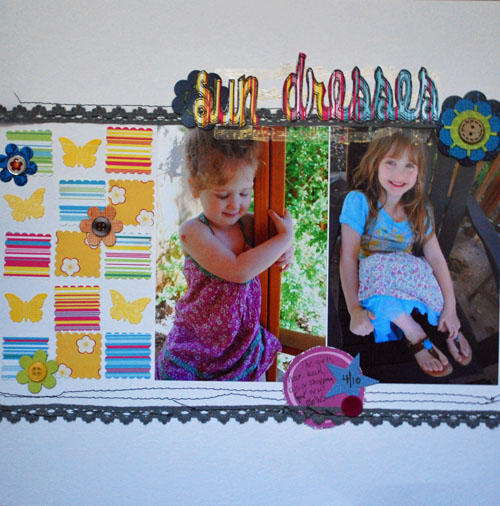
favorite part: misting around the edges of that cream cardstock. Will be doing this a LOT more.

favorite thing: doing a layout where there are no chunks of patterned paper. Paper flowers and such? yes. Just no actual chunks. So fun.

Hope you like it – to check out the other design team members + the kits themselves (PACKED full of goodness!) go to www.scarletlime.com

Scarlet Lime June Kits

Time out from organizing & cleaning to create! Here’s my projects for Scarlet Lime’s June kits:

Princess love… had so much fun with all the bits and pieces of the main kit… and the chipboard alpha was too much fun…

Scarlet Lime now has a special kit each month too…

I’m loving the kit and concept behind it! Here are my projects…

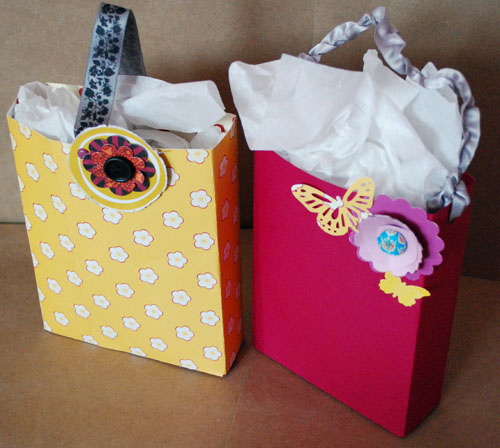
Info on making your own bags to be posted here soon – it’s super easy.

I had a blast, as usual, and you can see the kits + what the other designers made at www.scarletlime.com

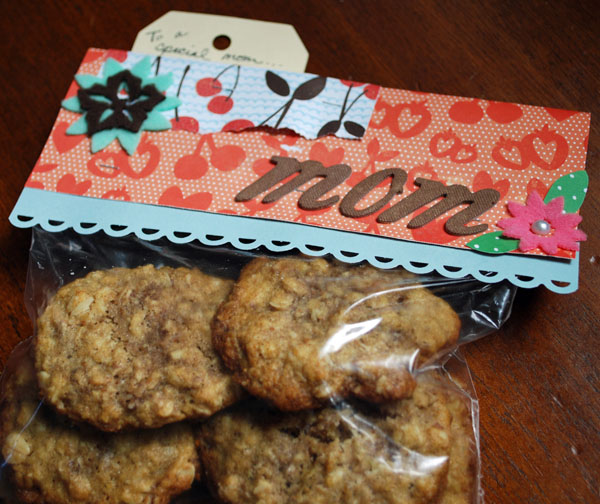
chewy, crispy, delightful oatmeal cookies.

I was reading a Joanne Fluke mystery and she had a simple oatmeal cookie that was awfully tempting and simple. I took her idea, tweaked measurements, and came out with this. SO yummy.

1 cup (melted) butter
3/4 cup white granulated sugar
1/4 cup packed brown sugar
1tsp vanilla (optional)
2tsp cinnamon (optional)
1 egg + 1 egg yolk
1 1/4 cups flour
1tbs baking soda
2 cups oats

Mix ingredients in order listed. At this point you could add in nuts or dried fruit if desired- but they’re great plain. Form balls (big or small – your call!) then flatten by lightly pressing dough on the greased cookie sheet. OR chill in fridge until ready to bake.  Bake at 350 for 8-10 minutes until the edges begin to brown.
The cookies will spread – so give them plenty of space.

I also made this envelope (size is 6 x 12 sheet of paper folded so that it’s 6 x 5 with a 2″ flap) and several layouts for the May www.scarletlime.com kit.

You can see all my projects at www.scarletlime.com as well as the other design team members creations as well. Such a happy spring kit! I will be sharing my how-to on my “splash” title right here on my blog next week.

March Scarlet Lime

Time to show my creations with this month’s Scarlet Lime kit…

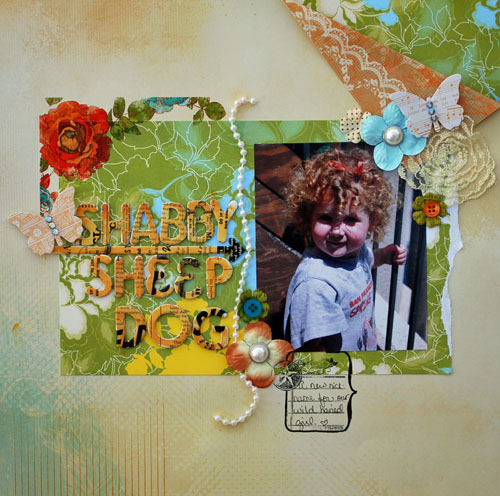
First I did a page about Rebecca’s new nickname: Shabby sheep dog. Her long curls often hang wild in her face and well, she looks like a sheep dog and sometimes barks and such too. It’s like shabby chic, but different and with more hair.

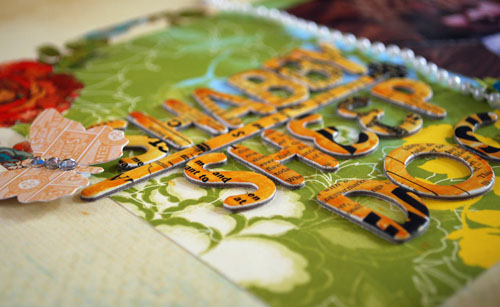
I used Tim Holtz distress ink pads on the chipboard letters to customize them to blend with my pages. This one uses Wild Honey.

I used the same technique only with tumbled glass ink pad on my second layout…

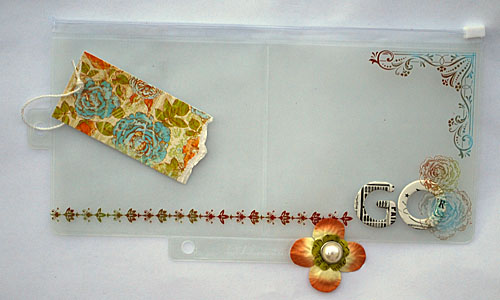
Then I took the zippered bag the Kaiser Crafts goodies came in and decorated a bit…

Now it’s a “go” bag. I figure I can use it for embellishments at a crop or maybe some band aids and little things for life on the go with the girls. FUN either way.

I liked the orange + aqua + green this month – to check out more you can visit www.scarletlime.com

Scarlet Lime: January 2010

It’s time to share my January Scarlet Lime layouts! First, the project kit layouts…
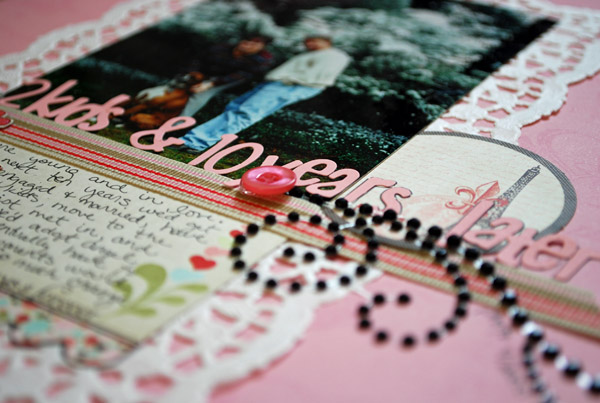
I just *love* the combo of stuff in this kit. I have been doing some ‘the last 10 years’ thinking and when I came across this photo from 2000 I knew I had to scrap it. It’s hard to see – but I used the heart stamp with versamark ink all over the background for a subtle pattern.

For this next one I printed on Claudine Hellmuth’s sticky back canvas paper. LOVE that stuff!

The chipboard was a bit bright pink – so I just sanded it! Quick, easy, and changes the look totally. Love that.

Now the main kit layouts-
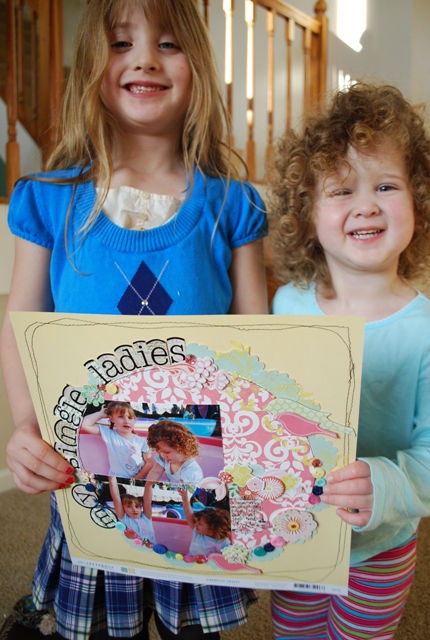
They wanted to hold it for me to take a photo. Love when they get into the crafting act!
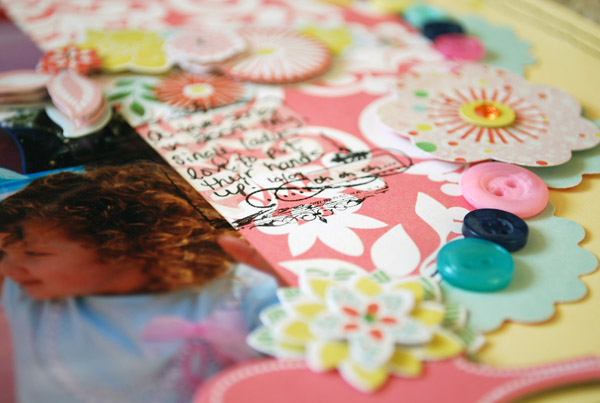
They’re so hilarious. “and put your hands up. We’re single ladies. We put our hands up” and the dancing, oh the dancing. Thanks for the inspiration Beyonce. These photos are actually the teacups at Disneyland – but I think you can use photos however you need so long as it works for the story. I couldn’t pass up that “hands up” shot of them, and I went pretty stitch and embellishment crazy on this page. So.much.fun.

A few days ago I posted a how-to on printing a title in reverse to cut out. Here’s the finished page. (E waiting for the monorail at Disneyland)

I figured I’d help clean up my after Christmas mess and use bubble wrap to make a fun painted background on this one. Just rub paint all over and then ‘stamp’ onto  the cardstock.

To speed up drying I used a heat (embossing) gun. This caused the wet paint to bubble & pop – which I thought made a cool effect so I did it more.

Well that’s my layouts – to see all the other designers hop on over to www.scarletlime.com to check them out. Amazing work from the team.