Today I want to share a surprisingly quick & easy mini book combining Heidi Swapp mini file folders and part of a fotostack album as well.

Supplies used:
To start, I figured out which three folders I wanted to use, and which one I wanted to have as the cover. Then I stitched two pages from a ‘fotostack’ mini album (that happened to be the two pages I had left after using the rest of it on other projects!) across the cover of my cover folder.

The two folders I wanted inside my book, I stitched into the folder next. My sewing machine had no problem with this, and then to really make sure this would be solid I ran a line of glue down the center and let it dry to really seal those stitches.

With the album in place – now all I have to do is decorate the cover and fill it with photos!

Yes, the goal with this particular book is to keep it SIMPLE. This will become a gift, and one I wanted to get created in a single craft session. I absolutely love these mini folders (about 8 1/2 x 7) – they’re such a great size and I’m going to have to get MORE for my crafting definitely. One pack won’t be enough to satisfy all the ideas I’ve got!

I especially love, as a 4×6 printed photo girl, that this makes the perfect size book for my photos without trimming them – as well as great for multiple tiny photos as well.

One tip: a big thing with me and mini books is that photos and elements sometimes want to stick to each other. Not a problem here! I just used some double sided tape and some sheets of vellum (5.5 x 8.5″) between my pages. Problem solved!

To adhere I just folded (about 1/2″) the vellum and ran double sided tape down that little folded bit and tucked it into my book as needed. Such an easy solution!

I just used photos + instaframes (LOVE THOSE!) + bits of paper and set my photos up so quickly and easily!
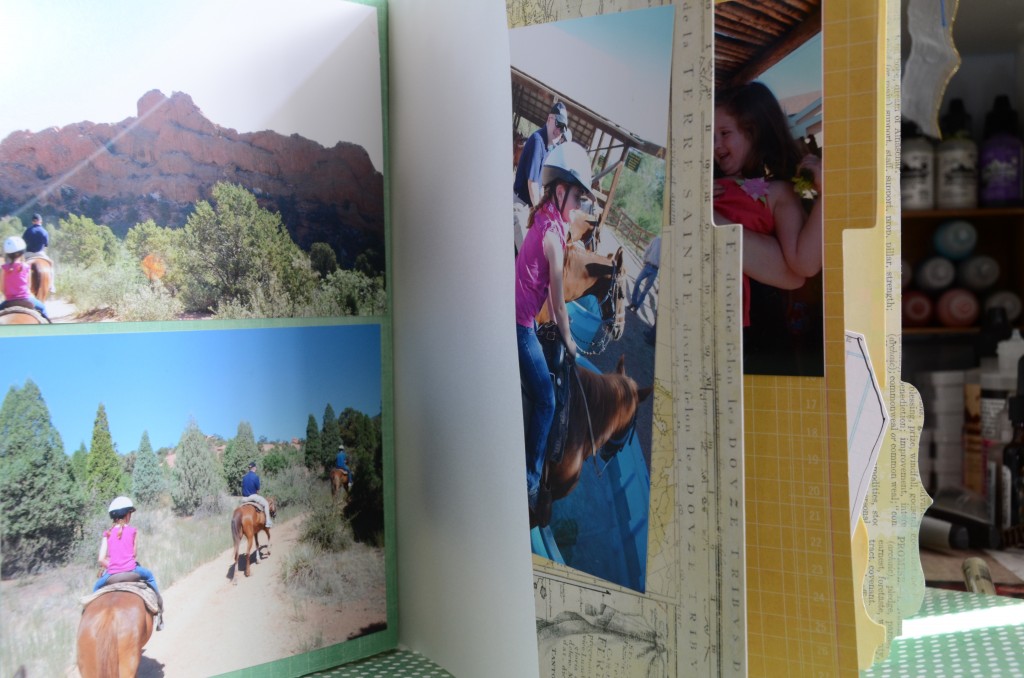
I really love that I was able to get this put together in a single crafting session, and I didn’t worry about getting fancy inside the book either. This project is more ‘photo album’ style – and I’m having a lot of fun making this kind of thing lately to give away or share with others.

I did play a bit more with my cover though – some ink + some accents…

and a peek inside that front flap…

I love that this album has pages on the front + full pages inside…

I do love those rub-ons that come with the instaframes. They’re such fun.

I can’t tell you how much I *LOVE* that Heidi Swapp product from the last release goes perfectly with the new stuff! I’ve had fun using up my stash while playing with the new goodies too.

I hope you’ve enjoyed this simple book – I’ve still got more to come tomorrow with one last post in this series!
note: I’ll have more ideas coming with these folders for sure! If you’d like more inspiration right away, be sure to visit Heidi’s blog where she shares all kinds of ideas!

