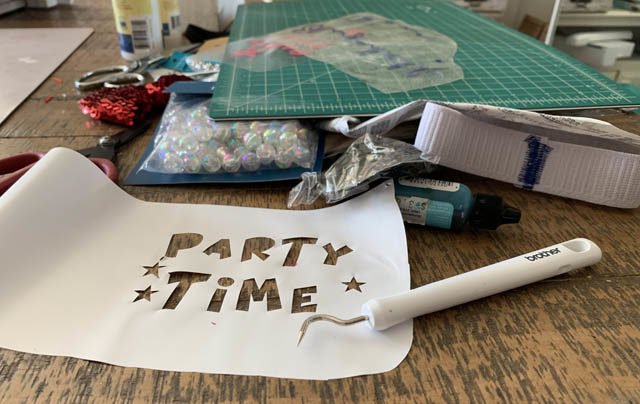
The awesome Paige Evans is now making & selling stencils! You can check them out and buy them on her Etsy shop here. I made a short video showing the how-to. If you’d like to see it, its up on my YouTube!
I had so much fun making this and can’t wait to do more!
I am working on some exciting new scheduling and content for you – so I’m taking a “blog break” briefly to get that into place as well as take a few much needed break days. I don’t normally post this kind of notice, but I figure some might need the reminder to take a break now and then! It can seem like the lists to-do are never ending sometimes for sure… but recharging is vital.
I’ve been slammed with projects and it is definitely time to take a few days, chill a bit, and then get back into it. I’ve LOVED the big (mostly secret!) projects that have kept me so occupied, and I’m excited to share what will be coming next. For now – it’s time to clean up the studio… but first a little chill time.
Got requests or things you’d like to see? Leave me a comment and let me know!
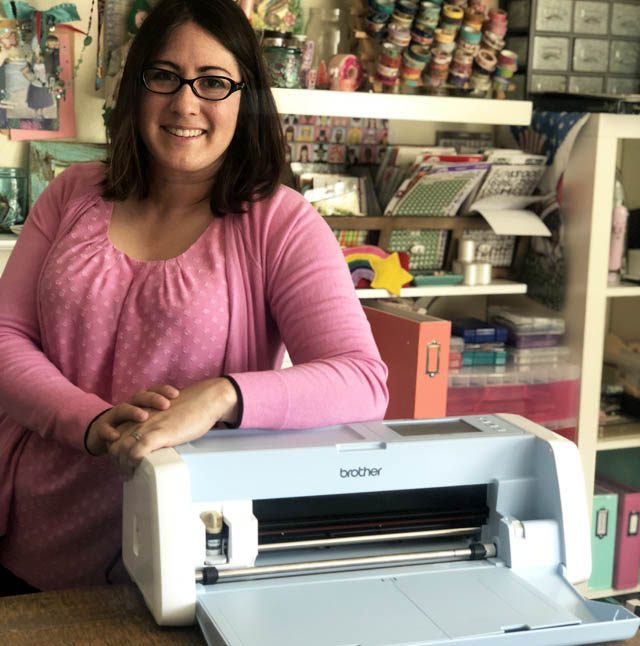
As I always disclose – I am a paid consultant for Brother, but all ideas and opinions are my own. I let you know this upfront because as my daughters dig into school sports and more what I’m finding is that ScanNCut is more valuable than ever! When it comes to designing custom stuff – well I have no limits.
What could be better? The auto blade means I don’t have to guess. The mat sizes mean I can go up to 2ft long of most materials, and it makes it super easy to customize things like sports gear bags, containers, and more.
My top tips when looking to iron-on things:
Test the iron on the material someplace first. I just discovered a garment bag I was going to customize was melt on any heat impact. NO!
Measure twice, cut once!
Don’t forget to turn things backwards if there is text. Otherwise your iron-on will be backwards.
Consider the use, and what color/size will be effective.
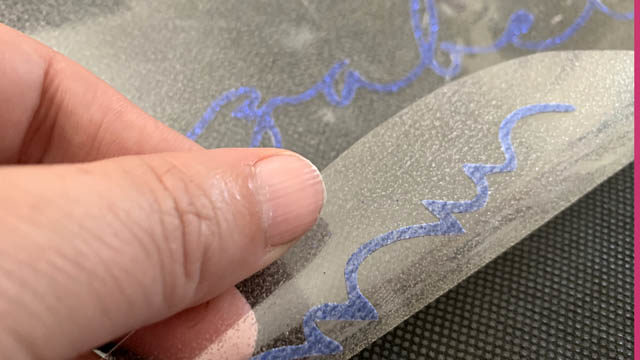
Recently I created a great project – Here is a link to my video on adding name (scanned in) to iron-on vinyl and creating custom boot bag.
Above is some vinyl getting ready to be applied! More tips?
consider consistency and color theme if there will be multiple items
save your files especially if you’ll use them again
Enjoy the craft process!
With two active teen/tweens that means I will enjoy whatever crafts – and time- comes my way. I’m enjoying the creative challenge of hand crafting or customizing things as possible.
Do you have tips for me? I’d love to hear them! Please do let me know how you’re getting more crafting in or finding projects in your busy life. For me, I’ll be partnering with this ScanNCut and bringing you a LOT more videos on my YouTube channel while occasionally rounding them up and posting blogs for certain tutorials. Have a great week!
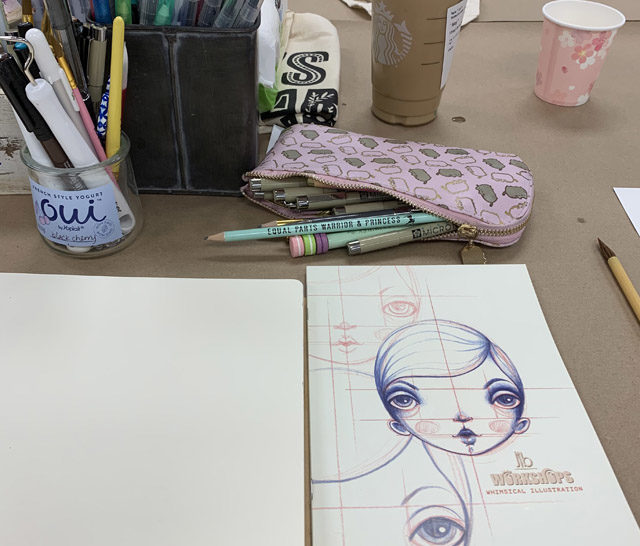
A week (or two now? Summer time flies…) ago I took a class from James Luke Burke on illustration and I am still blown away! If you ever have the chance- take a class from him. Or even just follow him on IG or YouTube so much inspiration!
Here is a link to my YouTube video if you want to see my work and a few more on where I’m taking the ideas.
What struck me the most was:
I need to make more small amounts of time to practice
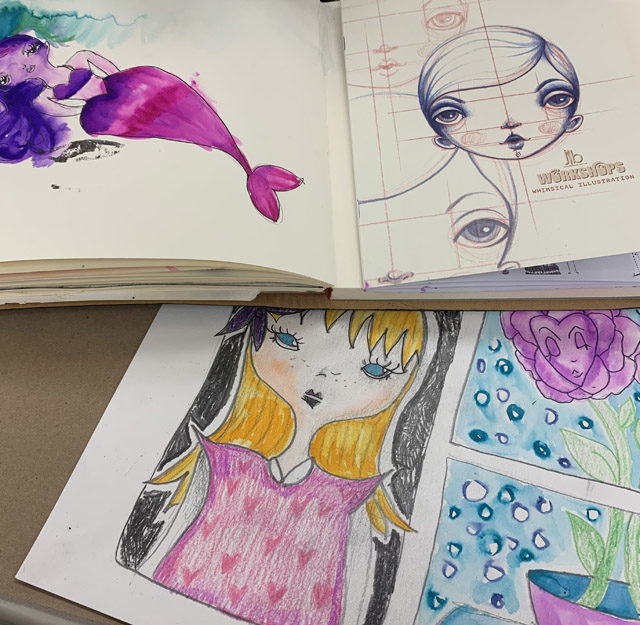
I CAN draw! Who knew? Not me – I am shocked by how well I did over the course of a day
Investing in myself (or yourself!) and gaining education and creative concepts is always a good idea
Fly with more crazy ideas – why not?
Embrace the whimsical. Reality surrounds me every day, why not play in the non-realist world a bit more?
I am currently designing a Vegas style showgirl costume for a horse (oh yes, really) and I have to tell you this class really boosted up my confidence because I was better able to sketch my concepts in advance of having materials, and it’s been great!
I am also currently designing my outfits for the rapidly approaching GenCon event and being able to sketch with more confidence? HUGE!
One of my many ambitious personal goals is to connect more, be more vocal with fellow creatives and well, anyone who is around! This class was a great chance to support a visiting artist as well as learn from an amazing teacher. It also reminded me to compliment more, try more often, and keep at it.
I’ll be here writing thank you notes, doodling, and well – being my best self! What are you up to this summer?
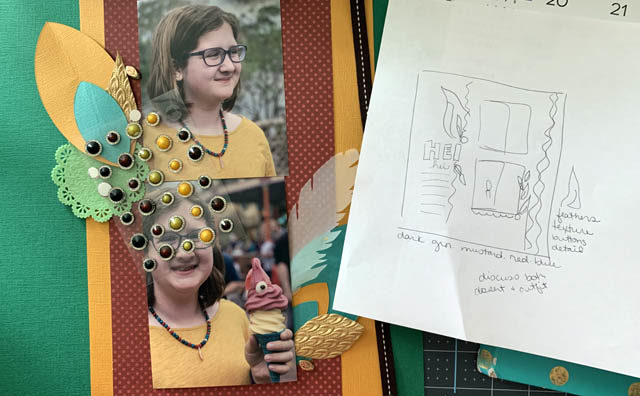
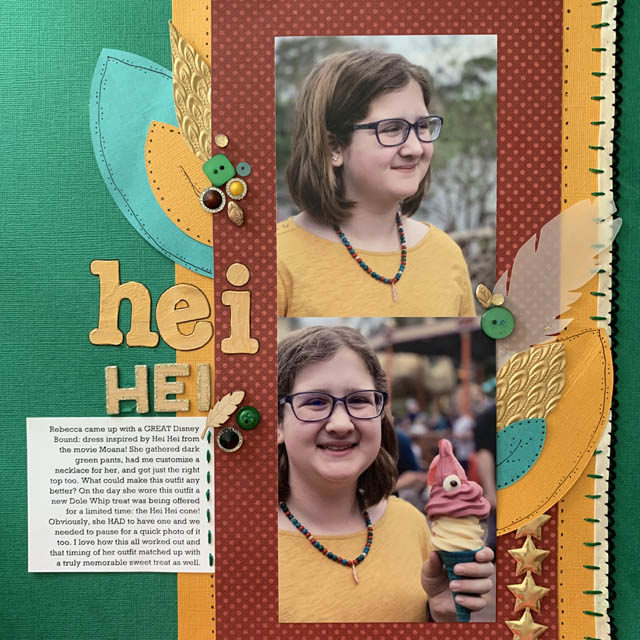
Have you heard of Disney Bounding? Essentially it is a form of dressing in a costume – except not a costume at all! The ‘rules’ if there are any is that you dress in regular clothes that when put together into an outfit resemble a Disney or other character. Fun, right? Well Miss Rebecca is super into this concept and I wanted to create a whole page about here in Disneyland as Hei Hei the chicken from the movie Moana.
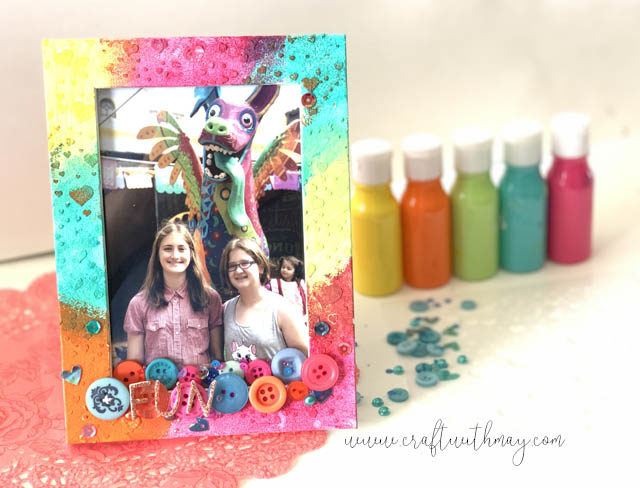
The week had been super busy so this page actually happened over 3 or 4 days. I sketched out my general idea (notice how VERY rough my sketch is – that’s ok!), gathered supplies, and began playing with the idea of feathers and details in this bold color palette.
Due to the subject, this scrapbook page was entirely led by the colors in the outfit/photos! This is a really fun way to add a lot of personality to a scrapbook page without having to think too hard about where to start. So how do you add the right quantities or styles of things to let your photos guide you?
Here are some tips:
Whatever the MAIN color you see in the photo, should be less or an accent color. In this example it’s the mustard yellow top. I chose instead the dark green (color of her pants you can’t see!) to balance better.
Go with what you like! I liked a darker red tone vs brighter for this, and while not perfectly on character I felt it looked just right and added what I wanted mood wise.
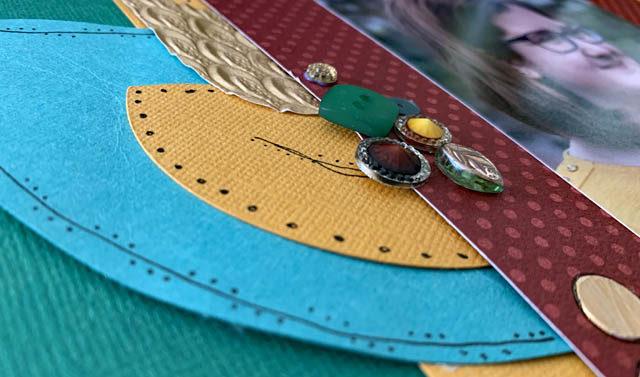
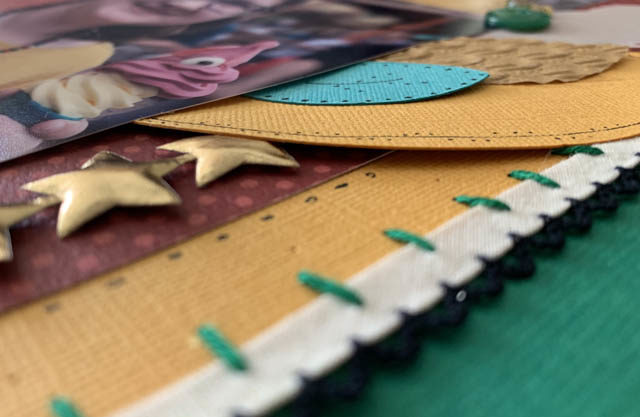
Texture, texture, texture! Ribbon, thread, metallic items, vellum, textured cardstock – there’s a load of ways to add more texture, detail, and fun to a page. Notice how the gold textured paper and the jewels add that detail to an otherwise “just cardstock” page. Same with my stitching, pen work, and all of the other little details.
Test it before you glue it. This is ALWAYS my recommendation, but especially with bold colors! Look and see how it goes, if it feels right, and most importantly if you like it. If not, ditch a color and try something else!
I 100% adore this scrapbook page. I love the textures, the color ratio, the use of feathers, and how this page compliments a perfect moment and outfit most of all. Now sometimes I ignore the colors in the photo (or just make sure my choices simply don’t clash) – but once in a while I find “let the colors guide me” to be a really successful approach.