make a plan: mini travel planner

Welcome to the start of Camp Scrap week #2! For more details about what this blog event is all about click here. Note – affiliate links are used in this post. Thank you in advance should you choose to use them – they help support this blog and events like Camp Scrap!

Today I’m inspired by some new Lawn Fawn products including their new vacation planning stamps which they’ve generously donated for a give-away today.  What I love about this stamp set is how many ways I can already see for utilizing them.
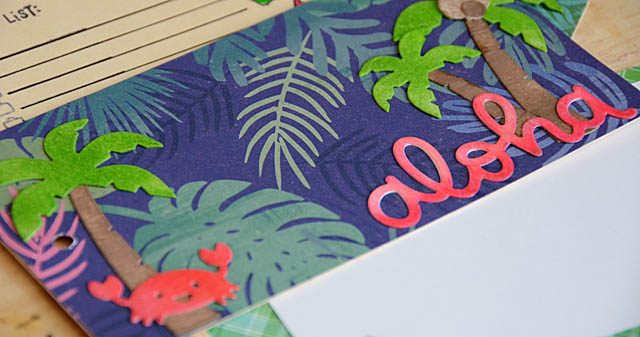
I see using them in my calendar (planner), but I also see using them in mini-books, in my scrapbook, on pocket pages, and even on a card. For today I wanted to create a tiny “planner” of sorts for next year’s Hawaii trip. Like any project my process went like this:

  • How much information do I have?
  • How much space will I need?
  • Is this a long term/permanent project or short term/disposable project?
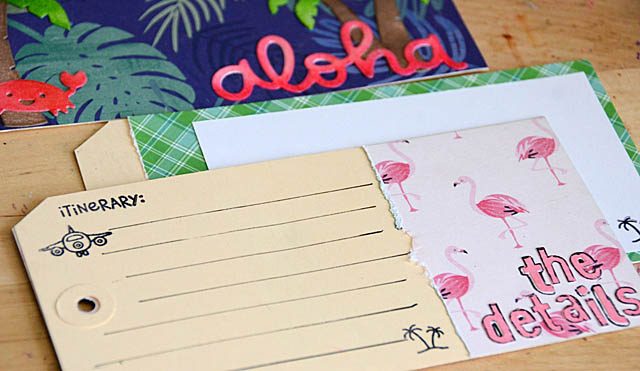
Small since this will be a stay at a time share and relaxing beach trip, short term it isn’t a forever heirloom project – but possibly utilize parts in a bigger/post trip project. Knowing this I got out some manila tags and got to work. Here is a link to my YouTube video sharing how I’m putting this book together.

I am so happy with how this turned out – and I’ve already filled in the details I have as well as made myself notes for things I need to arrange/set up down the road.

Lawn Fawn planner stamps, Lawn Fawn aloha and palm tree dies are the stars of today’s post. I also used archival ink in black (a must!), colored my dies with some favorite Lawn Fawn ink colors including guava and jalapeno.  All of those links lead to EllenHutson.com – a site that always has the Lawn Fawn goodies I need and wraps everything so beautifully! You can also find them at all the best shops (my LSS carries them now -yay!) including other online shops like scrapbook.com – here’s a link to them for the planner stamps. 
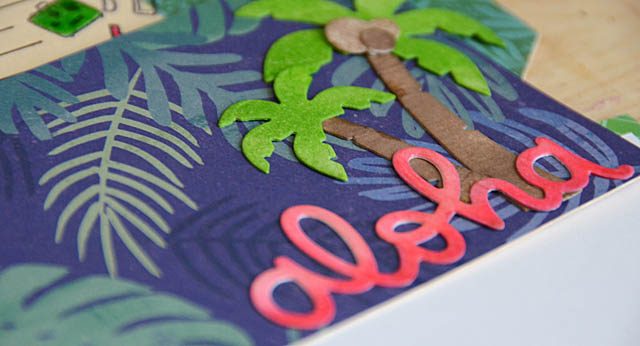
In my experience planning for a good vacation is best done in small amounts of time, as far in advance as you know the trip will happen. I personally use trip planning as a reward – I love it! Having a cute spot to record details and “don’t forget…” helps too. So often we’ll see a good place to eat or visit on TV or talking with a friend and we’d forget if not for some kind of planner.
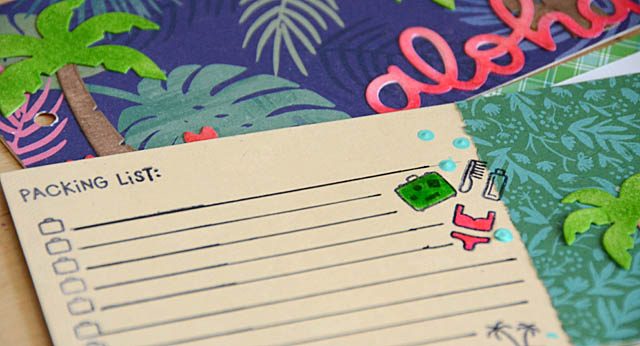
Not into vacations or planning? Today’s project could also inspire you to create a mini book! Notice how I used various bits of paper, die cuts, even a few letter stickers in addition to black ink and the stamps. This could be a “tag book” with photos and journaling instead of a mini trip planner.
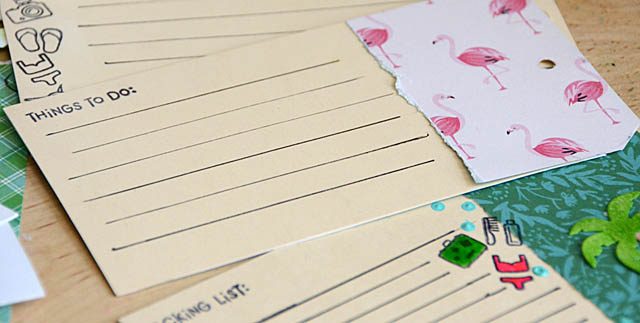
When it comes to trip planning – honestly I have almost as much fun with this part as I do being on the trip. Researching hotels, finding delicious food, getting great seats to a sold out show… it’s the most fun kind of planning edging out planning a vacation scrapbook after ever so slightly. You know I think I could be happy just planning, taking, and scrapbooking travels if only that was a full time job!

Here are 3 tips for happy travels:

  1. Start EASY. Sure you’ll land at noon, but if you won’t be at the hotel until 2-3pm at best… maybe don’t cram in an afternoon tour and feel stressed out on arrival “will we make it?!” far better to relax with the plans and “wait and see” what time you actually are ready to rock.
  2. Have a plan B and C. Sometimes someone gets sick, there is a thunder storm, or you just don’t feel like eating at the place you’d planned. Know and have some backup options! From Disney World to NYC I can’t tell you how many times my “backups” saved the sanity and meltdowns of someone in my family. Oh the stories I could tell you… perhaps I’ll start a “plan B” vacation scrapbook album.
  3. Enjoy whatever you do. It won’t ever be perfect whether you’ve got a hotel room that has a ‘charming’ whirring sound of the elevator motors or someone gets sick and has to lay low… the trip doesn’t have to be a bust. Find the fun, enjoy the travel time and adventure – and don’t forget to scrapbook it when you return!
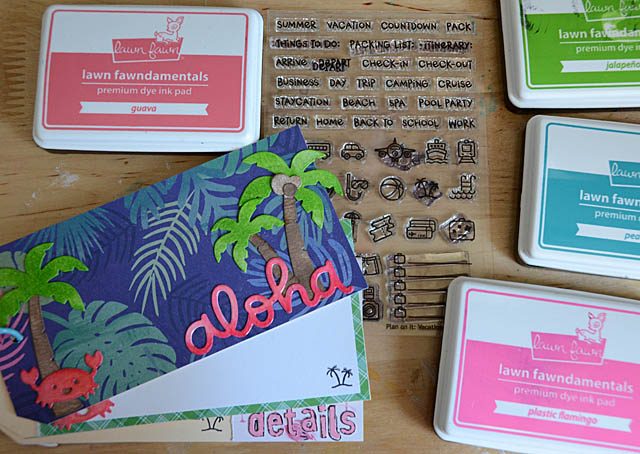
Give-away time! Lawn Fawn sent me two of these planner stamp sets. What’s a crafter to do? SHARE of course!! I’ll be including some manila tags and a few surprise goodies that I think are just perfect for vacation planning along with this stamp set. How to win it? For your chance to win leave a comment here and a winner will be drawn at random and announced on the July 16th round-up post.
Traveler’s Notebook

I’ve been real worried guys! You see, for many years I’ve used mini books created by scrapbook companies for my scrapbooks “on the go” – but all my favorites are no longer being made! Oh, sometimes you can find one, but they’re not something still being produced/new ones made. What’s a girl to do?

DSC_3412

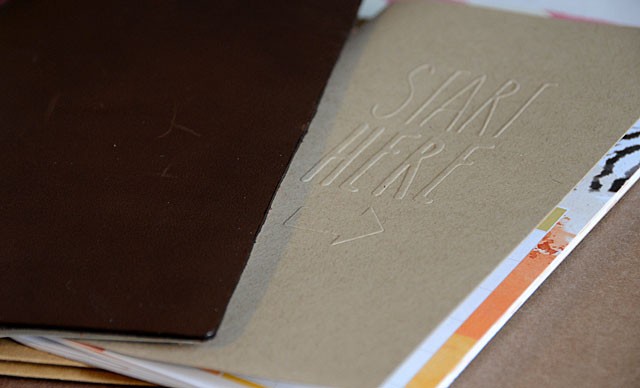
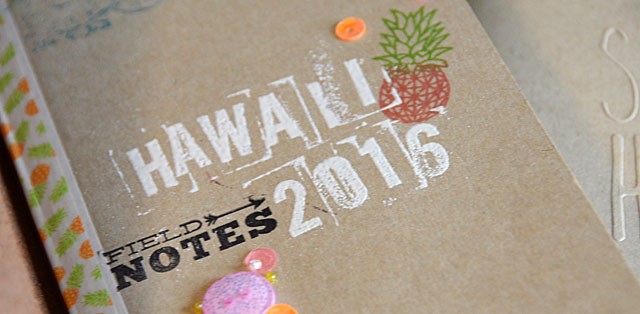
A few months back I received a notebook from Cocoa Daisy called a “Daisy Dori”. Each month they release a new one – full of beautifully decorated pages ready to rock a scrapbook on the go! I purchased a few more recently – but I also realized there’s a whole world of these “traveler’s notebooks” that I had no idea existed! Talk about exciting! Here’s a link to a YouTube video I created on the subject.

I mention my own personal rules for scrapbooking on the go – and I’ll recap them here:

  • Do a little bit of pre-embellishing if working with a plain
  • Severely limit what you bring. Just a pen and some tape will get it done, but a few stickers or washi tape strips might be nice to have along
  • Remember you can always add more when you’re back home

DSC_3416

I’ve been keeping journals for years! What do I do with them? Sometimes I use them as reference for remembering where we went and what we enjoyed. Sometimes I use them to recall details for scrapbooking. Sometimes we just enjoy reliving memories and notes written while traveling.

I don’t worry about looking photo worthy or fancy – the wrting and details is what matters in here. Everyone traveling is welcome to add their thoughts as well! These little books take up no room, and I’m excited about having a cover that I can insert new books as old ones get filled up. I can’t tell you how fun it is to read the details of our travels that I would never have remembered otherwise.

DSC_3419

Aside from the beautiful Cocoa Daisy “daisy dori” books (pictured above) the set-up I’m using is the official Midori Traveler’s Notebook. You could make these yourself, or purchase them ready to go! Below are some (affiliate) links to Amazon where I found mine.

leather cover
no lines
kraft (no lines)
lined notebook
folder

And here’s a link to scrapbook.com where the supply folio I use is from.

Project #2: Simon Says Stamp August 2015 Card Kit

summer2

As I posted last week – I’ll be featuring a different kit each month and creating with it. This month? The August 2015 Simon Says Stamp card kit.

Don’t let that name fool you!

What is a kit? A coordinated grouping of supplies.

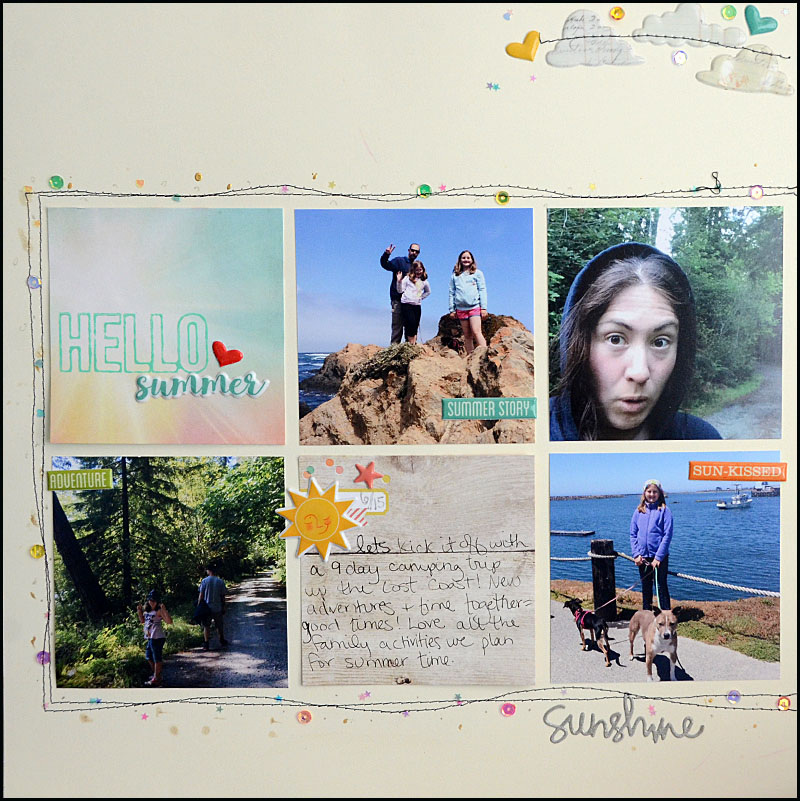
There aren’t rules about “you must make —- with the supplies”. No way! Here’s a layout I made with the supplies from this kit.

summer

I added in the sequins and the 12″ background cardstock, but I believe pretty much everything else is the kit! These adventures are detailed in my camping albums but these photos didn’t make the cut and I like having a page (or two) in the yearly album that share highlights too.

If you would like to see my video process for this page, be sure you’re signed up for my FREE 2015 class! I’m going to be closing down the registration page for this class very soon so it’s last call…

Falling for you blog hop – with video tutorial

Free product was provided for this, and affiliate links used when possible in this post, at no additional cost to you – it just helps keep the blog running…

fallingforyouhop

I’m excited to be a part of the Simon Says Stamp MEGA blog hop featuring their newest batch of releases! Heads up that Simon will be picking one random commenter on each stop for a Simon Says Stamp Prize pack randomly selected on April 28! So when you finish checking out my post, you probably want to leave a comment to be entered for a chance to win!

003

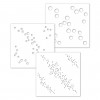
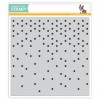
I went wild with loads of fun stamps + stencils for my project. Here is my You Tube Video of the process!

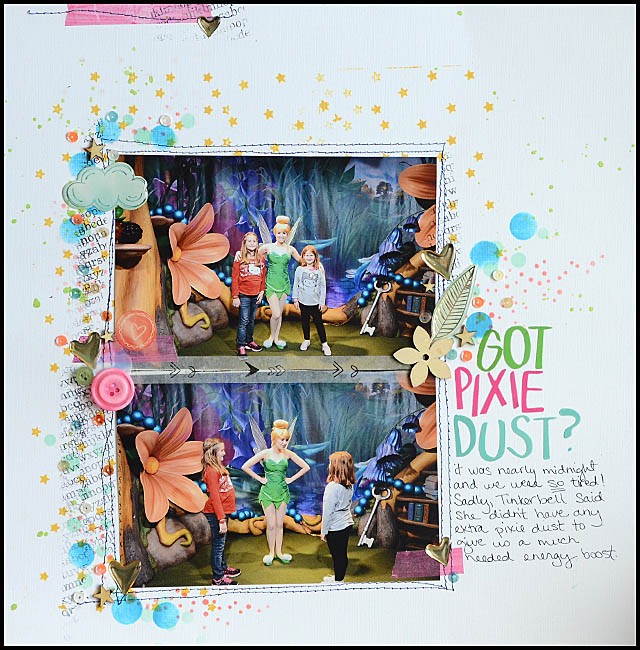
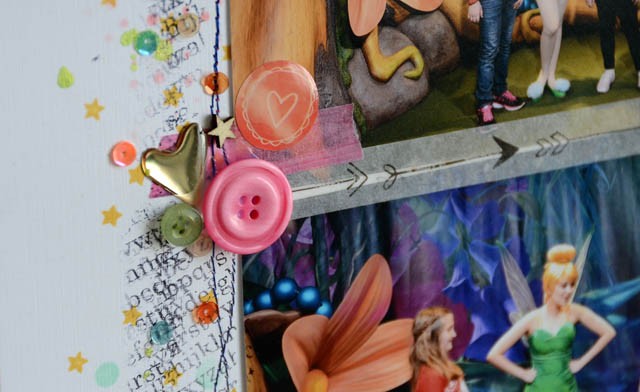
As you can see, these stamps & stencils look great alone or layered up! I love taking a white piece of cardstock and customizing a background for a scrapbook layout!

011

Supplies Used:

This style of layout is so much fun to make!

004

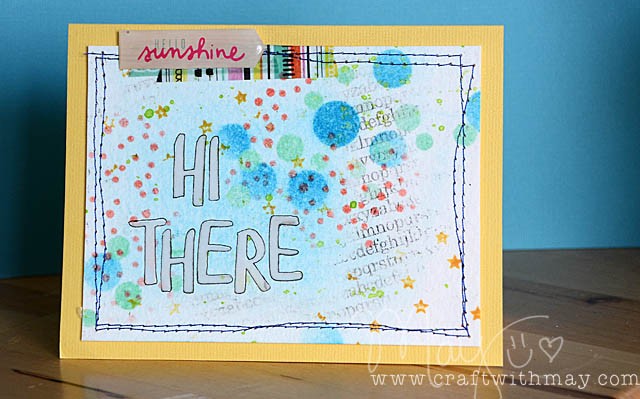
But wait – there’s more! I made a card with the exact same techniques:

003 copy

Just a reminder that fun techniques can always apply to a multitude of project types!

Remember – leave a comment here (and on any/all stops!) for your chance to win! I’m the final stop in this blog hop, so if this is your first stop, or if you want to continue along the hop and check out all of the great projects and information head to the Simon Says Stamp blog – aka the first post.
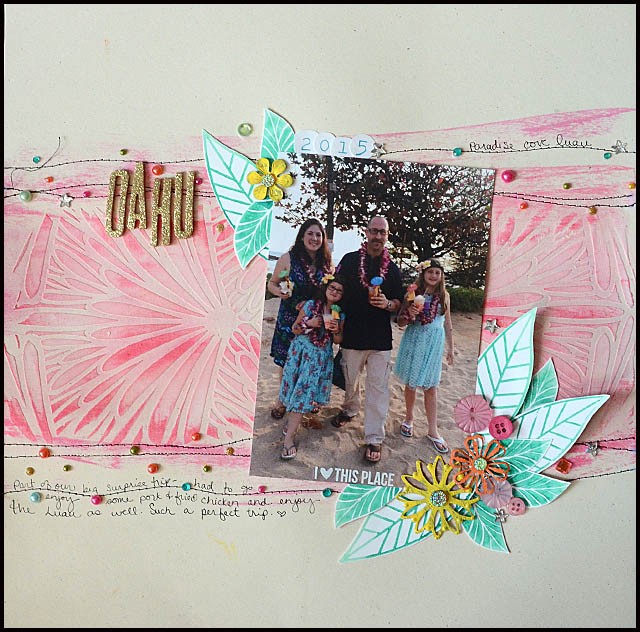
Hawaii layout with Hero Arts stencil & stamp

051

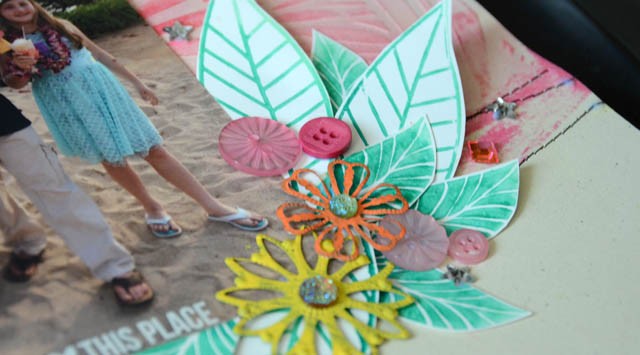
Today I’ve got a quick & easy layout tutorial featuring a Hero Arts stamp, ink pads, and a brand new stencil too. This tropical stencil is the perfect size for a card background – but I think if I use it twice (so it goes across my layout) it will make the ideal scrapbook page background too!

003 (2)

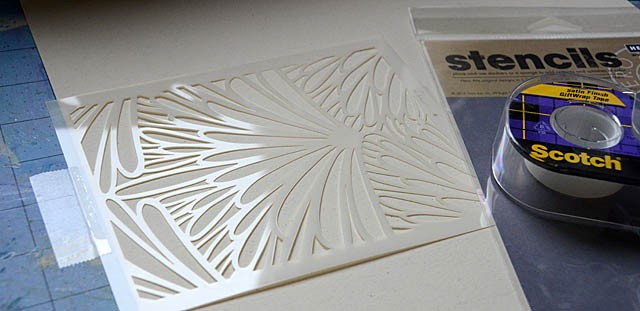
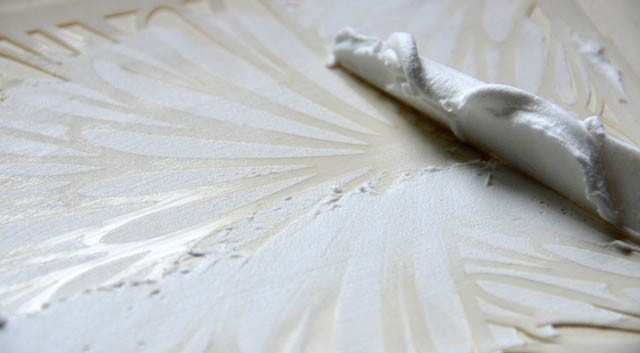
First up, I taped down my stencil and applied paste to it. I did this twice so that the stencil design would stretch across the middle of my layout. Note that there was about a 1″ gap in the middle – but that is ok! It doesn’t matter because there will be a photo covering that part.

005 (2)

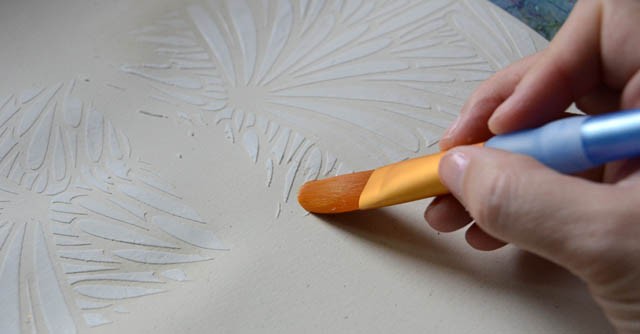
Once I had that done, I used a paintbrush and a bit of water to smooth out a few edges to make the edges of the stencil a bit more gradual. Love this design!

011 (2)

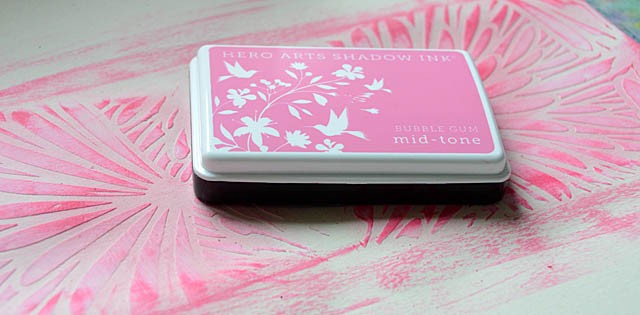
The hardest part: I let this dry totally, and then let it dry overnight underneath some heavy (wood mounted stamp) blocks. Next up: I took my ink pad and rubbed it lightly over the stencil, as well as along the edges. Once that was done, I also stitched along the edges of the design.

020 (2)

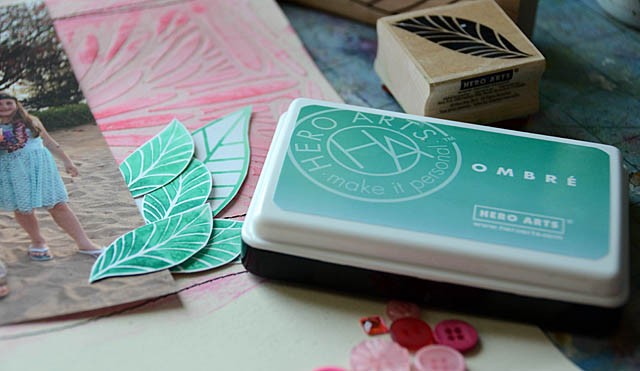
Ready for more inky goodness, I broke out my mint ombre ink pad and stamped some leaves!

008

Note that the big leaf isn’t a Hero Arts stamp… I don’t know whose it is! It is on an unmarked block. I really am enjoying these ombre ink pads and you can see (above) the slight change in color that makes for a blended look so easily. I will be doing more projects and a video on these new ink pads next week.

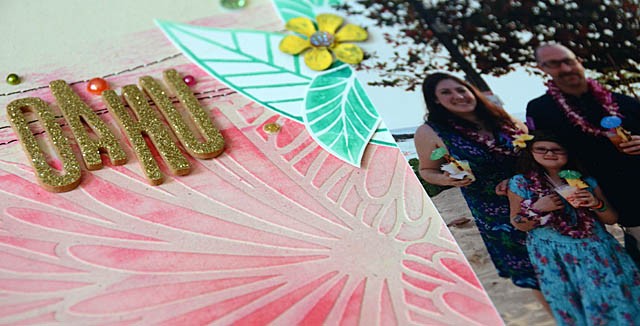
Back to the layout – just a few embellishments added and bam! Look how those stamps, stencil, and ink pads got me into a fun layout in no time at all.

046

I hope you enjoyed this quick layout tutorial and that I’ve encouraged you to bust out some stencils, stamps, and ink and get crafty today!

049