It is so important to play + learn. This week I got to spend the morning learning with Brenda Walton!
I made three fun projects, got to see some good friends and had a great time too. Just a reminder to – even on the busiest of weeks – find a bit of time to do something just for fun and just for you!
I’ve been playing with my Dylusions paints + Dina Wakley paints (with the fine tip attachment) as you can see here. I was feeling some pent up irritation – having heard a rant by one person who was trying to invalidate someone else’s lifestyle to make herself feel better/right/special.
Man, it got me angry. Saying something wasn’t going to do any good- she wouldn’t have listened. So into my journal I went. Dr. Seuss knows his stuff – the Sneeches has always been a favorite of mine. Who cares if you have a star belly or plain? That’s just the wrapping.
The inside is what counts.
So focus on letting your own star shine – we each have that right. Let that freak flag fly. Own your weird. Embrace your quirks. Most of all don’t let anybody tell you no, that you can’t, or that you’re in the wrong because what you believe doesn’t line up perfectly with their version of the world.
We’ve all got our own unique star – personally I’m trying to let mine shine and encourage others to do the same. There is room for us all in this great big world – trying to snuff out someone else’s shining self sure isn’t going to make me shine brighter.
Sharing these kinds of thoughts and these random art journal entries has been a goal of mine – believe it or not something that makes me nervous. Thanks to the nasty lady I overheard it inspired this page and entry – we can always pull something good out of most any situation…
I don’t believe in keeping scraps. Let me explain. Years ago I realized I really didn’t use them because it took SO much time to dig through all the scraps that I just skipped the bucket ‘o scrap. So I came up with my own system. Any “used” paper goes through this process:
If it is 6×12 or bigger, it goes back into the regular paper storage it came from
If I can make a 4 1/4 x 5 1/2″ card front from it easily, I do
If I can use it on an immediate project (aka it’s on my desk and I need something similar) I go for it
If all the above fails, I use a paper punch or die cut it.
Because it is super cool, and because I want to share with you how this works I made a quick video showing how my ScanNCut can give me loads of shapes from any scrap or scraps I have laying around.
I strongly believe your stash needs to work for you! For me, having a supply of basic shapes I use a ton ready to go is great, and much easier to store and use than general scraps ever were.
Disclosure: I am a paid consultant for Brother International Corporation and have received a ScanNCut from Brother to evaluate. However, the opinions expressed are entirely my own and based on my use of the product.
Somewhere between honey and mustard – this 2015 color is becoming a favorite for blending. Shockingly, I love it with reds! Mustard & Ketchup? Nope. More like beautiful warm shades of color I can’t resist!
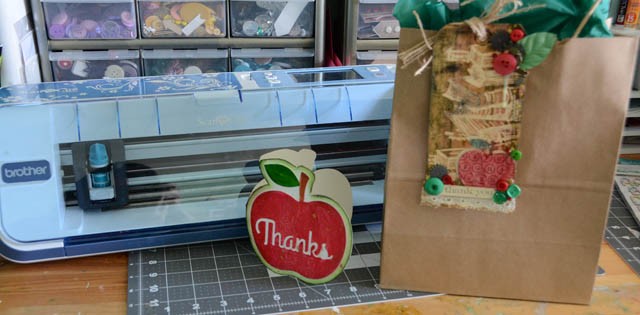
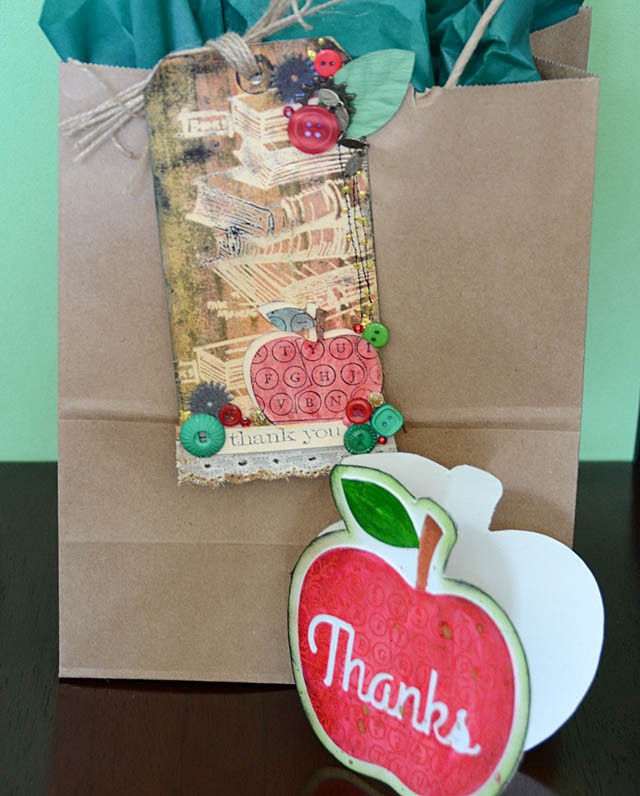
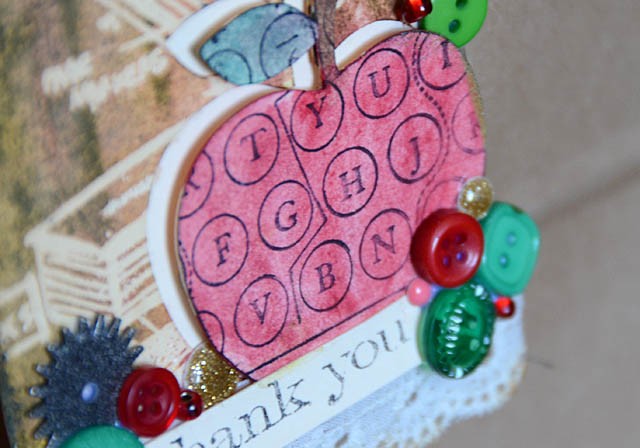
How is it time for end-of-year teacher gifts?! Well luckily I was able to hand craft some cards + tags to make things a little homemade with my ScanNCut machine, some color mediums and just a bit of time before school pick-up.
Supplies needed: Cardstock (manila and white), watercolors or other fluid/blendable mediums, buttons/embellishments, stamps, embossing powder, ink, and of course a ScanNCut
I am so in love with making these apples – such fun! I really love using a basic shape as a starting point for mixed media fun.
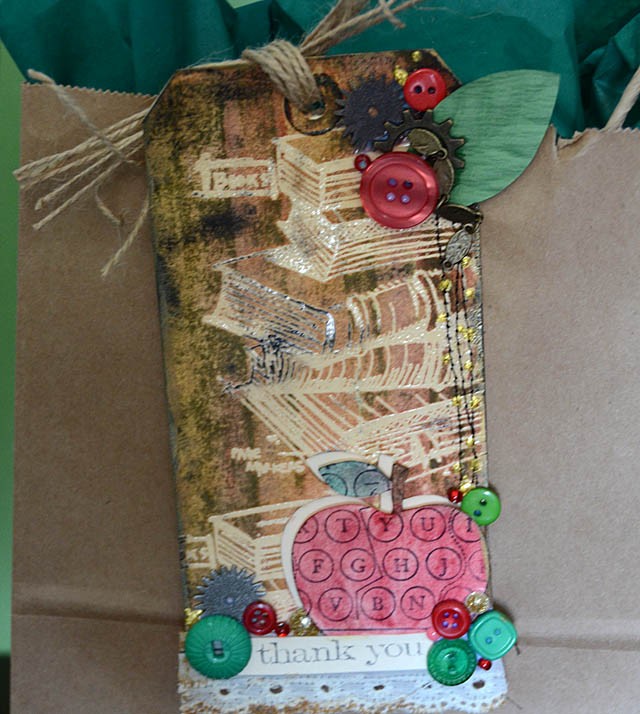
The how-to for my tag:
1. Size (2 1/2″) and cut the apple from your ScanNCut onto the tag
2. Use clear embossing powder to add texture to a stamped image on the background. Also, stamp (black ink) the apple.
3. Use color mediums such as watercolor to color everything. Then mount white cardstock behind the tag.
4. Add stitching to the tag background, add trim and embellishments to the top.
5. Finish the tag by attaching the original apple on foam adhesive to the tag. Then add trim and embellishments as well as a stamped sentiment to the bottom.
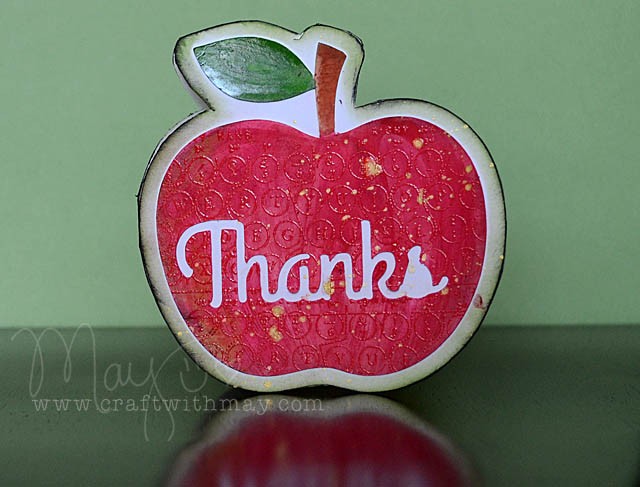
Card how-to:
1. Cut the apple at size desired using ScanNCut
2. Scan the original apple, then add outline before cutting on white cardstock – this becomes your base for the card. A folded piece of cardstock will also need to be cut to this size (by hand).
3. Color the white layer with ink along edges
4. Color main apple with watercolors, add a red embossed/stamped image, and finish with gold mist before attaching to the card base/background.
These are sure to make some teachers smile (I hope!) and I hope you’ve enjoyed my tutorial today.
I am a paid consultant for Brother International Corporation and have received a ScanNCut from Brother to evaluate. However, the opinions expressed are entirely my own and based on my use of the product.