New craft? Start here.

I have some new creative ideas that require some new supplies, but with any craft you’ve got to be careful! It is so easy to dive into scrapbooking, card making, or in my case beading and take the initial shopping way too far. Today I want to talk to you about those first ‘getting started’ steps when you’re looking to expand your craft supplies.

Start Here: Know what you’ve got

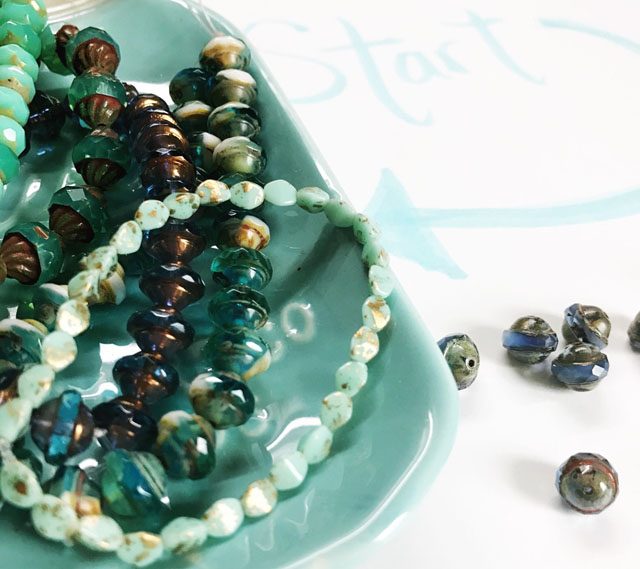
The first place to begin is to take a look at what you do have that will be useful in your new endeavors. For example, if beginning a new scrapbook album I check my stash of page protectors, cardstock, letter stickers, and more. In my particular situation I’m looking to see what charms and beads I already have both in my own line (28 Lilac Lane) and general stash as well.
Step 2: Write it down

Don’t start shopping yet! First take a few minutes to jot sketches, ideas, and otherwise brainstorm those wild ideas. In my particular case I am wanting to add some beads to some planner and backpack charms, make a few bracelets as gifts, and take on a few mixed media projects. Knowing what I am aiming to make will help tremendously before I shop!
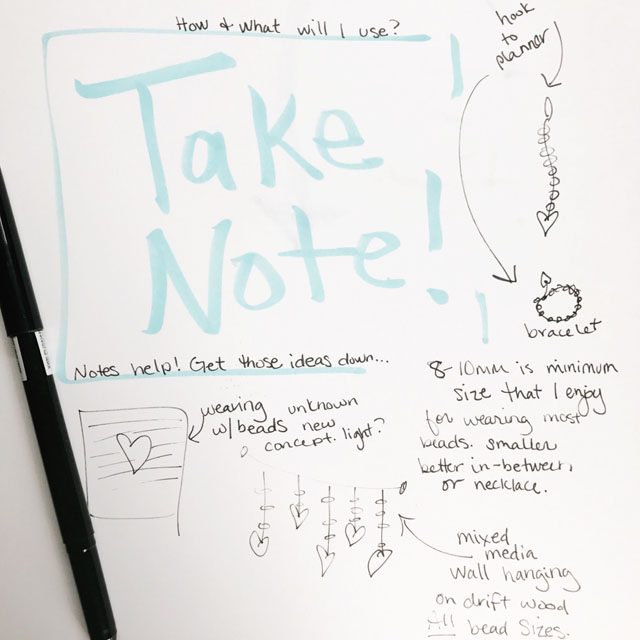
You’ll want to think about quantities you want, items that would be useful, and of course the ideas that are inspiring this creative growth. Considering all of this before you head out with credit card in hand will always save money and avoid some regrettable purchases.
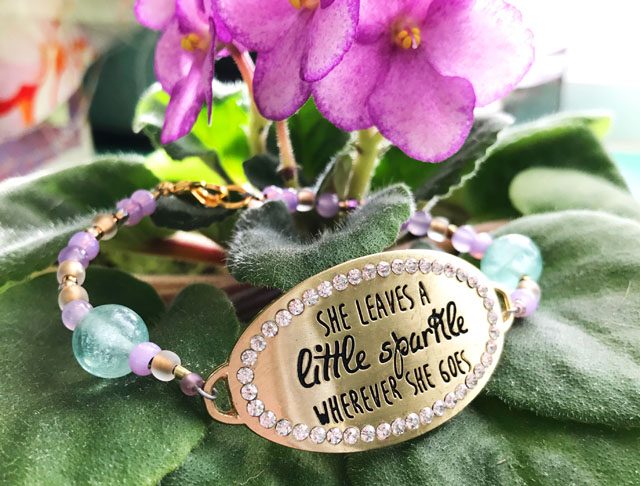
With a more clear vision ready to create and with ideas about what I need (and will use) it’s time to go shopping! A few tips:

  • Have a “must have” list of any items that you can’t create without. In my case this included wire and crimping beads.
  • Have “wish list” or general items you’re seeking including sizes and dimensions if applicable
  • Don’t forget colors! You’ll want to know what colors will work well for you or that you intend to create with in general so you can be more focused in your shopping.

Need vs Want:

Now while shopping there’s a big difference between need and want. Sometimes the want category can be good! Sometims it’ll be items you didn’t realize you always wanted and you’ll turn them into products you can’t wait to use! Sometimes they’re items you just have a case of the “heart eyes” over and you won’t ever use them. It’s an important difference.
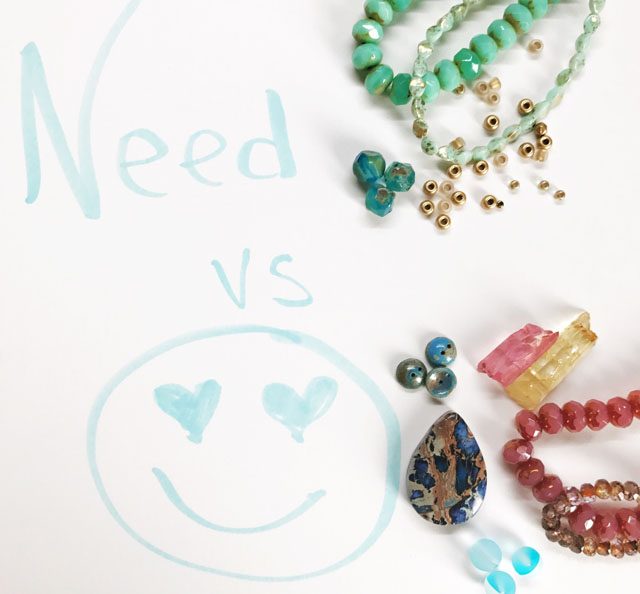
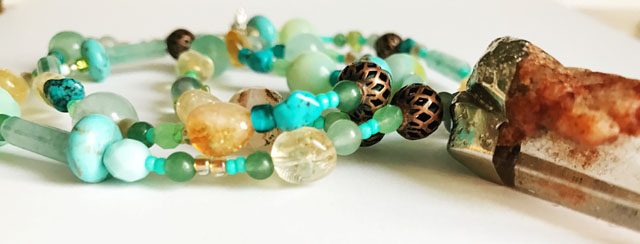
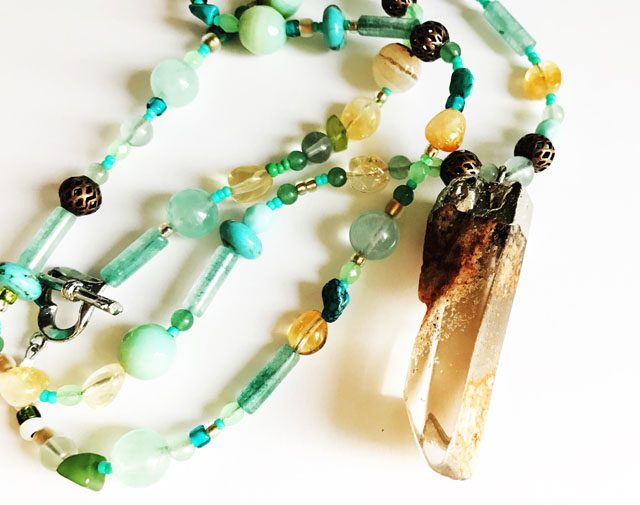
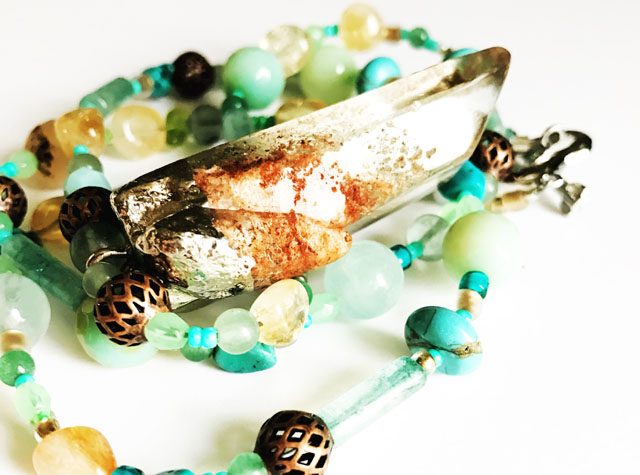
Above you can see my need vs want pile from recent shopping. I didn’t do too badly! I am a big believer in working from what I have on hand, so a few extras isn’t a bad idea in this case. I took one of the “want!” pieces from my trip to the local bead shop and turned it into my first necklace. (see below) So remember as long as you get stuff used and enjoy the creative time it is all good!
Easy to start.

The final piece of advice I want to leave you with today is to begin easy. In my case, I learned a very basic (no tools I didn’t already own required – yay!) technique for closing up bead strands which is to use a crimp bead. All it required was whatever closure I wanted + the beads + the wire which I needed anyhow as I didn’t have any stringing wire anymore. So my investment was all of about $15 to get enough stuff to make a dozen or more pieces. One mistake I see get made a lot (and am guilty of myself!) is jumping in too big, investing too deep, then realizing you don’t want, need, or use that tool.
I have just finished filming my first video making a bracelet with one of my 28 Lilac Lane kits (plus a few needed add-ons) and I will be posting that next week to share with you exactly what I’m talking about. In the mean time whether you’re considering a new kind of craft or perhaps a specific large scale project I hope I’ve inspired you to slow down and explore your ideas before leaping into action. Especially if it involves shopping for new supplies.

From an entirely new approach to my scrapbooking to jotting my ideas down more, adding some beaded elements to my mixed media projects (the end goal of my bead purchases!) to utilizing my stamps better I’ve really been working on having a better creative work flow. Not letting so many ideas disappear or never be realized because I don’t know how to do something or haven’t plotted out the details.
2017: Reset time.

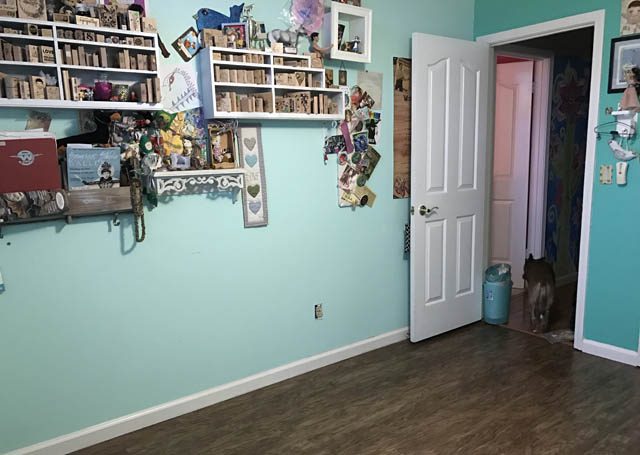
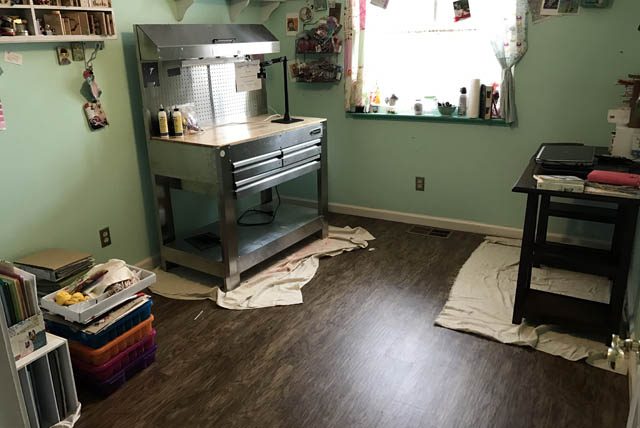
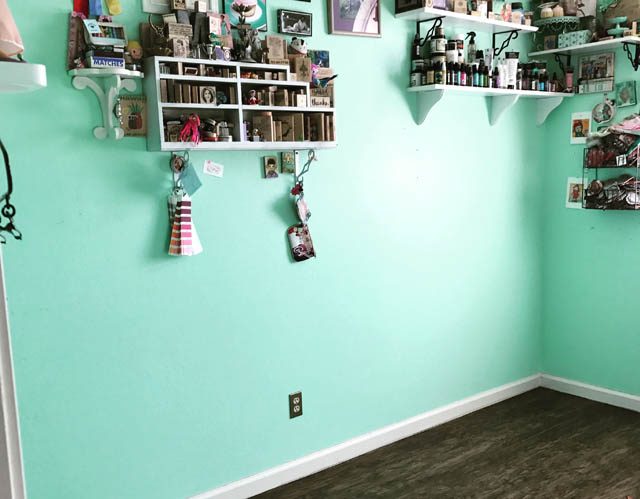
Well 2017 has begun, and I’m ready for a reset! To make a long story short, some of the boards in my floor (studio) began separating and the company that installed it needed to come out and fix it. So (this was about 2 months ago) I scheduled it for 1/2/07 thinking it would be a great time! I would have kids off on break and emptying the entire space wouldn’t be so hard. That part I was right about. It ONLY took 4 days to move the studio out. That was the only part that was smooth…

You see once empty and ready I got a phone call. Many of them actually. The installers showed up and declared that they couldn’t fix the floor with the material they had. They had gotten faulty/damaged boards they deemed unusable. The company had discontinued my floor the week before and none was left, a new floor would have to be installed and I’d have to go through the process of picking it. On and on we go for a week. Good news: a box of boards of my flooring was found and shipped out, and next week the flooring is scheduled to be fixed as long as weather didn’t delay the materials, etc.

Mad doesn’t begin to describe my mental state, but also a bit of helplessness and a side of “why do I even try my best?! WHY do I bother?!”

I won’t bore you with more details – but I’ve gotten through the past 10 days and even managed to create 3 projects… personal best? No. But it’s given me time I wouldn’t have otherwise taken to evaluate what I do and don’t use. What I do and don’t want to spend my time on.  If all goes well, it’ll be done and everything moved out of my room, the hallway, and the kids room and back where it all belongs by Tuesday or so.

I doo have a sort of temporary set up with a few items that I moved back in for the sake of sanity and just way too much being crammed in the hallway.  A slow start? Yes. An often cranky and frustrating one? yes. One filled with sickness and irritation? Yep.

But there are good things happening too, and I remind myself that NOT fixing the cracks in the floor now would result in big bad later. Sometimes you’ve just got to pause and reset things properly. I am evaluating creative process, dreaming up new and wild ideas, and focusing in on what I can do to strip and reset a lot of my process, time management, and creativity that suffered in 2016.

I’m still annoyed (and will continued to be so until it’s fixed!) with this whole situation and fact that it needs to be done at all. But hey – it happens. And now you know why things have been a bit on the quiet side around here!

Card making 1-2-3

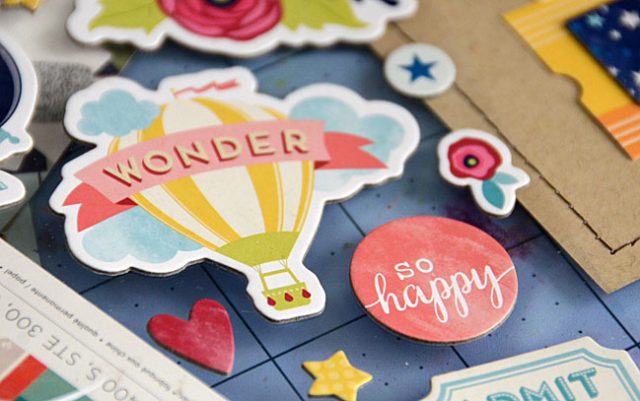
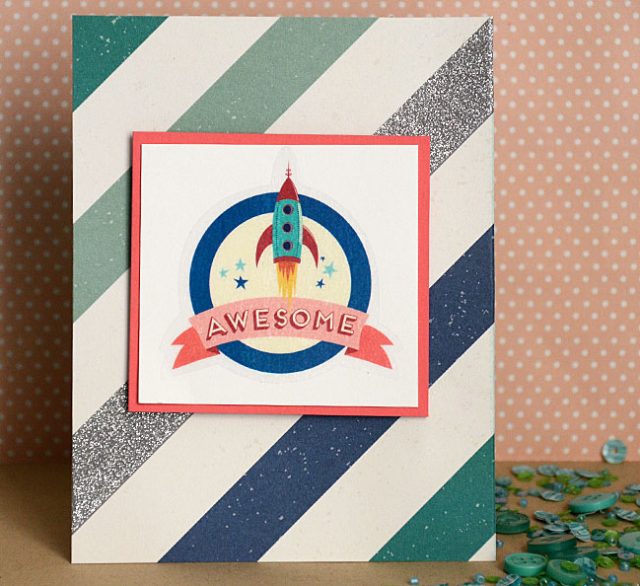
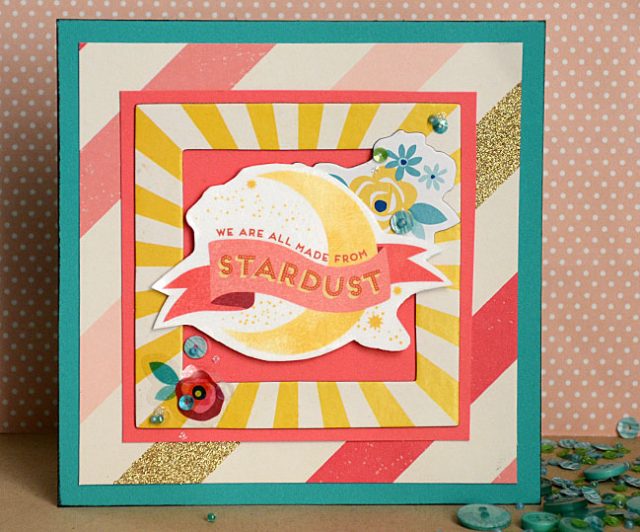
Sometimes I have extra stickers or scraps of paper that I don’t want to put away or store. What to do? Make a few cards! You can keep it simple or amp it up, and today I’m here to share a trio of ideas to get your creative mojo started! My focus was to create some birthday cards great for anyone boy or girl, baby or adult.

Option #1 works best for a sticker or small journaling card or die cut that you want to feature on its own. Mount onto cardstock, then a contrasting cardstock, and center onto a patterned paper as you see here.

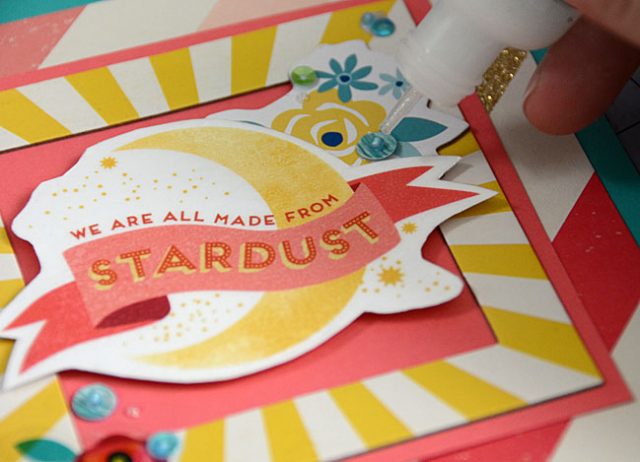
Want to amp it up just a bit? Take a look around for elements that you can cluster together. Here I took a chipboard frame, some small stickers, and of course that big beautiful stardust sticker and placed them together on some coral cardstock.

This card needed a few added layers for pop and contrast – and I just love how those few extra steps (including adding glitter glue) brought it together.

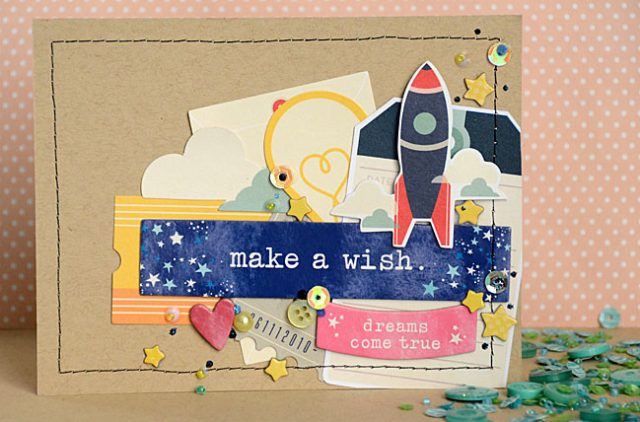
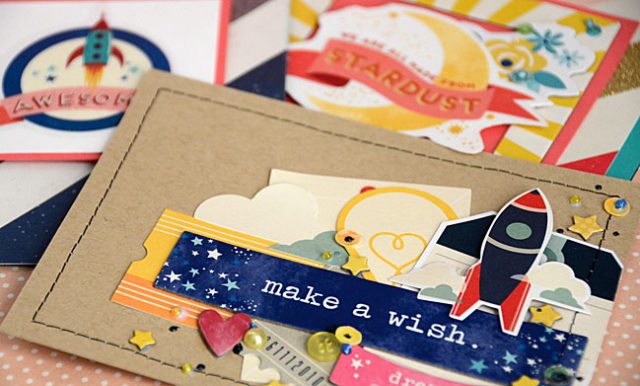
Ready to take it to the next level? Working off the same basic principle, but going a bit more free form we have the third card. This time I stitched around the edges to create a layer/frame.

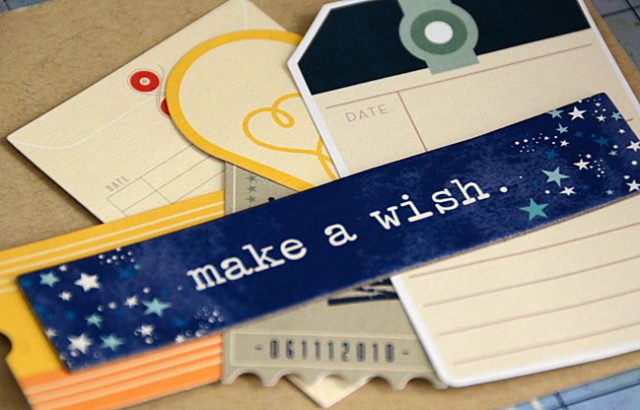
I also took the most fantastic chipboard ‘make a wish’ and used it to sort out what die cuts would look nice clustered underneath.

Remember that you want a variety of colors and sizes. Once satisfied, I added a robot on foam adhesive to add a pop of fun. To add more detail I added some chipboard stars, sequins, and of course more glitter glue.

I think that glitter glue is my favorite embellishment for all projects, adding just a bit of sparkle and shine! I hope you’ve enjoyed walking through these three cards and seeing how with a few adjustments and additions can take a project from clean and simple to a bit funky.

I used a mix of Shimelle papers/stickers + 28 Lilac Lane embellishments for these cards. Want to find some of your own? (Affiliate links used) –  I’d recommend scrapbook.com for both. and for more card ideas! I’ve got two free card making classes there for you to check out as well.

Happy Crafting!

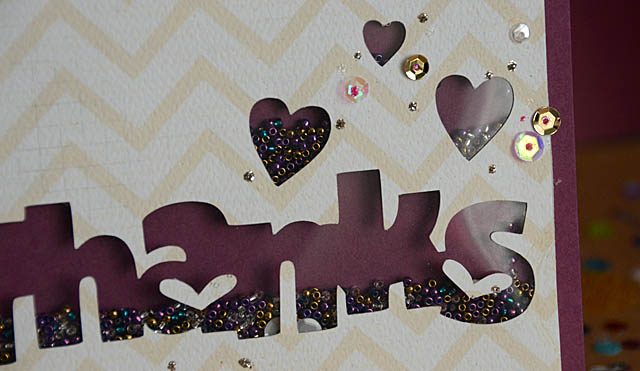
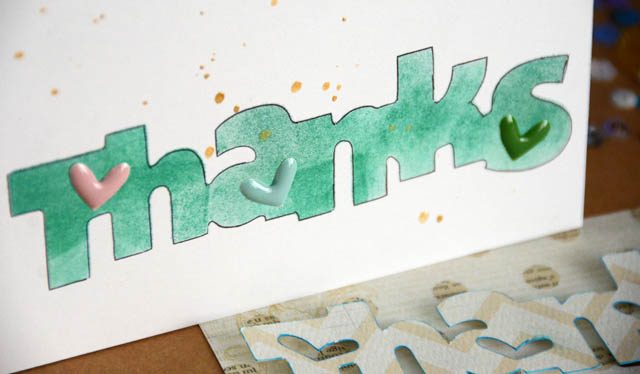
Thanks – one design four cards

’tis the season… for thank you cards!

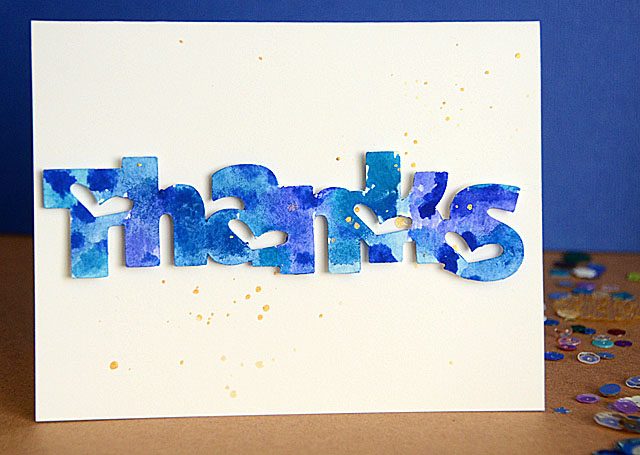
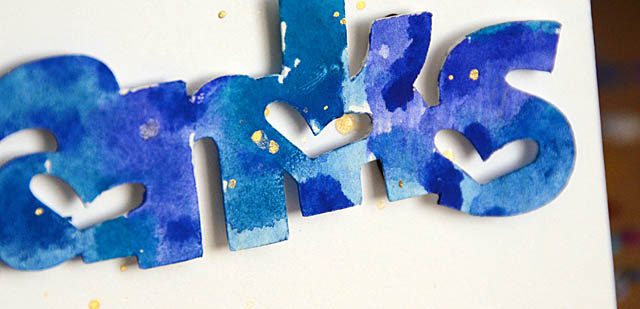
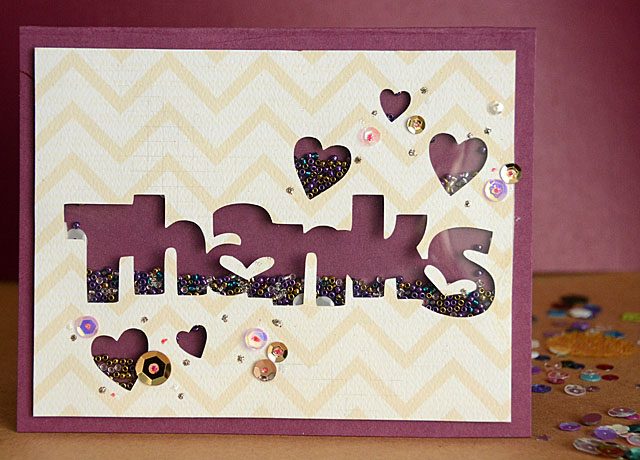
I decided to test out one design built into my ScanNCut (note, as always that I’m a paid consultant for Brother but all ideas & opinions are my own) and see what I came up with.

The answer? Very different looks – and none of them Valentine colors as I’d originally been inspired to use! I love challenging myself to do use the same supply in multiple ways – and I had a lot of fun with this.

Here is a link to my YouTube video tutorial.

I had so much fun testing things from making a shaker card to applying ink, layering with foam adhesive to adding details like the epoxy hearts that I think I’ll have to try again in the future to sit down with one design (stamp, cut file, etc) and see what all I can come up with!

I hope you’re having a wonderful day – and wish you a very happy New Year!

Merry Christmas and very happy holidays to you!

Santa Bandit (and all the rest of us here in the Flaum house) wish you a very Merry Christmas! I’ll be taking a few days off to fully embrace time with the girls, visiting the fire house, delivering some cookies, and of course playing with the pups including this little guy – his first Christmas! It’s going to be a quiet and low-stress time (I hope!) and going to make the most of a different sort of quiet holiday celebration.

Wishing you all the best whether you’ll be enjoying some wild hoopla or keeping it quiet with pajama days and working on puzzles. Whatever shape your holidays may take – I truly hope this weekend is merry & bright for you.