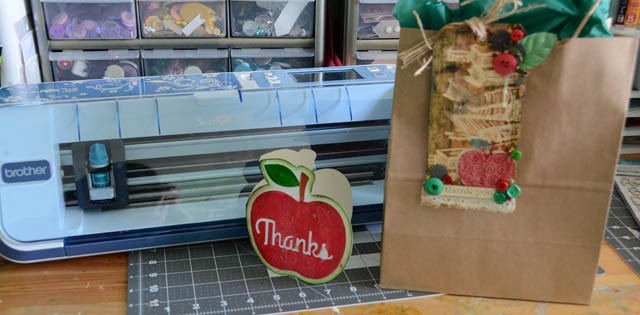
How is it time for end-of-year teacher gifts?! Well luckily I was able to hand craft some cards + tags to make things a little homemade with my ScanNCut machine, some color mediums and just a bit of time before school pick-up.
Supplies needed: Cardstock (manila and white), watercolors or other fluid/blendable mediums, buttons/embellishments, stamps, embossing powder, ink, and of course a ScanNCut
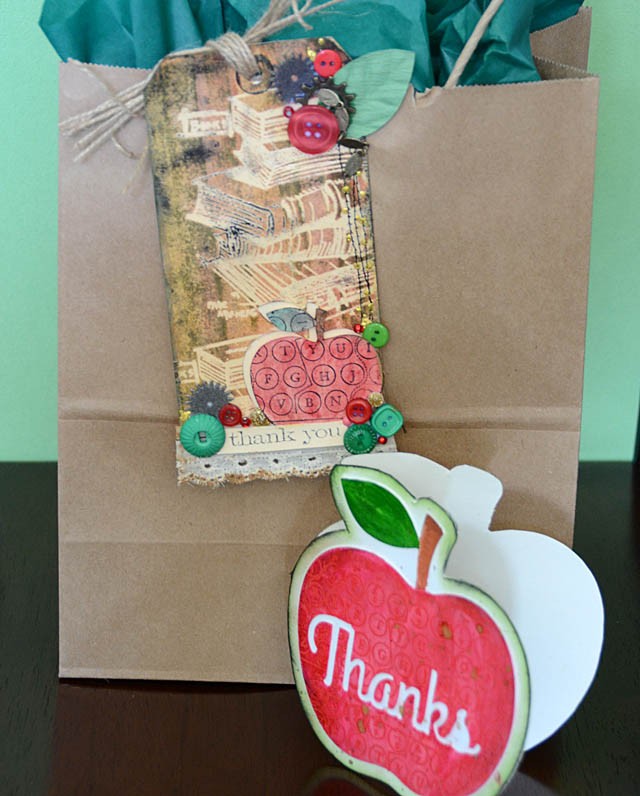
Here is my video tutorial:
Link to YouTube
I am so in love with making these apples – such fun! I really love using a basic shape as a starting point for mixed media fun.
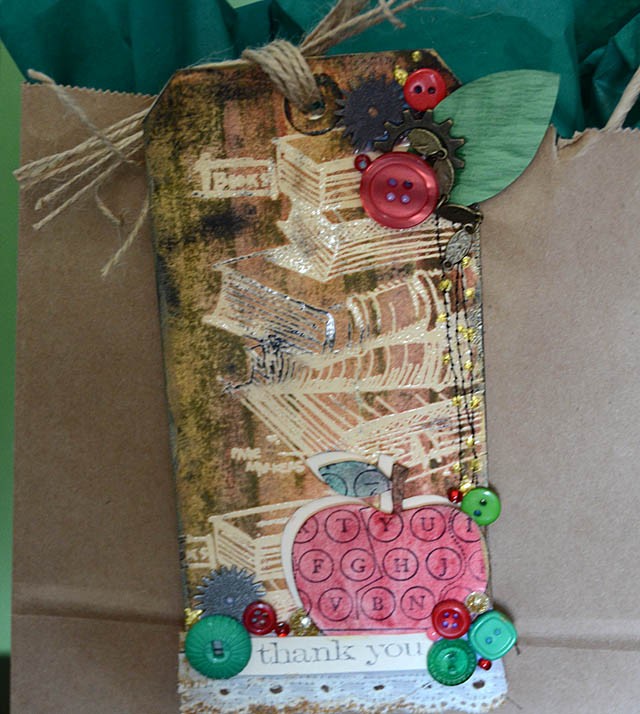
The how-to for my tag:
1. Size (2 1/2″) and cut the apple from your ScanNCut onto the tag
2. Use clear embossing powder to add texture to a stamped image on the background. Also, stamp (black ink) the apple.
3. Use color mediums such as watercolor to color everything. Then mount white cardstock behind the tag.
4. Add stitching to the tag background, add trim and embellishments to the top.
5. Finish the tag by attaching the original apple on foam adhesive to the tag. Then add trim and embellishments as well as a stamped sentiment to the bottom.
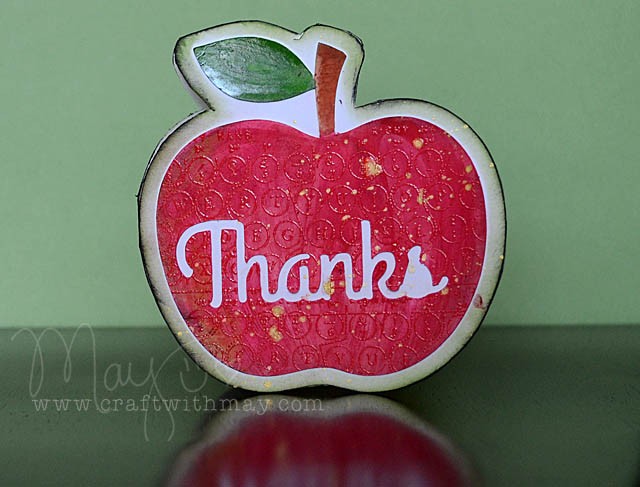
Card how-to:
1. Cut the apple at size desired using ScanNCut
2. Scan the original apple, then add outline before cutting on white cardstock – this becomes your base for the card. A folded piece of cardstock will also need to be cut to this size (by hand).
3. Color the white layer with ink along edges
4. Color main apple with watercolors, add a red embossed/stamped image, and finish with gold mist before attaching to the card base/background.
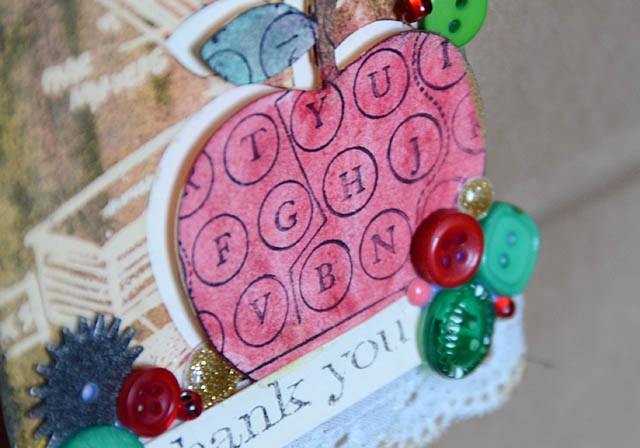
These are sure to make some teachers smile (I hope!) and I hope you’ve enjoyed my tutorial today.
I am a paid consultant for Brother International Corporation and have received a ScanNCut from Brother to evaluate. However, the opinions expressed are entirely my own and based on my use of the product.
