This is a topic so big that I’ve seen entire classes built upon it, in fact I wouldn’t be surprised if there are books. “How do you organize and store your photos?” is a HUGE question!

The short answer is: you should use whatever system will work for you! Right now my photos are well, a mess. But I know what I want to do and it is this:
- Have photos organized/grouped by approximate year
- Throw away all the nonsense prints (blurry, duplicate, etc) that are taking up tons of room
- Have “to scrapbook” photos set by topic/date in smaller more specific containers
In short, I want to make this incredibly simple and I do not particularly care if within a given year/time period photos are in order or all together by event. I want to have a lot LESS photos of some time periods where I seriously over-printed! I will share a little bit more about what I am doing, but first let me disclose that this is NOT “the best” way to do this, nor do I think everyone should go about it this way. This is what I know will work for me, and in case it works for someone else, I’m sharing.
Huge tip: break this down by SMALL pieces. I simply got my photos “to scrapbook” broken down in general ways today. Next week I will get more specific. The week after that I will tackle ONE photo box in storage, etc. BREAK IT DOWN! If I get overwhelmed, I quit! So I definitely don’t want to do that.

- When I get a few months worth (or a big trip) of photos I place an order usually 4×6, occasionally 3 1/2 x 5 from persnicketyprints.com. I do not trust technology to save my digital photos – so if I WANT a picture… I print it.
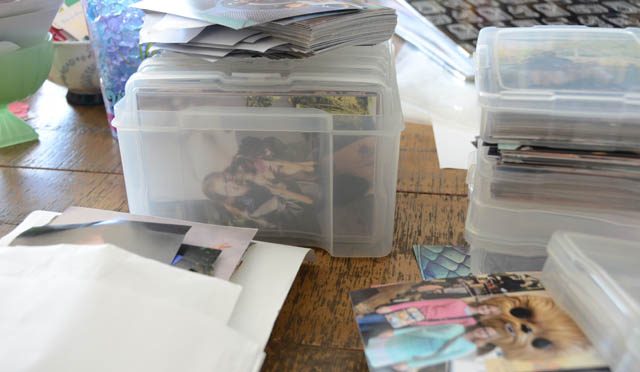
- These photos then either get put right into albums, or into small photo storage containers (like above). Once I’ve scrapbooked a subject IN THEORY… any leftover prints need to move to the permanent/photo storage area of closet. I say in theory because welll… it doesn’t always happen that way. This is a VITAL part of my process because it removes photos from my “what shall I scrapbook today?” area.
In other words, things that go into deep photo storage generally stay there! The good news is that because of my system of filling photo storage boxes most of the pictures I have stored are pretty much in order – within a year or two at worst. I don’t intend to label, micro organize, or sort those deep past pictures either. Just clear out the junk, and have them sorted nicely enough that someone could go looking for a vague time/place easily.

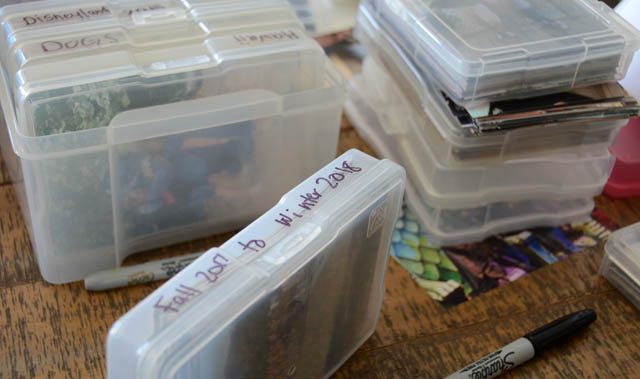
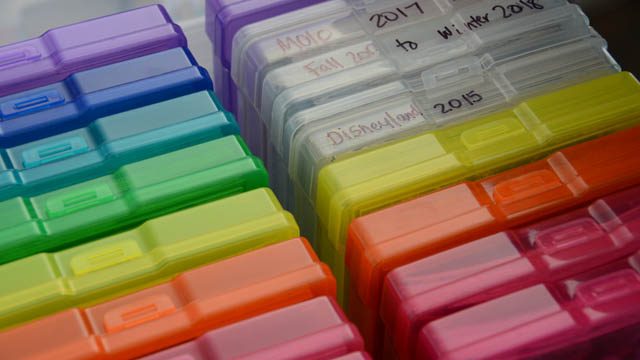
The pictures I’ve shared so far here today are of my “to scrapbook” piles that have really built up over the last few years. My immediate goal is these photos, and dividing up what stories I have, and which I want to tell. I am testing out writing some dates/labels on small photo storage containers to help when I have BIG batches of photos or want to generally see what I’m grabbing for… but obviously if I scrapbook a lot of them then the label becomes obsolete. I can cross it out easily, or label over, or change year… we will see.
For me when it comes to organization there is one rule: it must be simple. Being overly fussy or detailed will only ensure I fail! I do when I have a specific album or project for photos put sticky notes or otherwise divide those by story… but that’s another organization topic for another day!
If you’ve got storage or re-organization tips for photos please DO share here! Starting this project is a huge undertaking and is overwhelming! So I would love your best tips and thoughts.
I so remember my anticipation for my first (and so far only) trip to Europe in 2012. So excited. We visited 7 or 8 countries…you can imagine the number of pictures taken. I know you all will have a great time. As for my my photo organization tip from that trip (i had more than 500 pics) i finally decided to put the pictures in common file folders along with all the memorabilia i had collected from each place. I labeled each folder with a black sharpie and then put everything into a storage bin in country order (ex.in the Italy section I had Rome, The Vartican, Venice, Florence) Now when I was ready to scrap, i could just pull out the folder and begin. No hunting around for this or that. It did help that I had taken a supply of zip lock bags along to put the memorabilia I collected from each stop we made.
What are those photo containers and where can I find them?
Thanks!
I use 3 x 5 cards and tiny binder clips to keep pictures together for a layout. I write the event or story idea on the card and the date(s), if relevant. That saves me having to look on the computer for the dates! I like this because it’s simple, effective, and cheap. 🙂
Thanks for the tips, May! I have taken to sorting photos in photo boxes like yours. Rather than write on them with a permanent marker, I just make labels with my label maker, and adhere them to the appropriate boxes. When I’m done with a box, I can just peel the label off and slap on a new one when I put more photos in! 🙂 I would think, though, if you want to stick with the marker labeling, you could use a bit of rubbing alcohol–or even Goo Gone if it’s particularly stubborn–to remove it when you’re done. I know the alcohol can remove permanent marker from slick surfaces, and the Goo Gone seems to remove anything! Another cleaning possibility is a product called Krud Kutter. It’s a liquid cleaner (I got a concentrate in a gallon bottle, but I think you can also get it in a spray bottle also). it’s environmentally safe, biodegradable, etc., and will take lots of stuff off lots of surfaces. I used to use it to clean dried acrylic paint from my whiteboard-surface palette. Anyway, just a few options.
My biggest scrapbooking project right now is a 3-album set of photos/ephemera (and journaling, of course!) from an 18-day trip my brother & SIL took our mom on 2 years ago. I divided all the photos by location, and filed them in those plastic photo boxes like you use. I used acid-free cardboard dividers in between photo sets in each box, and created an index of sorts on the computer. Basically, just a Word document telling what photos are in each box. I numbered each box, and included the corresponding number for those photos on my index list. Hope that makes sense! 🙂 It sounds a bit complex, but it really isn’t in the end. And when I want to scrapbook, I can just look a the index (which I keep with the photos) to see where each photo set is. Again, thank you, and hopefully I’ve given at least a couple more helpful tips for you or anyone else reading this. Have a great day! 🙂 ~ Andrea
Thank you for sharing your process! I solved the problem of labeling the same containers I have for ephemera as you do for photos……I use washi tape and use permanent markers on them. Easy.
The last big project I did was a 3-week Italy trip (which turned into an 80 page “mini” album); Rome, bike portion and the Amalfi coast. i pulled photos and put them in file folders for the individual pages with paper and embellies I wanted to use and it kept me more focused.
I’m so looking forward to your journey/vacation class that I will do an intensive watch over vacation in two weeks. Thank you!
I love your photo boxes … are they WRMK??
My digital photos are pretty well organised – I just need to get back into the habit of printing them regularly