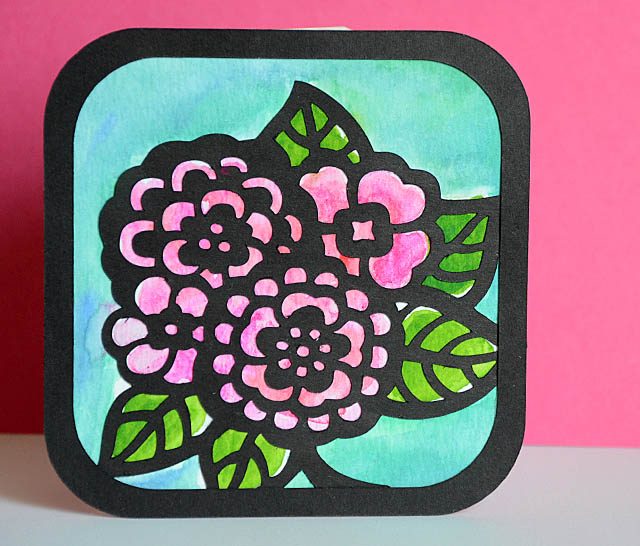
As I sometimes do when contemplating use of my ScanNCut, today I got a wild idea. The usual disclaimer that the ScanNCut is a machine I love and use often, all ideas & opinions are my own. That said I am a paid consultant and I always say so on my posts so things are 100% honest and upfront here!

The idea went like this: Could I do some kind of thin black outline, and layer on top of a watercolor background? The answer, is yes and here is my YouTube video tutorial.
I mention in the video I could have gone into Canvas and tried some more editing/creating a single cut file but I didn’t. You see the way my brain works I often do better having physical pieces I put together myself. In fact sometimes when I put all the things together simply and easily in a video I have already done exactly this before filming.

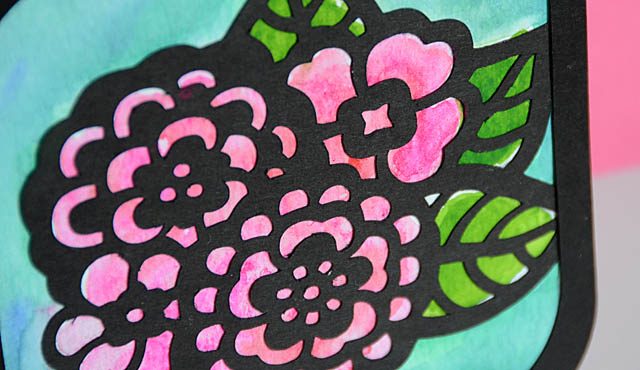
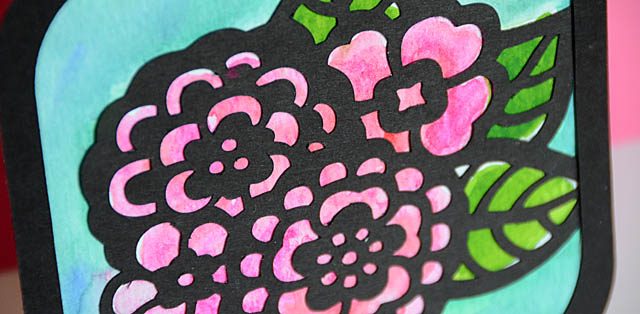
On this card, I really am wowed by how this turned out and I already have a few ideas for changing up the look and layers to get an even more exceptional “wow factor”. I am thinking about using the draw function so I know exactly where all pieces will be and do more in depth color shading as well as building a piece for canvas, shadow box, or home décor project.

When it comes to creative ideas with the ScanNCut, time and time again I find that the only limit is my own imagination – and I love that!
That is a great idea, May! I love how you experiment with the Scan n Cut. Put a frame around an image? Hadn’t thought about it, but now I can. I like a splotchy, painterly look with watercolors, so this is one I’m putting on the list of things to try. Thanks!
So pretty – reminds me of stained glass!