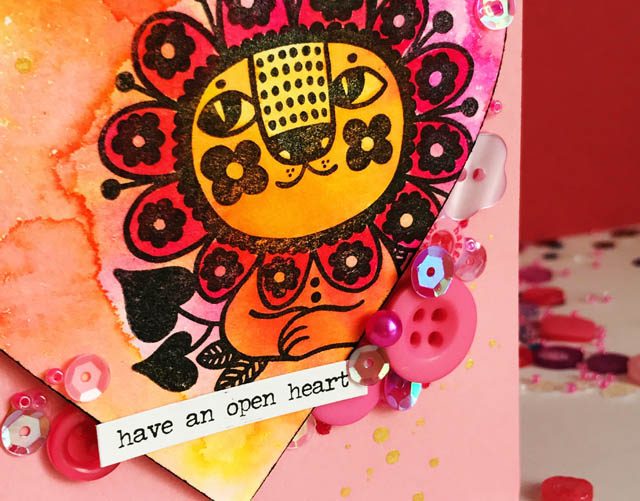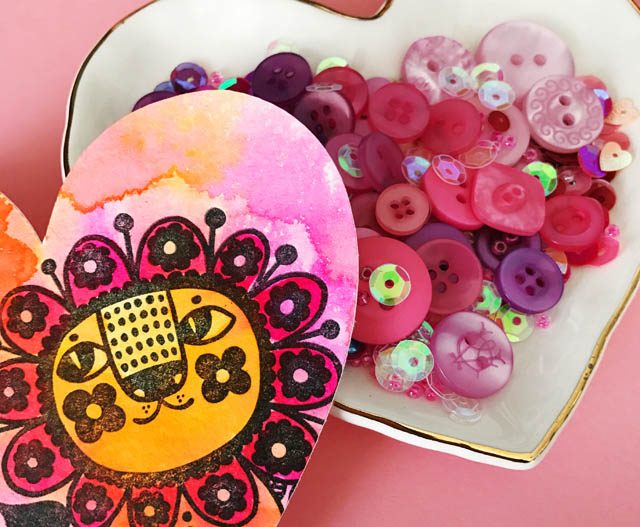
As you may know, I love giving myself space to create and test new to me supplies without any kind of pressure. One of my favorite things to do if I kind of like the results? Use the ScanNCut to create a shape for future project! For this project, I began with an image on watercolor paper that I colored then spritzed with water (really, that’s it!) and after figuring out it works… what to do with the paper chunk?
Here is a link to my YouTube video tutorial.
When it comes to Valentine’s Day, we’re all about friendship, and all forms of love. It’s a happy (low key) day- but I sure am happy to use this paper in this way. I so love mixing a stamped image + cut shape + embellishments!

Here are my tips for this kind of creating:
- Figure out where you want the bulk of the embellishing/layers to be clustered. Don’t compete with main image!
- Consider several textures, sizes, and forms of color (mist, sequins, beads, buttons…)
- When cutting out your shape, consider being slightly off center and cutting a few bits off. There’s something to this at times that just makes a project work!
- Don’t forget contrast. Here I used black ink to edge. That’s just one example but contrast is your friend always!
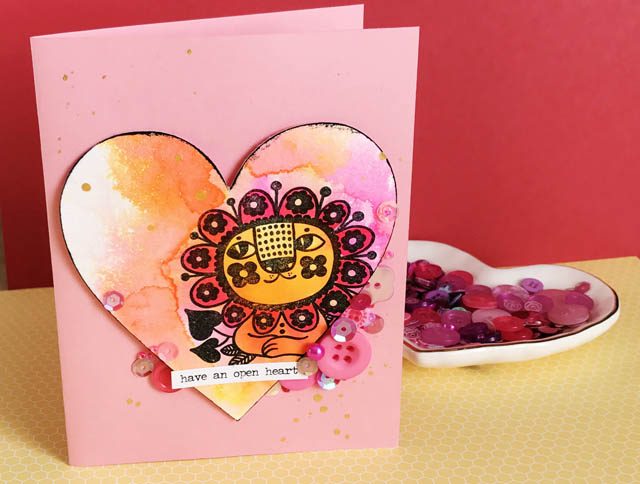
Here is my finished card –

I hope that you have a wonderful week and Valentine’s Day as well!
disclaimer that I am a paid consultant for Brother ScanNCut. All ideas, opinions, and projects are 100% my own – I just really love this machine and am so happy to share projects with you here and on the ScanNCut website too!
So cute! I forget about not centering an element – adds some “tension,” as they used to say in art class. What stamp did you use?
So cute May – Happy valentine’s Day!!!