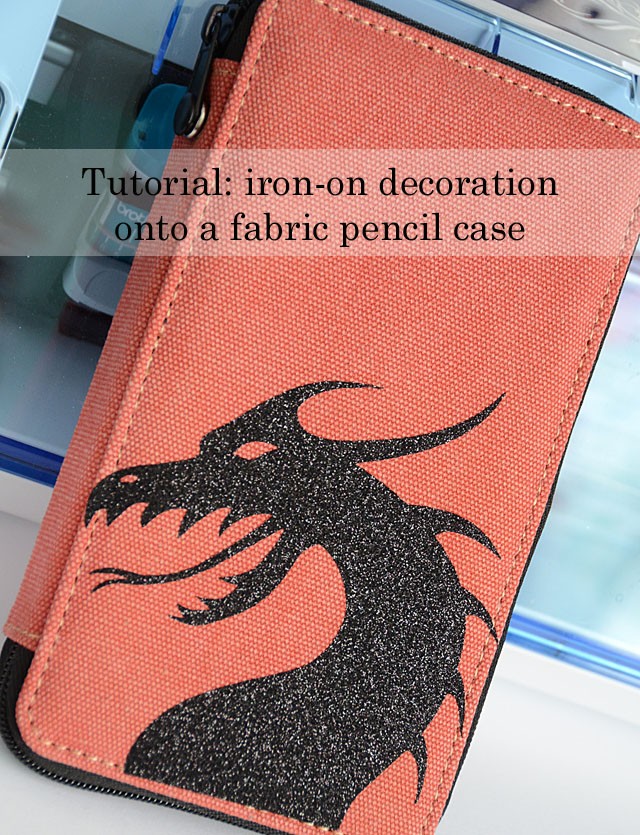
What happens when I combine Brother ScanNCut, iron on material, and some clip art? MAGIC, I tell you! Hey guys so I’m here today with a quick & simple tutorial focusing on one of my favorite SNC features: ability to make a cut file out of clip art! Note this would also work with any font/typed words, and much more too.
Disclosure that I am a paid consultant for Brother, but that as always all ideas and opinions are my own.
Here is a link to my YouTube tutorial.
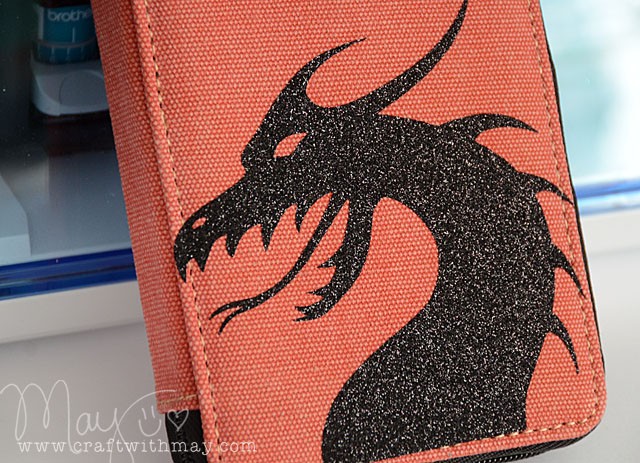
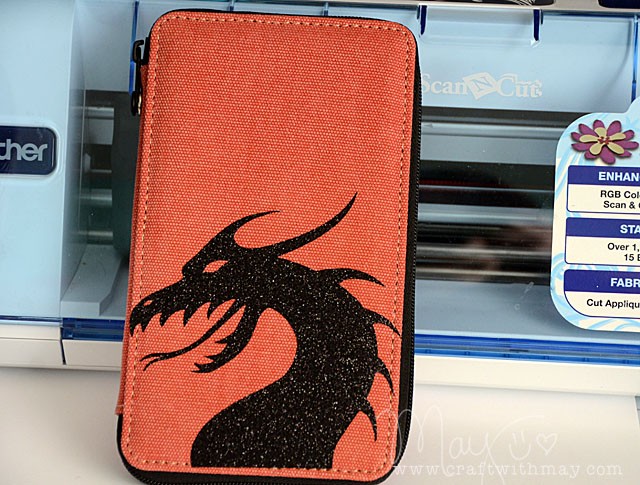
I created this as a surprise – and oh boy! Miss Elizabeth sure did adore it. Note that I went to a free for personal use site to find this design. You can find both free and paid designs all over!

What appeals most to me about using random line art or even word art that you’ve printed off is that you don’t have to be savvy in file converting, you don’t have to take any extra steps. If the file or scannable item you need isn’t an .svg or Brother ScanNCut file I love that you have easy and fast options.

And you KNOW I love being able to personalize and glitter up random (boring) pencil cases! I hope you liked today’s tutorial – always love sharing with you the various ways this machine is helping me live this wild crafty life of mine… and add more glittered fun to it.
That’s awesome! Great design. I’m sure Miss E loves it! Very cool. Amazing what that thing (the Scan N Cut) can do. Michelle t
Oh my gosh, I know another 11-year-old who would be thrilled to have that! What a great idea, May. You really are giving that Scan n Cut a workout.
Fabulous! TFS!
Super super cool – I want one too!