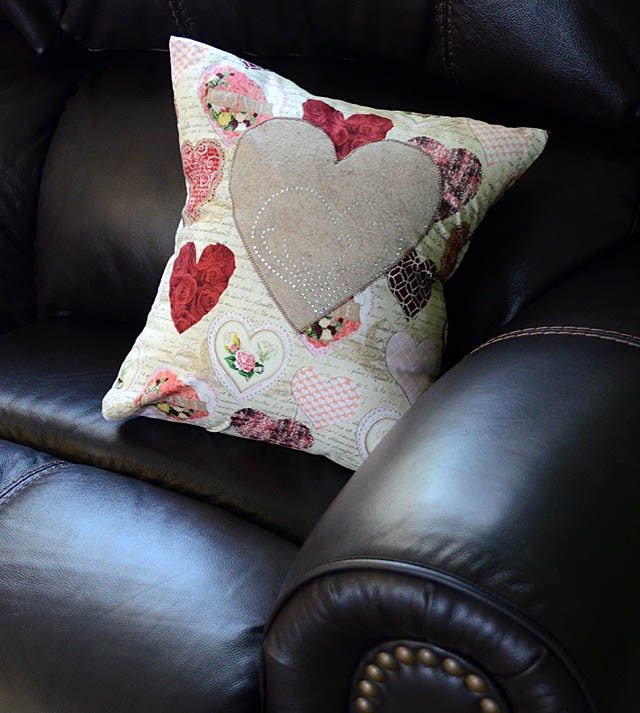
I am in an experimenting and trying new things mood lately, and one big thing I want is to create a series of 8-14″ decorative pillow covers for every holiday and season. The thing about pillow cases is – they take up almost NO room and with just a few pillow forms you could easily and inexpensively have décor all year round!
Today what I’m sharing is my latest experiment. I wanted to try a few things:
- Creating a pillow where one side is intentionally too small (aka see what the result is on the pillow case/if it creates a more shaped look)
- Try felt + rhinestones
- Try placing a design higher vs low or center on pillow
Disclosure: Affiliate links are used within this post. Also, I do work with Brother so you should know that while all opinions and ideas are my own I am a paid consultant.
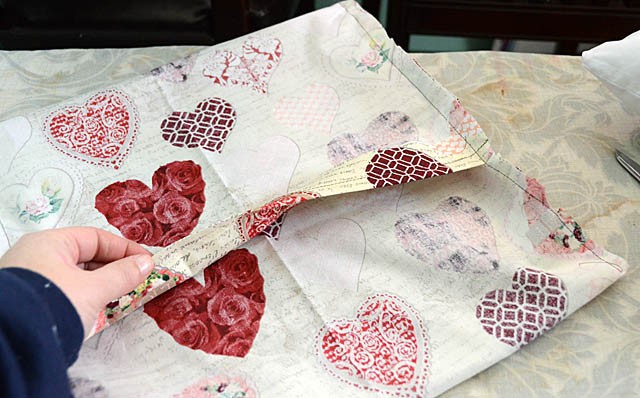
I worked on a 14″ pillow, so to create this pillow case I used a piece of 14 x 33 fabric, folded and stitched along the two sides so that when closed it measured 13×14. Note: You’ll want to do any stitching or major decorating of the front of the pillow case before stitching!
For me, this meant stitching a felt heart onto the front.
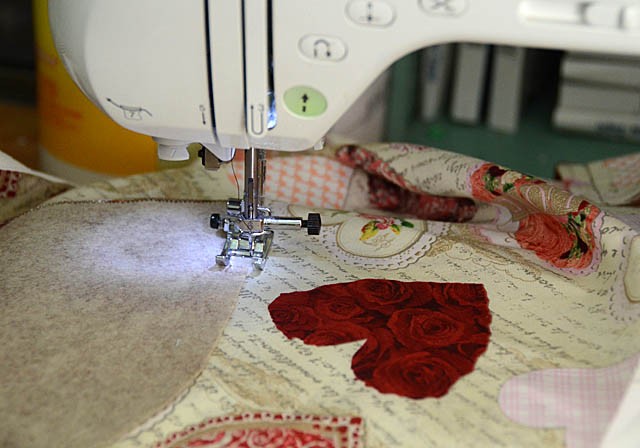
Now the ScanNCut can and will cut out felt – but I didn’t have any kind of backing material to iron onto my felt – so I would have destroyed a mat! Felt by nature is very fiber-y… so I always make sure to have backing material of some sort against the cutting surface so that I don’t destroy mats! Lucky for me, I keep some templates of basic shapes and I still have a heart one from a CHA project. So, template in hand I cut out the heart and got to stitching!
Next I stitched the pillow case up and turned it right side out so that I could add rhinestones!
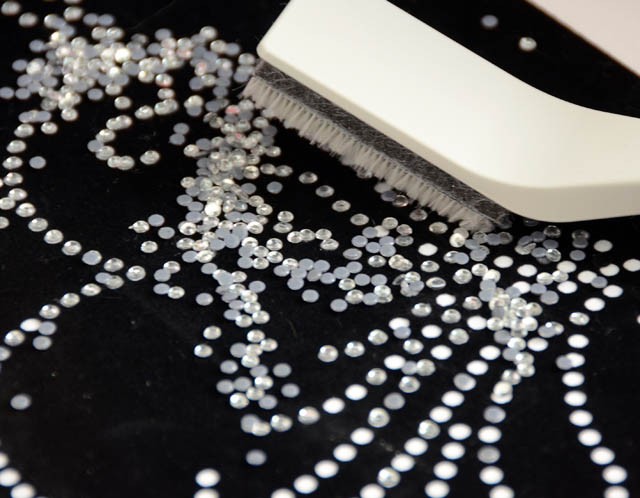
Here is a post I did about working with rhinestones last year – So much fun to work with! For my design I used a heart that I had previously prepared months ago for another project. Once cut out, if you save them the rhinestone templates can be used over and over! Love that. For this I didn’t add all the swirls – just focused on the heart.
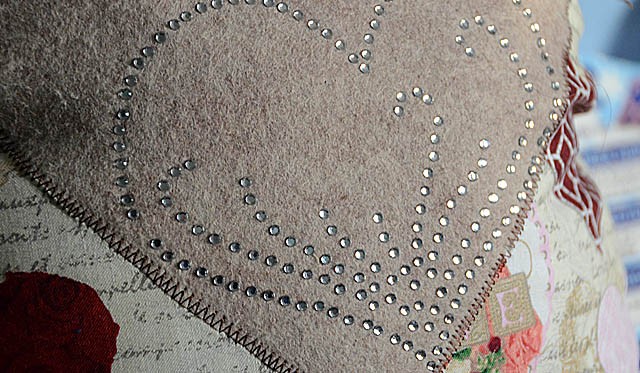
I’ve said it before, but what I love most about this machine is that it helps me with my crazy ideas. When I think ok I want to do ——. I’m able to work with the machine to get what I need, and to create projects perfect for my life from scrapbooks to funky pillows like this!
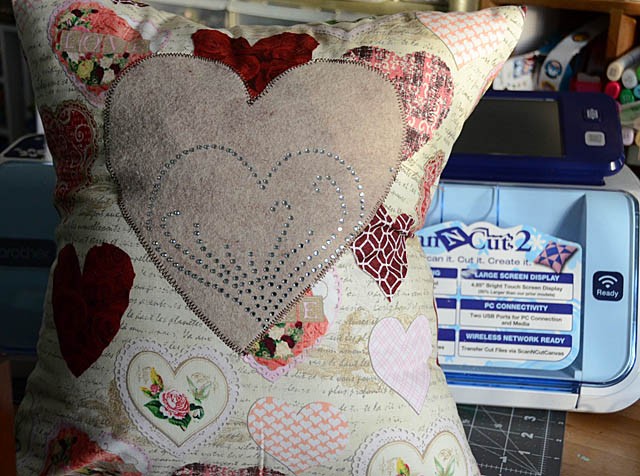
Here’s a link to amazon.com where you can get the ScanNCut2 with the rhinestone kit used here. Got questions? Future video requests? Let me know! I’m currently working on a Valentine treat box, card, and the new stamp material! Stay tuned…
Cute pillows! Real cool that you can do so many things with the Brother machine. Michelle t
Love that! And such a fun idea to have a pillow for every different season and holiday! I’m wanting to do something similar with some cross-stitch projects I’m doing!
On a side note, I have a chance to buy a Scan n Cut 1 at a little bit cheaper price but I”m not sure if I should get it or the 2? What do you think?