Disclosure: I am a paid consultant for Brother International Corporation and have received a ScanNCut from Brother to evaluate. However, the opinions expressed are entirely my own and based on my use of the product.
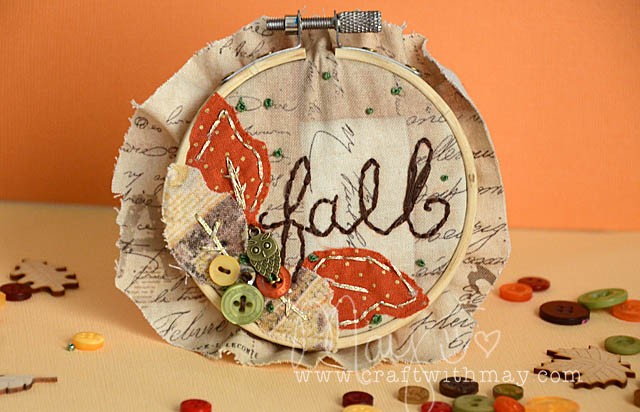
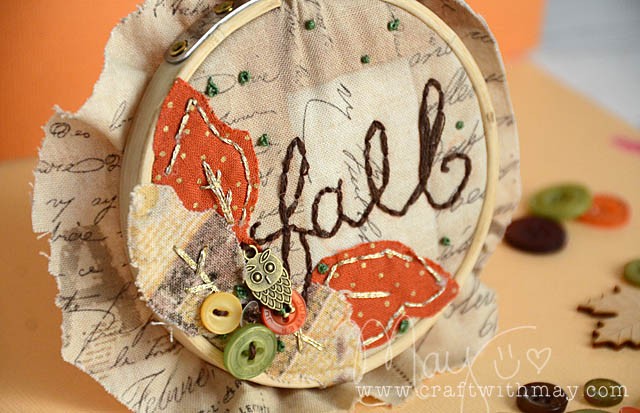
Cutting out my leaves using my ScanNCut, then ironing them to my fabric for this mini hoop proved to be quick, easy, and a great start to what I believe is going to be a thriving new direction! This is my first finished hoop (that I designed on my own) – and I’m loving it!

Of course I need to stitch the excess fabric behind – but I couldn’t wait to share this with you. I just am loving it too much! AS you can see I stitched in gold, green, and brown. Attaching a few items was fun and ties this into my existing mixed media style which I adore.

I have so many ideas still to share – one thing you can be sure is that I’ll be using my ScanNCut to cut out both designs from the machine and custom shapes for my future hoops. This sped up the process so much – no hand designing or cutting for me!
This was a 4″ hoop, but I believe next time I will aim much bigger maybe 8-1o”. Got questions? Or advice if you’re a seasoned expert in this craft? Let me know! I’m excited to learn and grow in a new creative area.
So so cute! Love that you always get done what you set a goal to get done! I remember seeing the beginning of this project in your post about crafting on the go!
Very pretty. I love how you can add to your home decor. And add to the existing project to make it your own. Michelle t
I have to say that I adore the way the fabric fans out the back. If you haven’t already trimmed it back, leave it for a while and see if you like it, too!