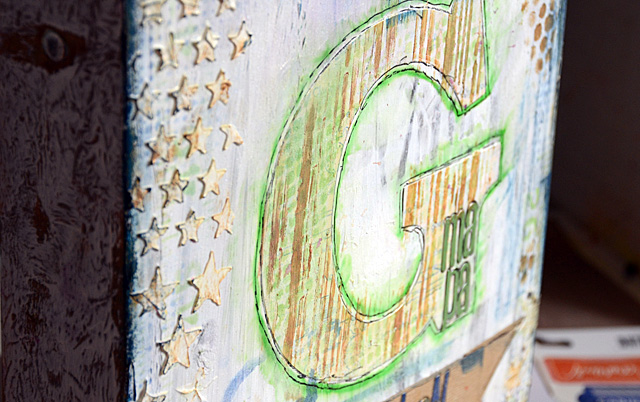
In my video (from Friday) I shared the inside of my book, now I’m back to show you what the cover looks like all done. I got pretty wild with it.

I used molding paste, stencils, stickers… basically I just played and added texture and color until I was happy with the results.

That star stencil – it rocks!! Supplies used:

Now that the book is ready – it’s time to fill it up! I will be back in a week or so with a video + post about the finished book. I had so much fun making this – I’m glad I made the time for this project it is going to be a true keepsake.
The cover in this post features a custom sized letter cut from the ScanNCut machine – so easy and fun! It’s been really exciting to be working with Brother ™ International on this launch, creating projects to share with you and even making some videos that will be on their website in the future.

Brother International is introducing the first home and hobby cutting machine with a built-in scanner, and it is going to be revealed in just a few short weeks. Want to be the first to know more? You can sign up for info at www.scanncut.com.


