Simon Says… time to get crafty!
 New week… new challenge!! Head over immediately (if you’ve not done so already) and visit Simon Says Stamp & Show – we’re inspired by rust/rusty junk aka “rustification” (is that even a word?!) this week! This means you can make *ANY* project with anything remotely related to rust (the color, or metal, or something rustic or..) and enter it by posting it to flickr, your blog, or whatever for a chance to win. JOIN US! The rules + post can be found over at the Stamp & Show blog. You want to enter because it is fun, plus Simon Says Stamp gives away (randomly) a $50 voucher each week to one lucky entrant!!! You can get all the details at the blog here.
For my project, I decided to do something that has been something I enjoy doing more these days – taking a super cheap (sometimes even ugly) “decoration” that I buy at a store and using my craft supplies to turn it into something that is cool, unique, and that I want on display. The advantage is that a) I can remove my cute crafty stuff and re-use if I want, b) it doesn’t take a lot of money if you’re using supplies you have on hand, and c) nobody else will have one like yours! I took a white (dense foam?) pumpkin and turned it into an aged treasure that is already up on display.
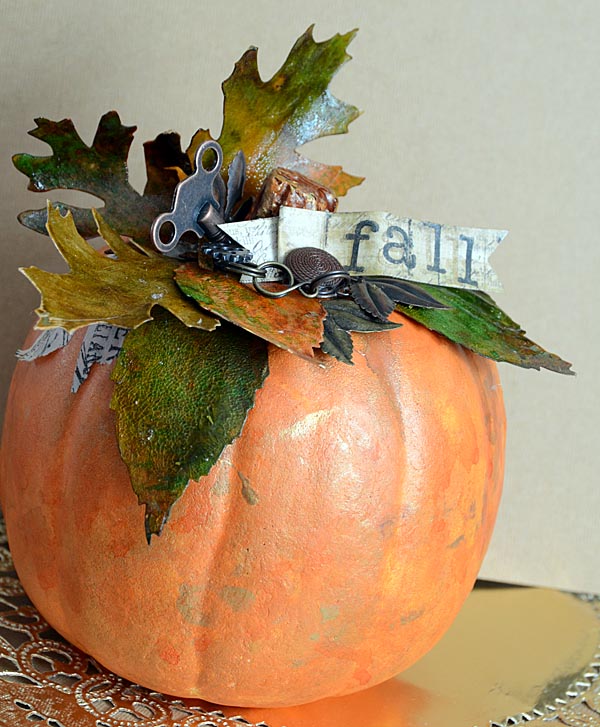
Coloring the pumpkin is easy. My trick is to layer on colors one at a time, let them dry, then try something else. Also – don’t be afraid to mix and match mediums! I started with alcohol ink on this one, then used some acrylic paints, then splattered some dylusion sprays. The colors are all listed in my supply list towards the end of this post.

Once I had my pumpkin colored, I decided I wanted to give it a bit of a ‘topper’. I’ve seen some of these (and they’re never cheap!) and I thought… a bit of paper, some leaves, some color mediums and I should be good to go! So I inked, painted, misted, and colored randomly and made a big mess. Then I took the extra leaves (all were die cut onto kraft paper) and used them to soak up the excess color… and those ended up being my favorites too.

I did let these dry for maybe five minutes, then I coated the ones I liked with Rock Candy (and let them dry) to add an aged, cracked layer to the leaves and I love the results! 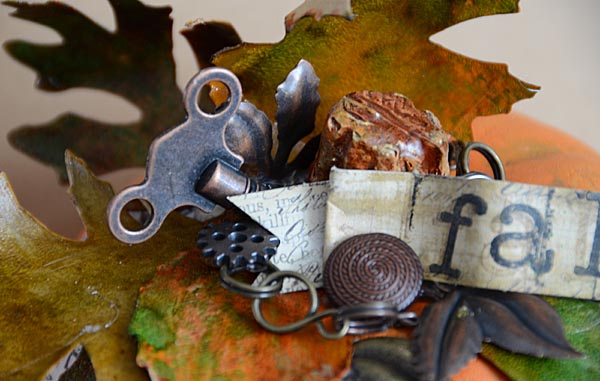
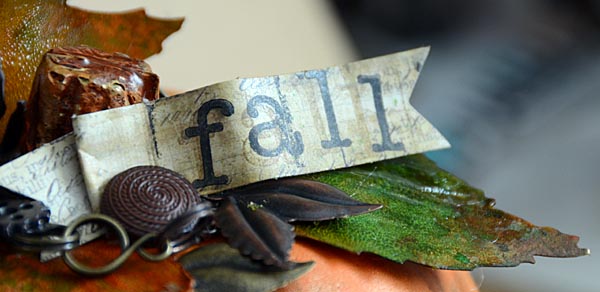
Once those leaves were dry it was hotglue time! I warmed up the gun while I grabbed some rusty bits from my stash, and stamped a banner with “fall” and prepared to assemble.
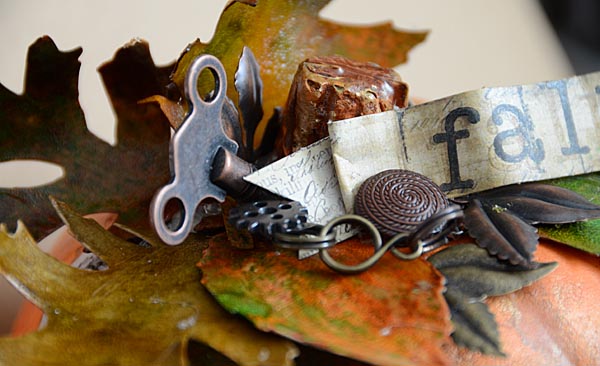
Just minutes and a bit of hot glue later – and this baby was on display!
Here are the supplies I used:
note: the linked metal rings you see (I’m pretty sure) are discontinued and by Tim Holtz. They’ve been sitting here in a drawer so long – glad to put them to use!
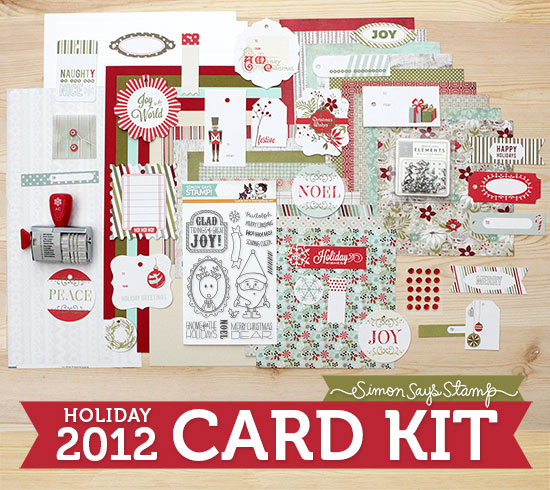
I wish you a fantastic week filled with seasonal crafting! Oh, and speaking of seasons… if you haven’t already be sure to check out Simon’s new limited edition holiday card kit! You can check it out + order it here.
I hope you join us this week in the challenge at Simon Says Stamp and Show – it’s going to be a fun week!
PS: speaking of fun + Simon… check out this new limited edition kit that Simon Says Stamp just revealed:
It’s limited and on pre-order now! You can check it out here.


I love this pumpkin! The turn key is just so whimsical. Lovely arrangement….looks like a million bucks!
What a fabulous way to transform a cheap pumpkin into a unique home decor piece. Love the textural leaves, perfect for Autumn and I love the banner with the Fall wording added. The key is a lovely touch. Something to treasure May. Tracy xc
Very Cool! Love the misted leaves! The topping on your pumpkin is gorgeous! Awesome Halloween Decoration.
Fabulous piece May and such a great idea! The topping is wonderful, I especially love the leaves.
May, very cool autumnal decoration from finding such an inexpensive pumpkin and using up yoru craft supplies. Don’t you love it when those two worlds collide? haha I love your techniques and the randomness of color you achieved with the Dylusions sprays. The embellishments at the top of your pumpkin really is a great arrangement. <3 Candy
I love what you did to your pumpkin! Gives me some ideas. Now if you can find me more time 😉
Beautiful pumpkin. The SSS kit looks fabulous.
I would have never guessed that pumpkin was dense foam. I want to try out your leaf making idea. Just love them. Rustification looks like fun:)
Oh, May this is beautiful!! I LOVE fall decorations too, and this is definitely a great one! I’m loving how you made the leaves!
*mwah*
Steph
Simon Says Stamp!
What a brilliant idea to pimp up this cheap pumpkin! Very cool! Love the look of the leafs and all the embellishments! Hugs, Sandra
Love your steampunk pumpkin! With the turnkey and other embellishments it is stunning. I love how your leaves turned out. It looks like I’m going to have to be buying some Rock Candy crackle paint. Love the effect it gave. Thanks for sharing your delightful pumpkin.
In the meantime I’m shaking the sofa,chairs,and looking anywhere else where I may find some spare change to buy that Holiday kit. It looks like a totally fabulous kit to have.
Great pumpkin! Such a cute idea!
so awesome! i see a trip to the dollar store in my future… ugly cheap pumpkins, here I come! Thanks for the inspiration 🙂
Love it-can’t wait it to give it a try.Great great job Miss May!
Cool cool cool!!! Love your jazzed up pumpkin!
Great pumpkin May! And I love that card kit too
Great transformation of cheap decoration to unique artwork – fab colours and techniques!
Alison x