It’s no secret that I adore scrapbooking kits, and that I believe pre-made kits are a wonderful thing. I’ve taught multiple classes on them in the past – and I’ll be teaching another kit class [Kit-tastic coming to Big Picture Classes this September!] that works with making your own kits, as well as working with pre-designed lines and such as well. We’ll talk more about that some other time, but I will tell you that it inspired me to share some tips, tricks, and ideas with kits during Camp Scrap.
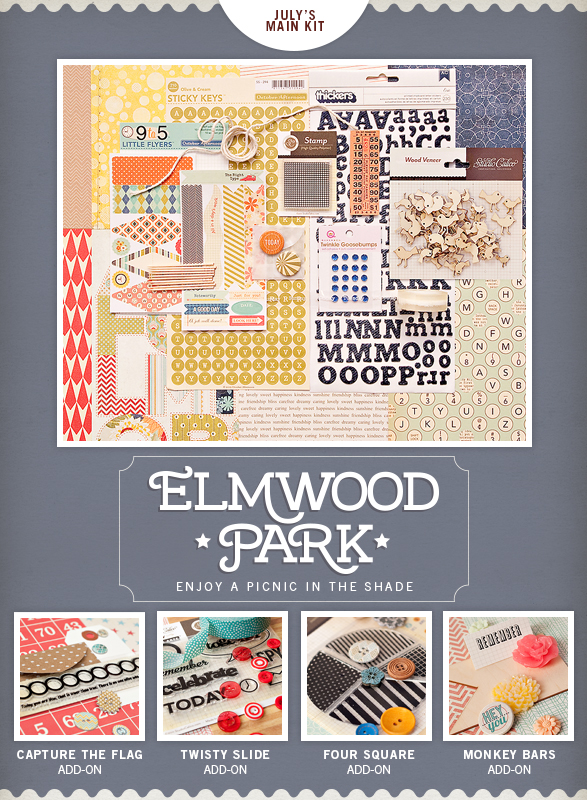
Back in week #1 I shared an idea for using a sketch for different kinds of projects featuring a kit, and now I’m back for more. This time though, I’m taking a different approach. I’ve got in my hands the July Studio Calico kit that was just revealed, and I’ll be doing a series of three posts featuring it.

step 1: really look at the kit.
I don’t just mean stare at the dreamy bits that you could never bring yourself to use either. I mean really look at the kit elements. What pieces are there? What kinds of things do you normally use that aren’t there? What photos (or other inspiration) do you think of when you look at the pieces of paper?
Don’t plan out the whole kit – just pick *A* project you want to do. Then….

Step 2: pick a piece of paper that you like but don’t adore.
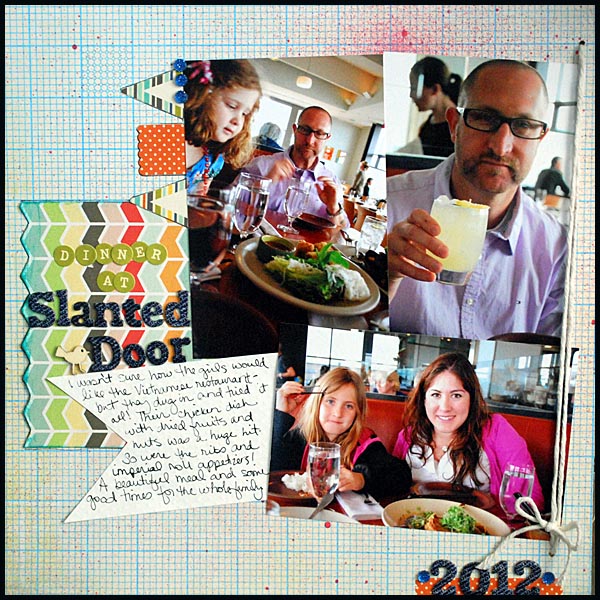
This might sound backwards, but picking a piece that isn’t your favorite to go first is much easier most of the time than working with my absolute favorite. I chose a paper that had a grid pattern on the back (of which I know I have comparable pieces in my stash so could ‘replace’ if I messed it up) as the base for my layout.

Step 3: pick a piece of paper or embellishment you LOVE in the kit.
This is the hard part, but you have to actually USE the stuff you love, or there is no point. C’mon. TEAR into it. I adored the chevron paper in this kit… I whimpered as I cut into it. “What if I mess up?! gah!” Well… if i do I do. This is why I used just a 3″ strip of it. I still have 3/4 of that lovely sheet of paper for future use.

Step 4: Challenge yourself to use just the kit.
I’ve been challenged to use “just the kit” before – and I know that the team at Studio Calico posts a “main kit only” project each month. I love that. It makes me think about what I have in front of me, and what I can improvise with. On my layout above – I just used the July Studio Calico kit, and a bit of mist, ink, adhesive, and a black pen. In my world, this counts as using just the kit as I didn’t use any other paper or embellishments.
Now that I’ve busted into this kit, it will be that much easier to use again. I’ll be back tomorrow with more ideas to share!
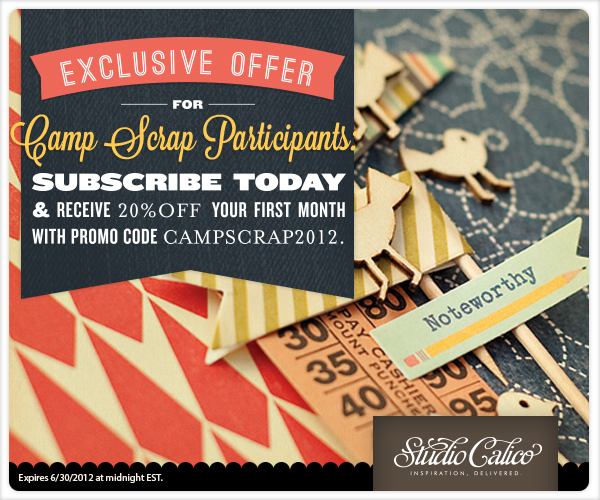
Today’s Camp Scrap post was sponsored by Studio Calico – and they have a special offer for Camp Scrap participants:

This is really usefull, even when you don’t buy complete kits.
I feel I could work this way from my own stack of supplies!
Thank you for sharing this, Greetz Dee
May, thanks to you and your discount, I just joined this kit club 2 days ago. Looking forward to see what you do with it while I stalk the mailman waiting for it to arrive.
Great tips! I have a kit I need to try this out with. Also- SO excited to hear about your next class!!! Sounds amazing as always. Thanks May!
This is wonderful!
This is wonderful!!
Can’t wait for your new BPC class! Thanks for the advice on how to use kits. I never thought of choosing a piece of paper that I didn’t like first. Awesome idea!
I’ll have to consider Studio Calico. I’ve been shopping for another kit club!
Really love your suggestions. I just started getting the kits and I couldn’t use them, now I will. Can’t wait to see your BPC class. Your the best
I am always afriad of scrapbooking kits because I feel like it would be a waste of my money because maybe a lot of the things would NOT be my style and they would NEVER get used but just sit in my craft room. I have wanted to try out one but been afraid to spend the $$$.
May, I am so bad about my kits. I fall in love with them but of course I do not want to ruin them. I still have untouched kits from when I started scrapbooking a few years ago. I really need to get over this. I am certain I shall not absolutely ruin a whole piece of paper and it really is rather expensive to purchase them only to gaze at.
I love what you did with the small piece of chevron paper. Love the placement, love the inking. And Yay! for a new BPC class!
Fun kit – Thanks for the great ideas! I’ll be sure to check out your next class at BPC. Thank you for Camp Scrap!
Really good tips! So true about not being afraid to use it! Thanks for the inspiration.
May, just tonight I used my package of those little birds while making cards. Love them. I have finally come to the conclusion that not only is it okay to cut and use my stash but I must. How else will I make room for more good stuff! Your LO is fabulous…love the mist peeking out and also the non-use of photo mattes. I’ve been brainwashed into feeling that every photo must have it’s own matte. Your photo positioning is so refreshing.
Excellent suggestions. I’m going to dig out a kit tomorrow and pull out my least favorite piece of paper to play with. Thanks for sharing all of your ideas.
Kits are not in my budget (but they are in my dreams) but I do have coordinating papers and some embellishments in my stash. I’ve never started with my least favorite paper before so this sounds like a great way to approach some of the “stuff” I have lingering. Thanks for another great post May.
I have at least 4000 kits (lol) that I can not beat to break into because of the exact reasons you listed in todays blog— why do I feel like you are always reading my mind or only talking to me??? I feel as though you are a genius– today’s project — try to break the bearer and use up one kit– can this be achieved??? I don’t know?? I’m going to give it the old college try– here goes nothing!!!
So cool May – and I love seeing the process you use to break into a kit!