layout | traveler featuring Tim Holtz product

This layout was originally seen at CHA, and features a lot of fantastic Tim Holtz products…
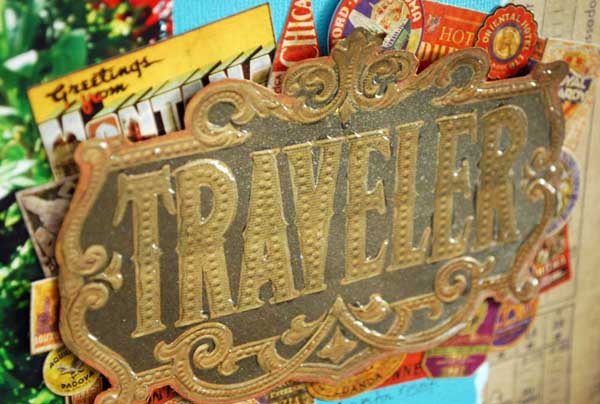
I knew when I first got the Tim Holtz Destinations paper pad that I wanted to cut out this “traveler” sign and use it in some way. I ended up layering all kinds of little stickers under it, and adding glossy accents to the sign to help it pop. There is also a generous misting of Biscotti perfect pearls mist going on too. It really sparkles in person.
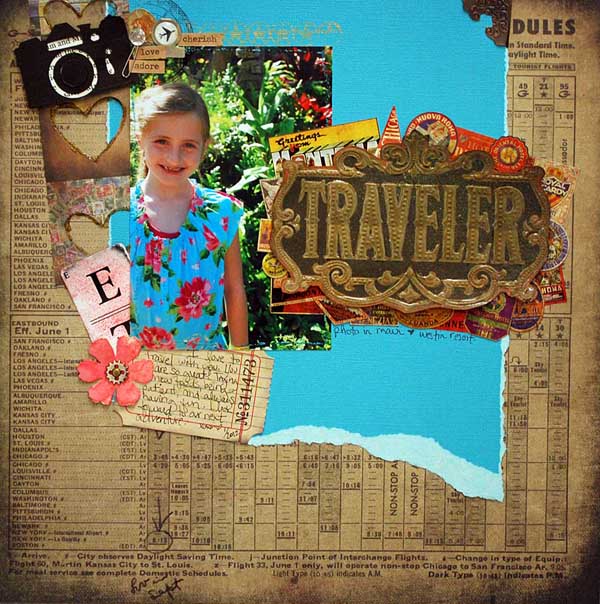
If you couldn’t tell – I had a LOT of fun adding bits & pieces and layering things on this one.
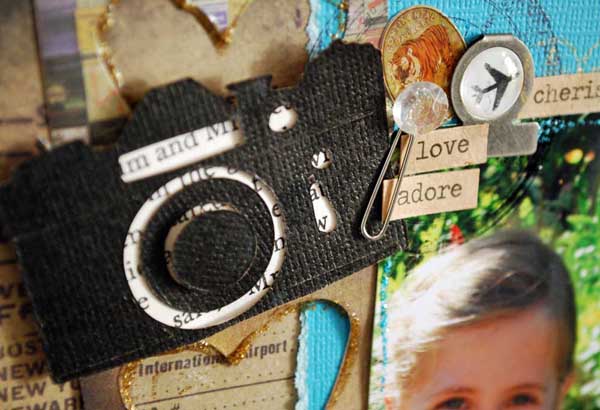
The hearts are actually a scrap of paper left over after I die cut hearts… love using up scraps! That camera die is one I don’t have (I was sent the camera die cut out…) but I am thinking I need to get it asap! LOVE it.
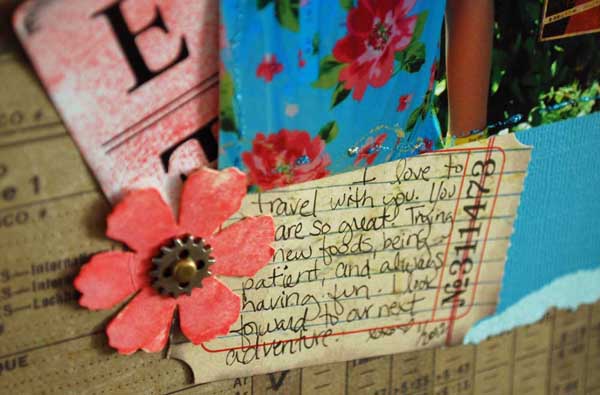
mixing old  + new, re-coloring stuff, neutrals + bright colors… overall a totally “may” page. Good times.


links to supplies used:

images link to simon says stamp – a favorite on-line store for Tim Holtz goodies

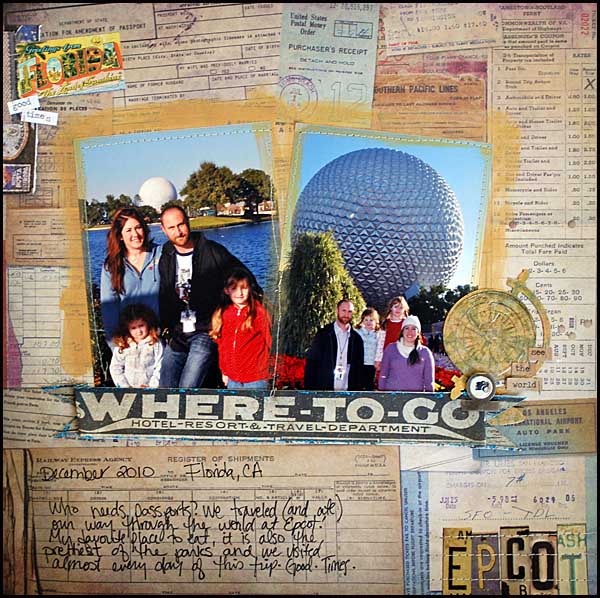
Happy Scrapbook Day | layout featuring Tim Holtz

What better way to celebrate International Scrapbook day, than with Tim Holtz and the whole Ranger Ink crew?! I can’t think of anything that would be a bigger dream for most crafters – so I’m excited to be in New Jersey and at Ranger HQ learning all kinds of fabulous ideas right now!

In my absense, I’m leaving you with a special layout – one that I created for Tim Holtz featuring his new products (as seen at CHA). Enjoy!

This page is actually a pretty simple one. Lot of gold dabber paint (love the stuff!) some layered stickers, and some staples and of course I put to good use that paper for my journaling (it is all a part of the background paper)

I hope you have some crafty play time today – and whether you’re off at a family function, having a good time doing something crafty, or just playing along from home that you enjoy this Scrapbook holiday!!


image links to supplies used:

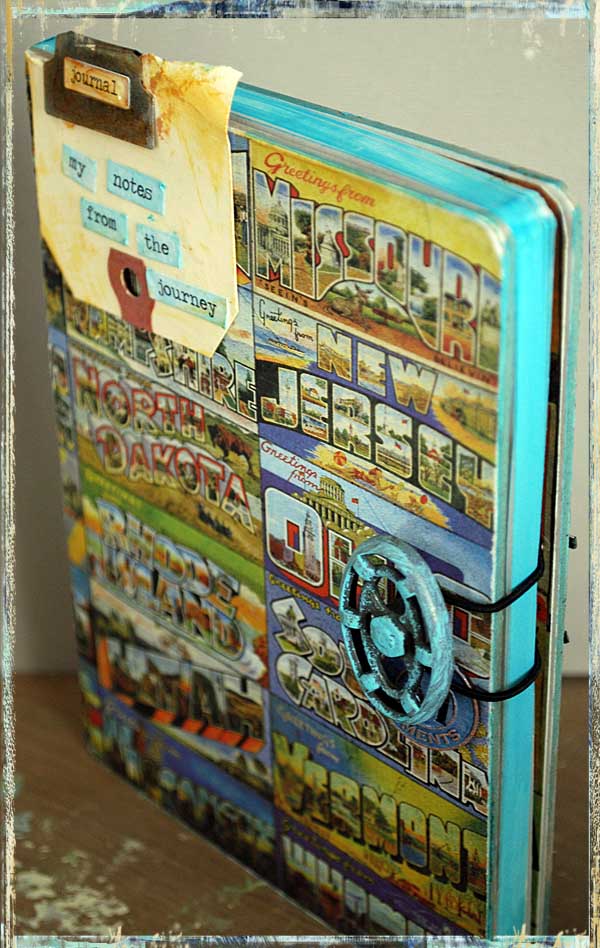
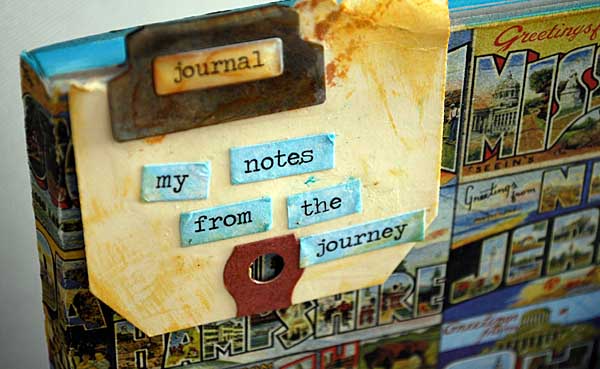
project | notes featuring Tim Holtz product

Here’s a project I created that was first seen in the Tim Holtz Idea-ology booth at CHA…

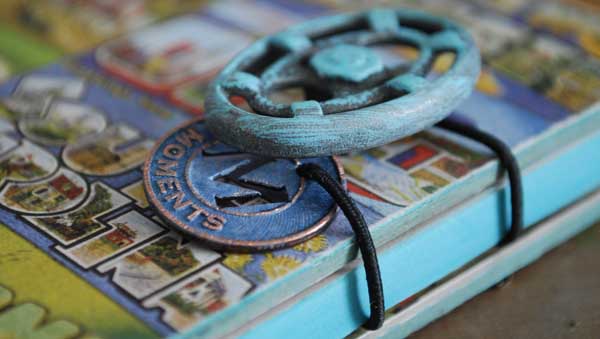
Take a $1 notebook from the craft store that has a nice thick chipboard-like cover.

Combine with your crafting stash.

Create a notebook that is all your own.

tips:

  • Avoid loose bits on the front. Use good liquid adhesive to really seal stuff down.
  • To color the edge of paper, use ink and rub along edges before decorating. I did this with tumbled glass distress ink.
  • You can apply paper to cover with dry adhesive along very edge of ALL sides, as well as center. Be generous!
  • Cut off most of the excess paper, then use sanding block to get the bits off and rough up the edges.
  • Cover inside of covers with paper when finished.
  • re-color metal with alcohol ink, paint, or embossing powder.
  • Sometimes simple is good. Especially if you use a very busy paper!


Supplies [images link to Simon Says Stamp on-line store]:

layout | luau featuring Tim Holtz products

Here’s a layout (first seen at CHA) featuring Tim Holtz products…

I love how many ways I can combine my color mediums (inks, paints, etc) with Tim’s line of (mostly metallic or neutral) products. It makes things so fun – and I have another Hawaii trip page to share today:

Making banners, adding my own twist on things, lots of painting (I painted or inked the die cut flowers and leaves)… such a fun page to make.

for the “no.1” I used the paper left over (from no.1 die cut) to make a stencil (I know, stencil from a stencil style die!) and used yellow paint on that.

Pink + dark blues are really working for me these days. LOVE that combo! Here’s a close up of my title…


links to supplies used:

Specialty Stamping Paper

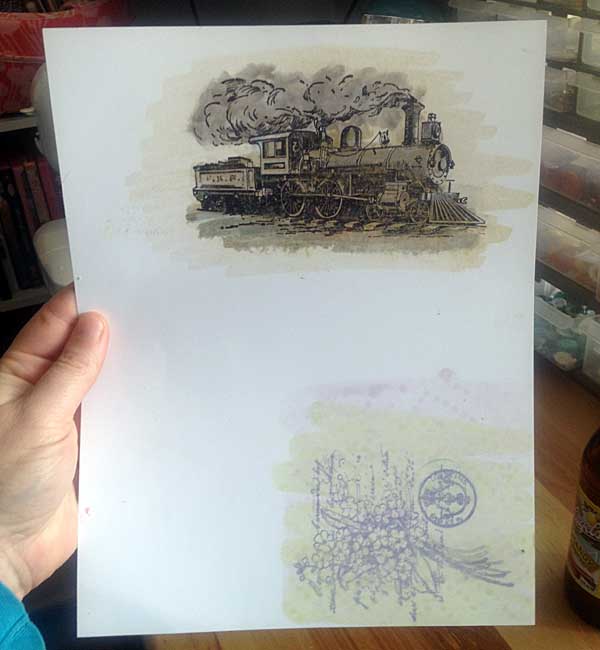
After hearing a lot about the new Ranger Inkssentials Specialty Stamping Paper I finally succumbed to the enabling and purchased a package to see for myself. 

At about $.80 a ( 8 1/2 x 11) sheet it is 3x more expensive than my average sheet of white cardstock I stamp on. To be perfectly honest I expected to feel let down or indifferent. Instead I was blown away + amazed + preparing to order it in BULK. Holy wow. Ok here’s why it is amazing: no warping or pilling.

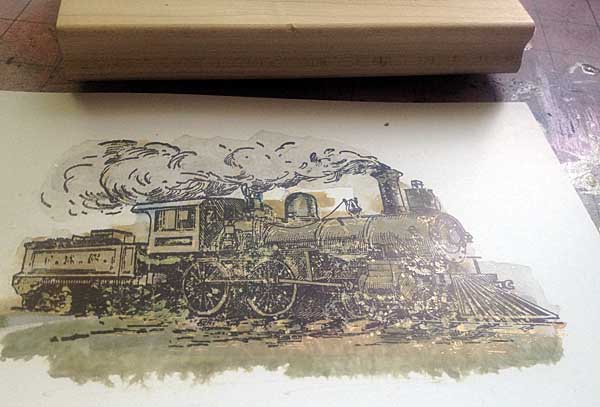
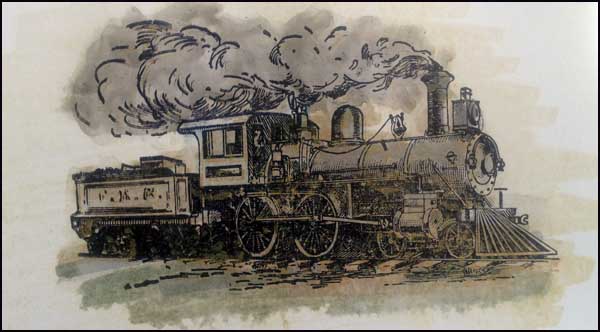
If you want to do distress ink/marker play, or a lot of stamping or marker technique or that kind of stuff and your normally have issues with paper getting warped or yucky or bits of the paper rubbing off – you NEED this. wowza. I can’t recommend it enough. I fully soaked this paper, used multiple layers of color, heat tool, and all kinds of stuff and yet it held. perfectly flat. No issues here.

As I played with my first sheet I had the video running (so I could see how to re-create what I came up with – not because I intended to make a video to share)… and it’s short so I think I’ll share my process. Here it is:

link to youtube]

My big tip would be to cut a piece of paper the approximate size you need first. That way you don’t get the rest of the sheet colored on/dirty. I’m using this first sheet as a trial/error/play sheet so I’ll be filling it (both sides) with random experiments and not thinking about finished projects or use.

The closest comparison to what this paper feels like is matte finish photo paper (except thicker and both sides are the same finish).

Have I mentioned I’m super impressed with this paper?

It is available in 8 1/2 x 11 and ATC size from Ranger – I’d suggest the bigger size (you can always cut it down) unless you’re making ATCs.

Links to supplies used: