Scrapbooking: What’s the best way?

Welcome to Camp Scrap! For more details about this special blog event, prizes, community, and more check out the FAQ page here

One of the things I’ve noticed about comments so far in Camp Scrap is a desire to scrapbook more, or simply to begin. So I’ve been thinking… what can I share with all of you about this? How can I help? A single blog post isn’t going to cover the topic or my knowledge, but I can get you started – and I can share a new layout I made from a place of pure love and inspiration. Want to see pages from my ye olde past? My “creative journey” series (go back to final page and read from beginning) has a TON! You can find those here. 

What is the “best” way to scrapbook? The short answer is: the way that you enjoy + inspires you to complete it.

You have a LOT of choices including pocket pages where you can work one small bit at a time to 12×12 layouts to mini-books – and everything in between. My family scrapbooks are a blend of pocket pages + traditional pages (12×12) ever since I did “project Hawaii” a blog series about faux pocket pages to maximize space + minimize time to make the pages. But I’ve done it all – and will continue to dabble when it comes to trips, special occasions, and other “separate” scrapbook projects.

Tips on space/managing expectations: 

  • You’re limited by whatever space you’ve got. You can only fit so many pictures on a page. So decide on a case-by-case basis what priorities are
  • Get real. I’m not ever going to custom print photo sizes. I print 3×5 or 4×6 in batches every few months, and I make my projects work based on that. I get WAY more done, and I do better with physical photos in front of me vs having to sit down, find pics, size them… I’d never scrapbook. This applies to every aspect of scrapbooking – be realistic in your time and commitment to it
  • Scrapbook any and everything you want. Skip any and everything you don’t want.
  • If working on an album with a set of pictures/strict parameters take the time to sort it out generally before you begin, or pause and do so if you’re already in the middle of it.
  • I’ve only met maybe 3 people in all my 30 years of scrapbooking that were “caught up” and “Had scrapped absolutely everything to date”. Realistically you’ll NEVER scrapbook every story. Pick a few stories, be happy they’re told/saved. Repeat.

Spend time living a good life, scrapbook the parts you like as time allows… but do make time. Even if just a few minutes now and then.

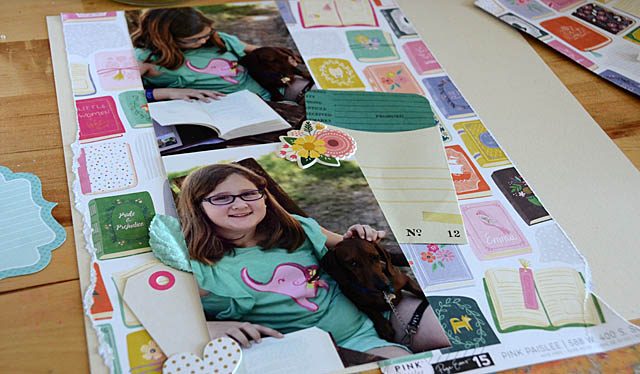
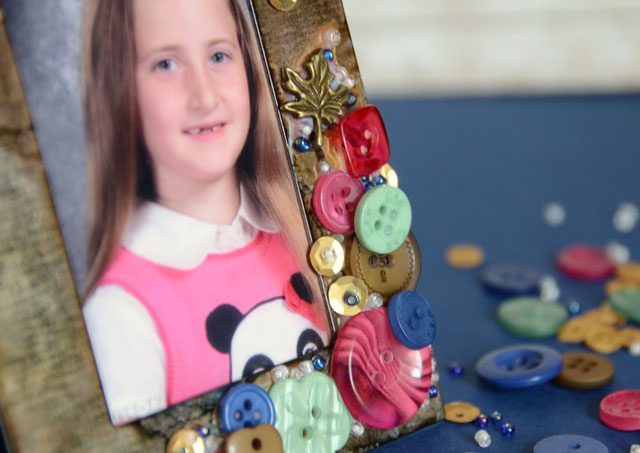
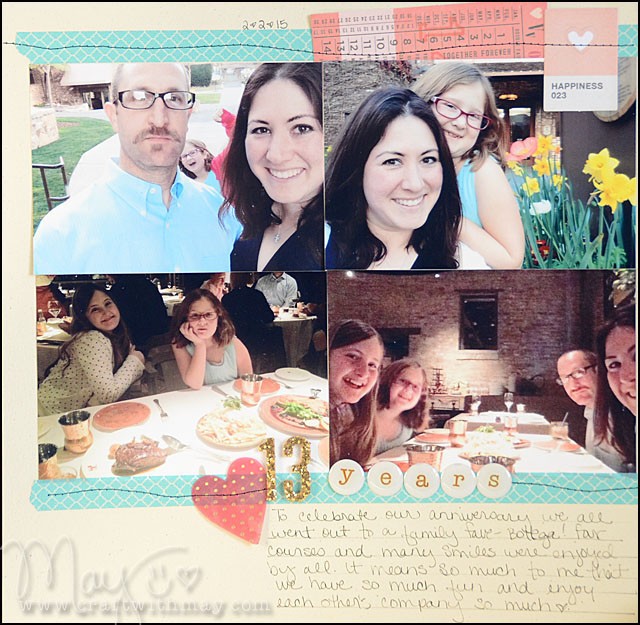
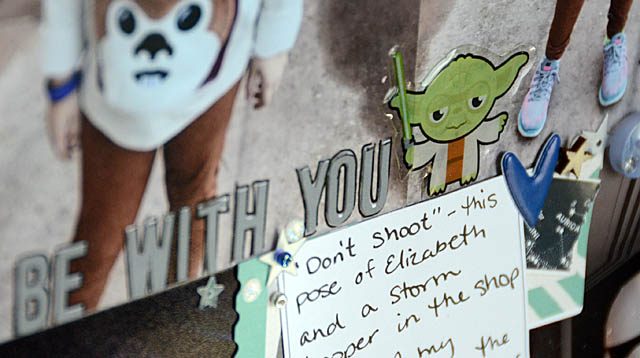
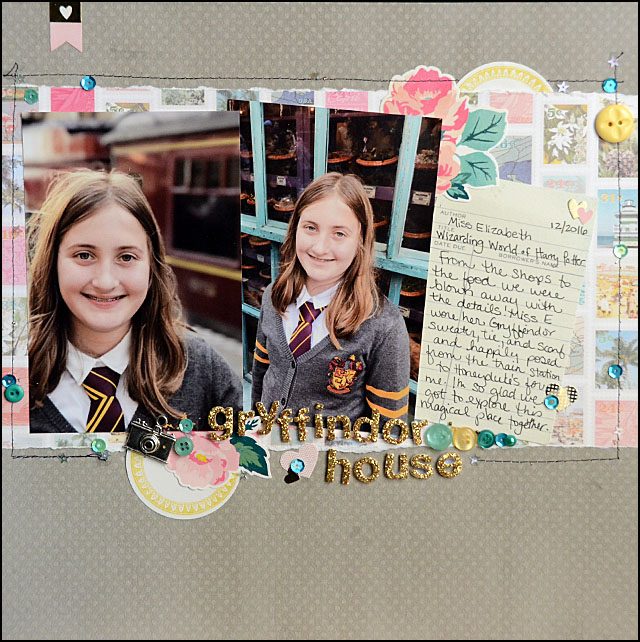
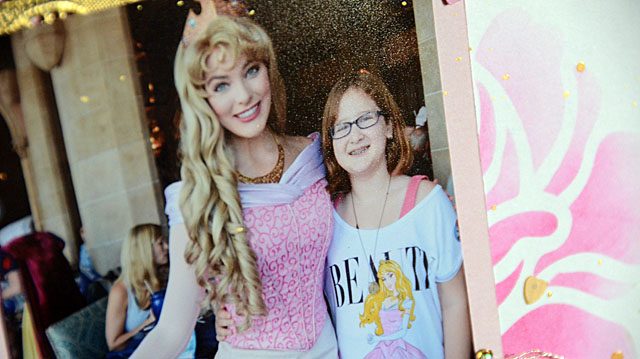
This page you’re seeing snapshots of is one for my 2017 album. I just got my April – June photo order and I saw these photos and went… oh my gosh this will match the Paige Evans (affiliate links used) paper that I had to buy 4 sheets of because I was so in love with but can’t find anything to use it! This is perfect! I 100% believe in working as inspired, and putting energy in where I’m creatively inspired. Keeping it real simple where I’m not.

On process/how-to:

My process goes like this. First I identify photos. The I verbalize what I’d say about them if talking to a friend as I move the photos around on kraft or white cardstock. While doing this I make note to myself how many words/how much space I envision. Once I can “see” where I want the photos + story I make the page.

There are ENDLESS possibilities for ways to tell any given story, with any photos. So just pick one and go for it! I like:

  1. Decide photo placement
  2. Add large/key elements including patterned paper if using it – but don’t glue anything yet
  3. Verify you have ample journaling space
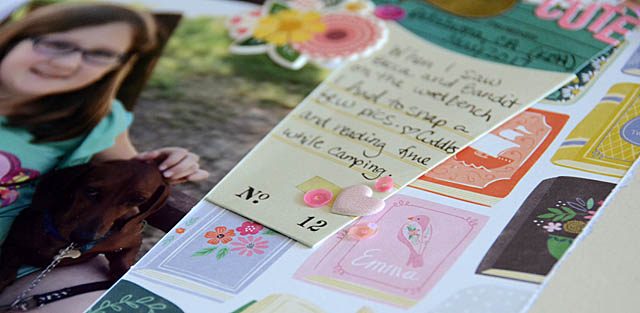
  4. Glue main things down, write that story down
  5. Add finishing touches, embellishments, details as desired

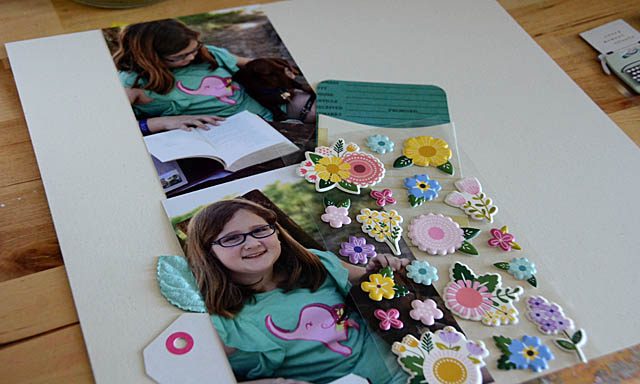
That is how I scrapbook. And when I get SUPER excited because maybe my favorite paper to come out in years works perfectly with some of my favorite photos? I run with that excitement. I play with the stickers and paper. and I enjoy the heck out of the process.

What I love about scrapbooking is how I can capture snippets and stories big and small and have creative fun doing it. There’s no right or wrong way. I could glue all the photos to one color cardstock add themed stickers write notes below each and be done. Or I could spend a whole day playing with one. Most of the time they’re around 30minutes though – this one included.

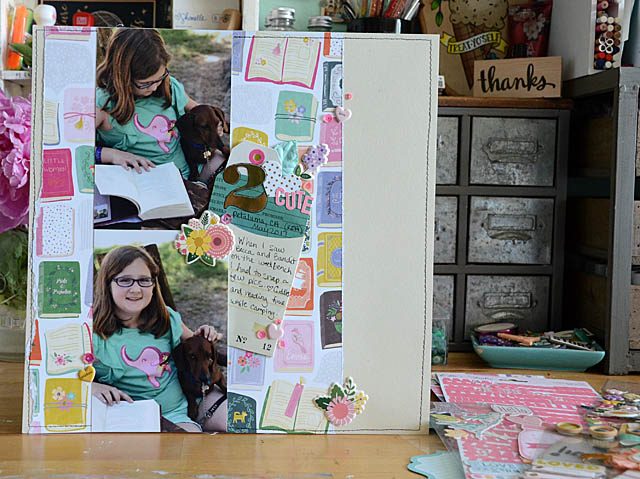
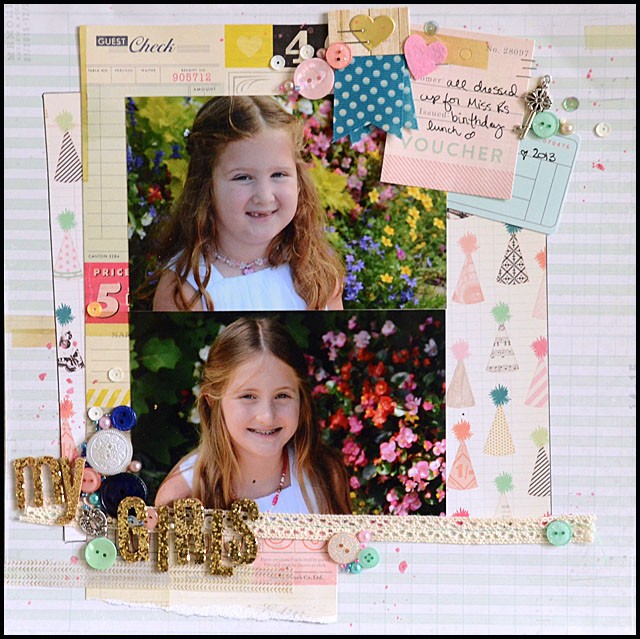
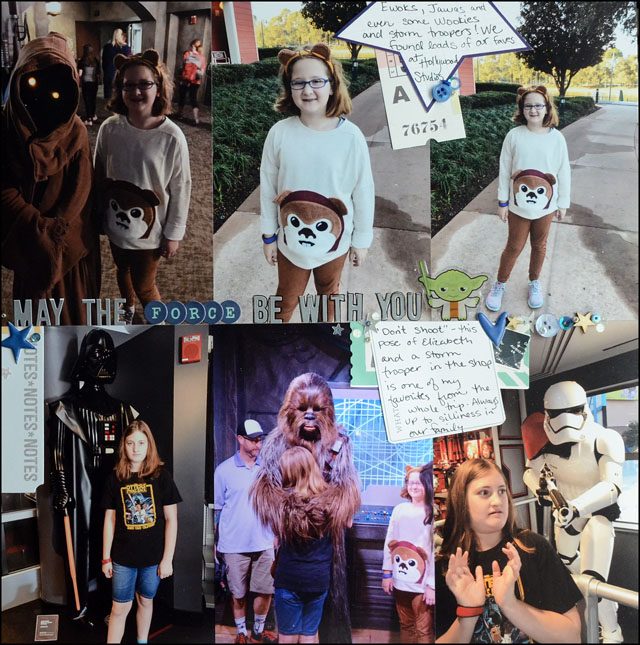
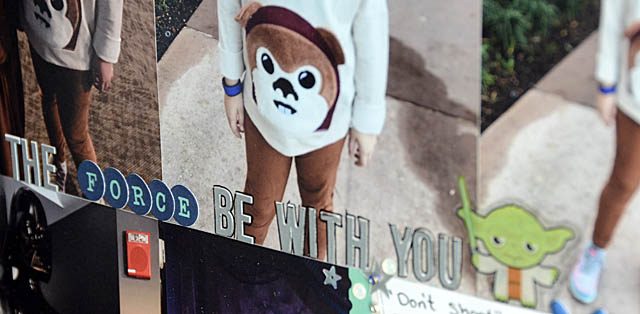
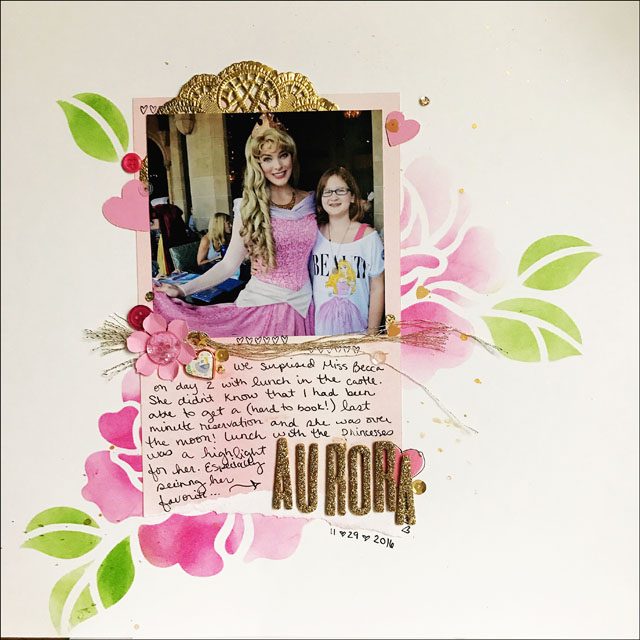
Here is my final layout – I love how it turned out! I used Pebbles puffy stickers – they go so well with Paige’s paper! This layout design is one of my “go-to” and you can make it either way (portrait pics or landscape pics across <> the page). In my online class (see discount code below!) Tried & True Scrapbook Layouts I go through this design – and many others. Oh how all this scrapbooking has me smiling – but also thinking it’s give-away AND discount time!

Special discount link/offer

Use THIS LINK, and you can have 30% off ANY one self-paced Craft With May class (note this is ALL classes except Picture This, which is currently in super deep discount pre-registration mode this week!). This offer is good through July 3, 2017 on new purchases only. The price you see on class description page is the normal price, and the discount will show up when you go to check out.

give-away: Craft With May class of your choice

At least 3 winners (could be a lot more!) will be randomly drawn from comments on this post (closes July 2) for the FREE class of their choice – and the prize is good through 2017 so if you want to hold out for a future class – you can! Leave a comment on this post for your chance to win – and good luck!

Photos + Memories

Congrats to winner from my previous post: Tiffany M! Email me (craftwithmay at gmail.com) to claim your prize! Include what class you’d like and mailing info.

Stories by themselves are nice. Photos in a frame are lovely.

Combining the two, is when the magic of scrapbooking happens. I’ve been scrapbooking since the second grade, and yes I still have the book with photos + stickers + words that I created way back then. My aunt is the one who got me started and kept me interested in the idea as a child, and I’ve never stopped loving it.

The wonderful thing about a “scrapbook” is that what exactly you do, and how precisely you go about making one is entirely up to you. It doesn’t even have to be a book! I once saw a beautifully written story placed inside of a photo card behind the photos of an event. Photo + story.

No Rules.

These days there are so very many options as well. You can work in a variety of sizes of binders. With full pages or ‘pocket’ pages. You can create mini books. Work in an art journal. People are even adding photos + stories into their day planners these days.

If you like things simple, fancy, quick, or slowly thought out. Digital, just vacations, photo books, or shadow boxes. There is an option that works for any lifestyle, any preference. There also isn’t any kind of rule about how much you document, or what you document. Maybe you just make a Christmas album or project each year. Perhaps you tell the stories of your epic road trips.

As yet another birthday approaches, what I find is that looking back through albums, at ‘scrapbook’ type projects of many kinds, I don’t particularly care what format I used. What I care is that I can find the stories. The photos. The memories. And walk down nostalgia lane…

This year for International Scrapbook Day I did a blend of working on assignments and playing in my 2016 pocket page album. It was a lot of fun gathering thoughts and stories, and both of my daughters grabbed a journaling card and made an entry themselves. I’ve always been very open about letting anyone who wanted to contribute to the story do so – and I was thrilled that they added “from the dog’s point of view” notes to the book as well as their own.

I am finding a good balance with myself telling stories + documenting memories I want preserved with creative outlets as well. For a while I only scrapbooked, and that wasn’t a lot of fun. Don’t get me wrong I love scrapbooking – but I like to dabble and I am happiest when I am mixing and matching a blend of things.

Doing some simple documenting myself this weekend as well as working on a new class and flipping through old albums really has me grateful that I have always been a keeper of memories and stories. So much gets lost in the pages of time – the details, the “oh yeah I forgot” elements.

If you’re reading this and thinking you’d like more ideas, you’d enjoy some options outside the usual scrapbook page… well stay tuned. I’m working on a photo based class that is anything but the usual and for everyone whether they consider themselves a memory keeper, scrapbooker, photographer, or nothing of the sort.

If you do enjoy scrapbooking or any kind of photo crafting, I’d love to hear in what form, or what you love doing. Do you keep up every week? Just vacations and special occasions? Randomly? I don’t believe there is a wrong answer here.

I hope you’ve had a fantastic weekend, and that things are looking bright for the summer season ahead. I can hardly believe “end of school year” and “graduation party” and such things are being talked about already. Time flies…

May the Fourth be with you! (intergalactic scrapbook page)

To all my fellow Star Wars fans- happy May the Fourth! We’re going to attempt a Death Star Pizza & Yoda Smoothie (random, I know) for dinner. But in honor of this day that my kids are oh so into, I wanted to create a scrapbook page with six photos taken in Disneyworld last year. Now I had a video all made – and the laptop ate it. I wish I was kidding. The good news is this: This is the only video harmed in the random disappearance, and this is a layout I can easily explain with a blog post!

Years ago I did a “Project Hawaii” series (here’s a link) in which I took photos, filled pages, and created in a Project Life inspired way but directly on 12×12 paper. This is a GREAT way to do that style without special pocket pages or having to have the same design front and back! Today I’ll be making a page in that same way.

My tips:

  • Put photos together in a way that allows for embellishing spaces Example the two lower right photos – I made a journaling space!
  • Always “ground” your embellishments by having them on the edge or otherwise attached to some other element.
  • Mix and match! I had some random buttons, some blue stars… and Yoda! This clear sticker from Hallmark is great on this page bringing just a touch of theme sticker fun to an otherwise simple page.
  • Use “ugly” or “never gonna use it” cardstock or patterned paper for the base!! Great way to use it up since none will be seen.
  • Mix & match! Need more journaling space? Leave a photo out!
  • Work biggest to smallest. Always easy to find little nooks & crannies to work small things in.

Most of all – have fun! This style of layout is so quick and easy because there is no in depth layering no design woes. Just glue & go!!

If you love vacation scrapbooking – make sure you’re in my (self paced) Vacation scrapbook guide!! It has my complete cruise + Disney 2014 vacation album and so much content! One of my favorite classes for sure. I have such fun sharing ideas – and on National Scrapbook Day stay tuned for a special scrapbook post here on my blog.

I hope you have a great day – may the (scrapbook) force be with you!

Gryffindor scrapbook layout tutorial

I’m starting to get plans together for our big trip from 2016 and my scrapbook goals for it. There are absolutely TONS of stories from that trip and I really want to incorporate them as well as hundreds of photos. I’ll be doing a post on National Scrapbook Day explaining my favorite methods of scrapbooking as well as tips, tricks, and more. So stay tuned for that (and much more!)

For today, I am very excited to tell you that I’ve found a shop carrying my embellishment kits online (note: affiliate links used in this post thank you in advance for supporting my site!) and so I am celebrating with a layout tutorial. Here is my YouTube video.

This layout was a strange mix of things when I look at it – but it works for me! I love the grey + pink with the travel kit and the star of the show – these portrait photos from the Wizarding World of Harry Potter!

Supplies used (links to Scrapbook.com) include:

28 Lilac Lane “let’s go” kit 
Oasis patterned paper
Maggie Holmes Stickers
BoBunny paper

I hope that you’ve enjoyed this peek inside my most recent vacation scrapbook – and the first look at this particular 28 Lilac Lane kit too! I’m excited to see the line showing up in stores. Be sure to tell me if you see it!

I’m also excited to tell you that I just got back from Scrapbook.com HQ where I was filming a new (Free!) online class! I will be sure to let you know when that class becomes available. Have a great day!

Rose scrapbook page

I’ve been making an effort to scrapbook a bit more – and today I’m excited to share with you that I created a layout featuring the ScanNCut and stencil material as well as one of my favorite photos from my last vacation. (disclaimer that I’m a paid consultant for Brother, but all ideas and opinions are my own) I created a full YouTube video tutorial that you can watch here.

I love how this layout turned out!

Using shading and ink, a bit of gold spray and wow! That stencil has long been a favorite design in my machine and this is by far the best way I’ve used it. It reminds me that when I don’t have the right themed embellishments, I should make my own themed stuff with my ScanNCut!

edited to add: I did indeed catch my whoops on my title and fixed it – but I didn’t initially load the right photo of the layout! Whoops x2. That’s ok! When scrapbooking mistakes happen, and we can almost always fix them. By gently removing my letters and re-applying with liquid adhesive I was able to quickly and easily fix my layout with no damage or issue.

In scrapbooking especially, don’t worry about making mistakes… because they’re bound to happen! Know that there’s almost always a fix and usually a fairly easy one and have fun!