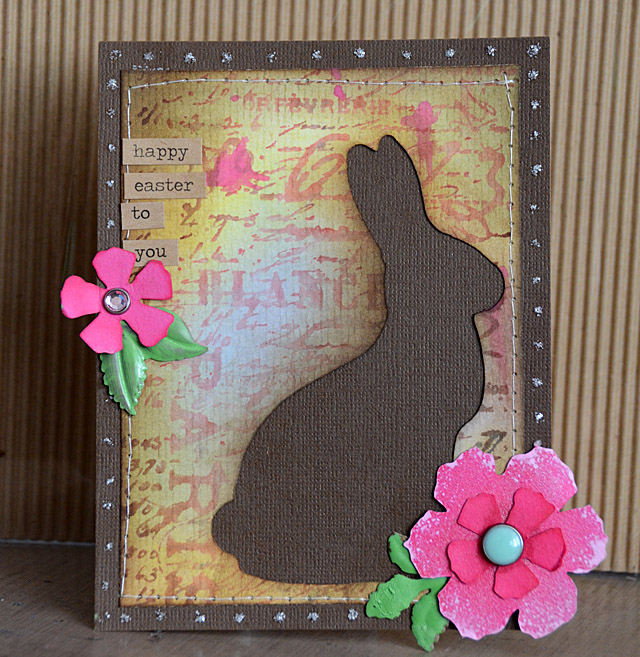
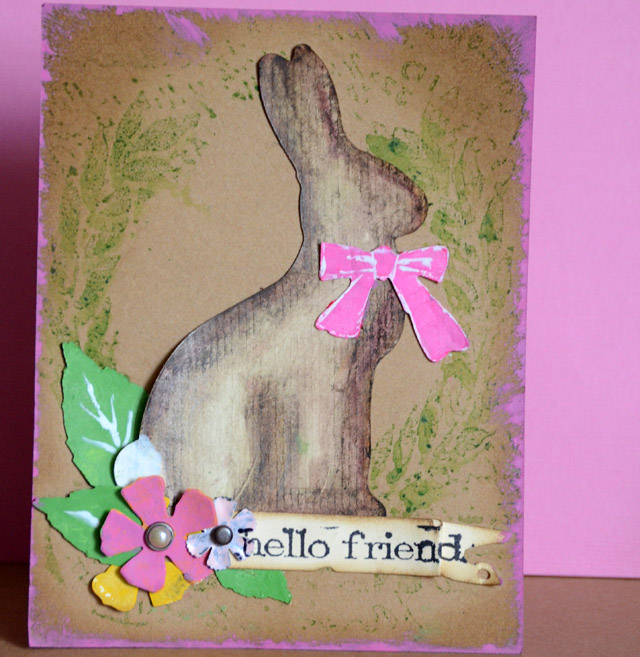
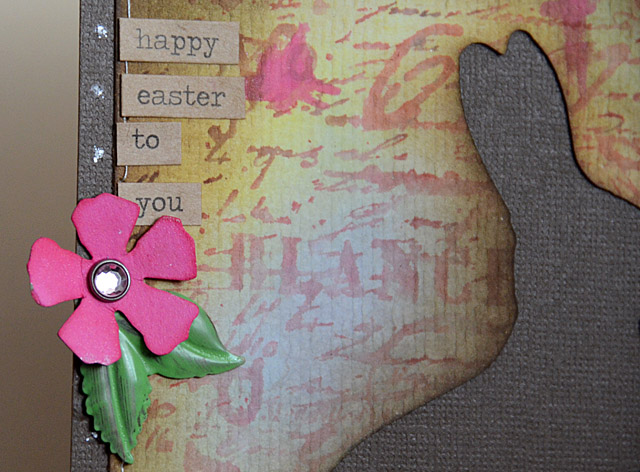
I’m just hopping along here… trying some techniques and testing out some ideas. Made a few Easter cards with my Tim Holtz bunny die cut so I thought I’d share…
Nothing wasted! Here you can see I used both the bunny, and the paper left behind after punching the bunny to make two cards. Speaking of cards – I will be in Elk Grove, CA at Stamper’s Corner next Saturday (April 6) teaching a card class. If you’re interested the store has just a few spots left! We’re focusing on Tim Holtz Stamper’s Anonymous new stamps… and yes I’m bringing the whole collection!
Seriously I have SO much coming in April – from new blog series to my next workshop opening for registration and more – it’s going to be another craft filled month. I’m excited!
For now I’m off – got to soak up some family activities and good times.
I’m a fan of hand stitching. It doesn’t take as much time as you might imagine, it can add both color and texture to your projects, it is inexpensive, and it really is fun. Amy Tangerine released two embroidery stencil kits, and today I want to take a closer look at this product and tell you what I think. The best way to really see this of course, is via video. Here is a quick video showing the kit in action:
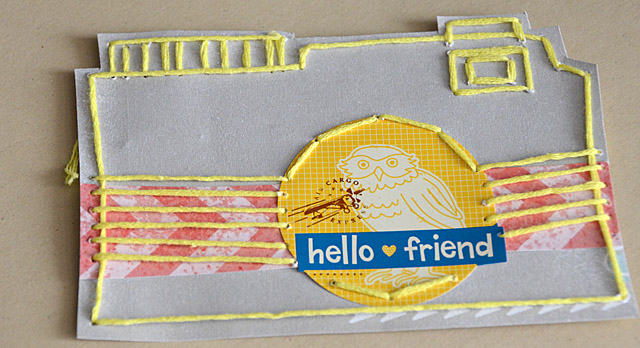
Above you see my first attempt. I was playing around and I wanted to just test things. Just see how it would work, how I could play with paper + stitching and if it would be easy (or hard) to do a more complex design. While I don’t like my finished product – and that’s ok – I do really like how simple these stencils are to use. Everything you need right down to needle + thread is included, and the stencils are sheer enough (yet sturdy) so you can potentially layer paper and very precisely figure out where the stencil should go.
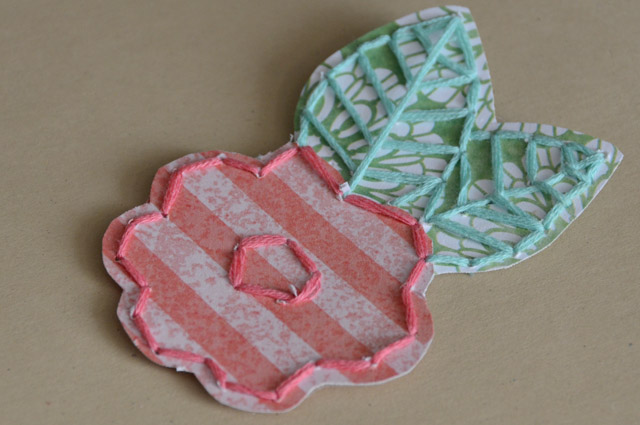
Now here’s a more successful attempt at layering paper + stitching:
I really like the shapes, and while a bit more time consuming I think they are a lot of fun and I’ll enjoy playing with them more. I could make accents with paper to later add to projects, or I can stitch directly onto projects!
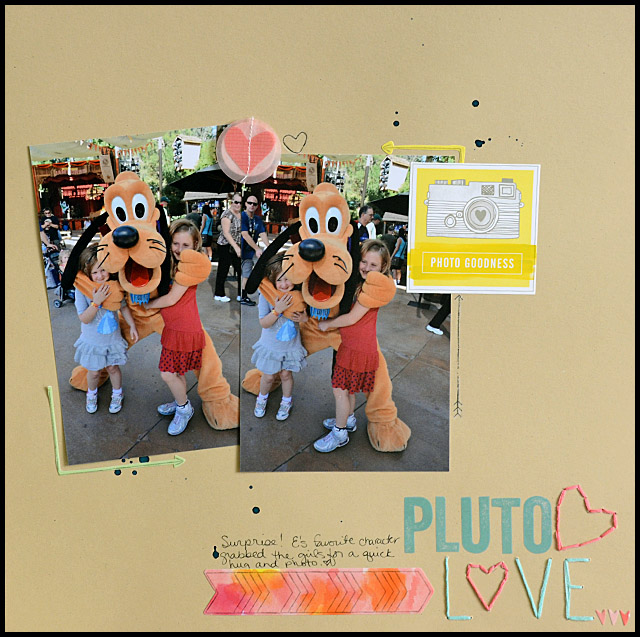
While I have and am using the set with mostly shapes, there is also an alphabet set that you can purchase. Which one you would want I think depends on how you see yourself adding stitching. Here’s a layout I made – one of the shapes included on my set is the word “love”. Supplies Used:
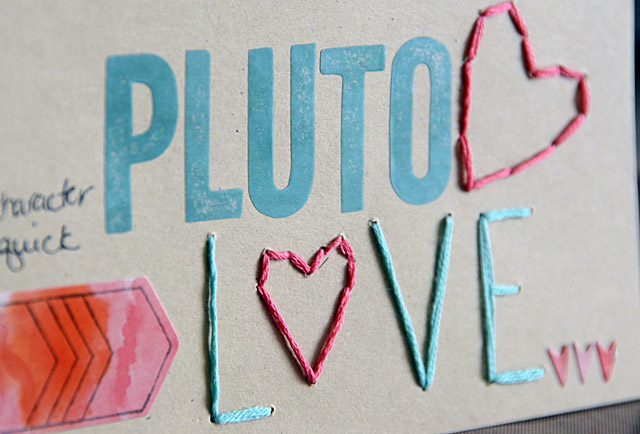
InLinkz.com The hearts were fun to stitch – and I really like the size and shape of those hearts. I think in the future I’ll be using them a lot!
Overall I think this is an excellent product – and it is really well done! The supplies you need to get started are all included, and the stencils are durable enough that I think they will last a long time. You can find Amy’s stencil kits in stores now, including 2peas, Simon Says Stamp, Blue Moon, and Scrapbook.com.
This week I’m the guest on PCRT podcast (you can check it out/listen here). We’re talking about “simplify” and honestly this was one of the best discussions/episodes I feel like I’ve been on. I LOVE Lisa’s story and how she made scrapbooking what she wanted it to be. I also loved sharing my thoughts on how simple doesn’t have to = plain, no embellishments, etc. It’s a state of mind really. And a good one at that. Hope you enjoy! You can feel free to ask me questions if you have any.
Here’s a random card that I’ve not yet shared with you here – thought it was a perfect fit since this is one of my “Just play and try some things” cards.
I will be doing a post about the techniques I used though. Soon! Happy Crafting.
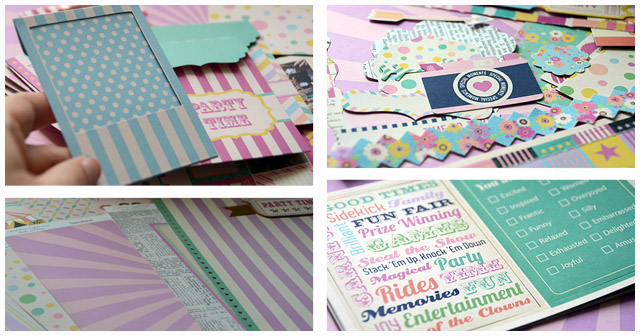
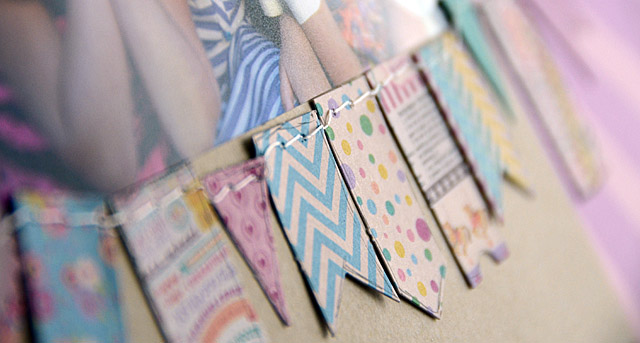
When I saw the beautiful feminine colors of this new line (Carnival Queen) I was exited to play with this new line of papers and die cuts from Ruby Rock-It. This is a company that is new to me, and I was curious to see how I’d like working with their products. Here are some photos of the products – I had a hard time picking what to work with first! The die cuts are a nice mix, there’s a great book full of journaling cards (pre-die cut), love those little polaroid frame/envelopes, and just loving all this color.
I love all of the bold patterns and bits and pieces I could combine to make a layout shown here.
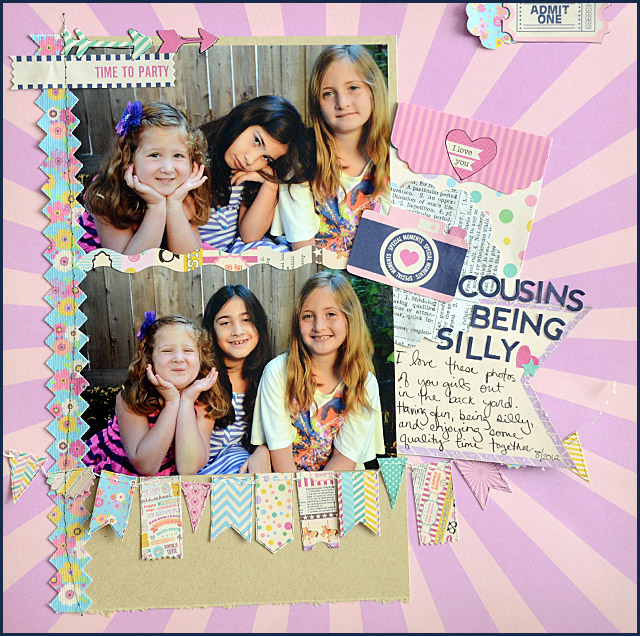
I also like that while the line is very carnival themed, it clearly is a good choice for everyday photos too! Above you can see my page – the only products that aren’t Ruby Rock-It are the letter stickers and kraft cardstock and glitter. I really hope to see this brand in more stores here in the USA, and I know I’m seriously thinking my girls need to wear soft aqua and pink colors to the fair this year so I can be sure to use this line for more carnival-like subjects!
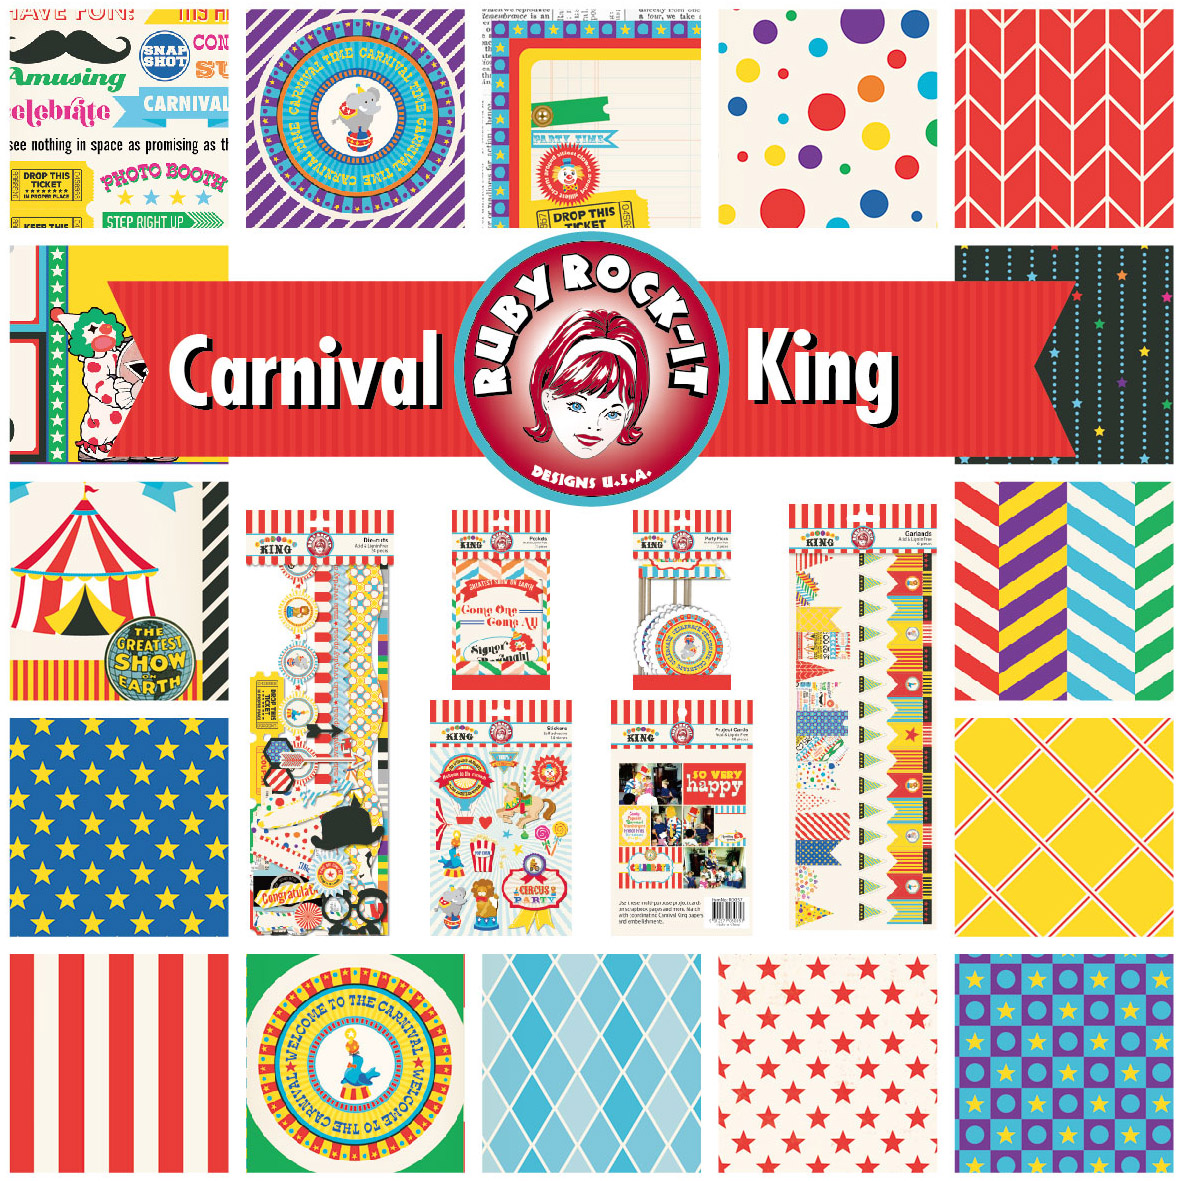
And now – I’ve got a give-away!! Ruby Rock-It is giving away some of their Carnival King line to one of my lucky blog readers.
Above you can see a photo of the goodies that you could have a chance to win. To enter for your chance, leave a comment on this blog post. I will draw a winner at random on April 1st. Good luck – and thanks to my friends at Ruby Rock-It for this fun give-away! You can find out more about the company and where to get their products on their website or blog.
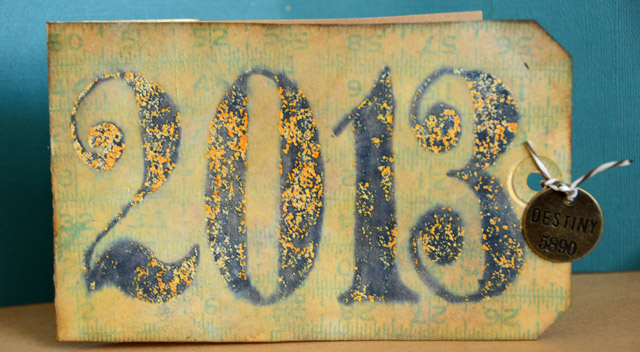
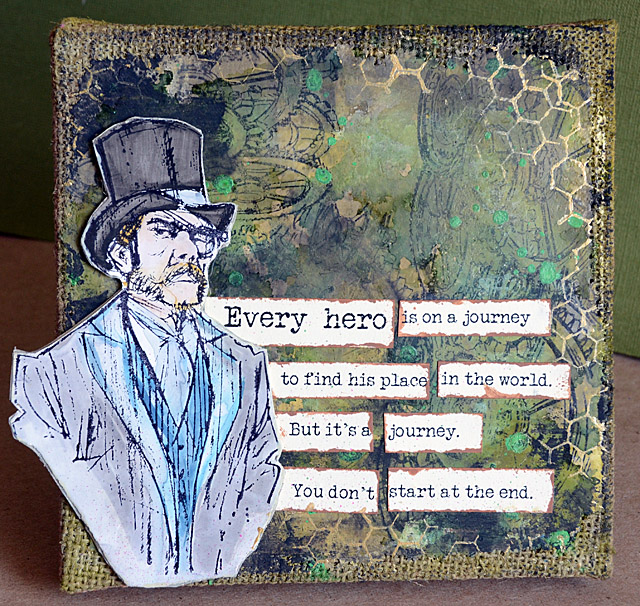
I have been SO quiet the last week – it’s been busy, then we all got sick… but I think we’re on the mend and you should expect to see a LOT more creative posting from me this week. I’m so glad! Let’s kick it off with this week’s Simon Says Stamp & Show challenge: Quotable. Visit the blog to see all of the other creations and to enter. This week’s prize (as always) is a $50 voucher to Simon Says Stamp! The winner is randomly drawn – you can enter by posting to your blog, flickr, or other site too. See the blog for entry details and rules as usual.
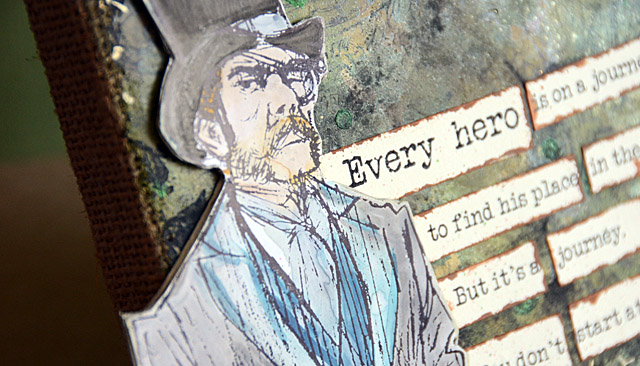
The show Heroes (the first season only) has been strongly recommended to me over the years and I decided to check it out. I can tell you it is AMAZING – such a powerful story and so many really positive messages and things to think on. At one point my favorite hero in training is getting frustrated and wanting to have his power under control and generally just really wanting to be at the good part. His friend says this to him, and I felt like it was a really powerful message that I wanted to have up on my wall.
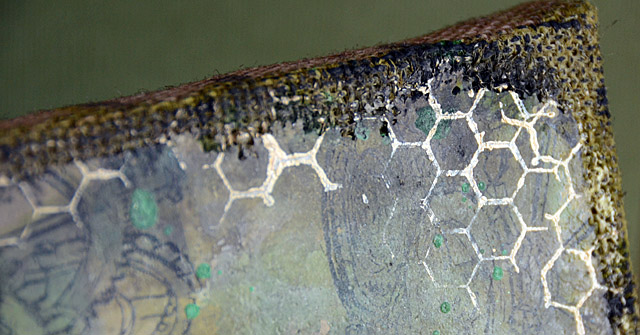
1. Color Tim Holtz Burlap panel with distress paint – be random and mix it up! Allow to fully dry
2. Splash with alcohol ink and blending solution, again allow to fully dry
3. Stamp (black archival ink) gears
4. Stamp (gold paint) wire background stamp
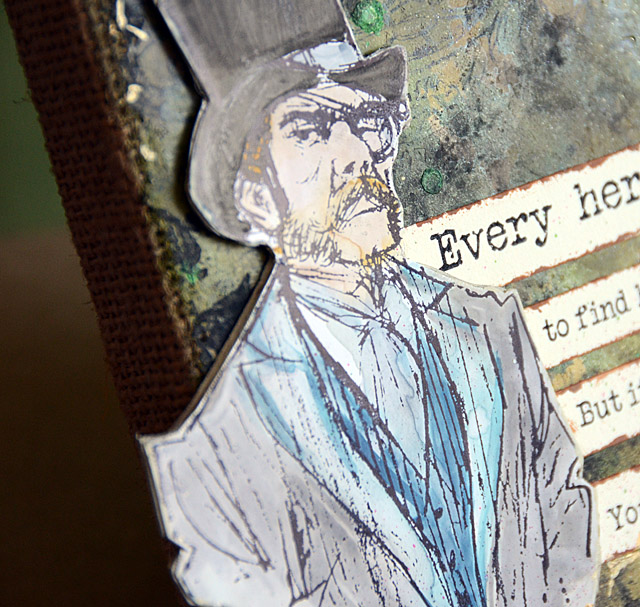
Gentleman how-to:
1. Stamp (black archival ink) the gentleman on specialty stamping paper. Mount onto grungeboard with double sided tape sheet and cut out.
2. Color with distress markers, then blend with a water brush
3. Mount onto canvas background
My quote was printed out onto cardstock, then edged with brown distress paint and is the finishing touch on this small canvas. I love the results – and the reminder that this gentleman gives me to stay my course and keep on working towards all my goals.