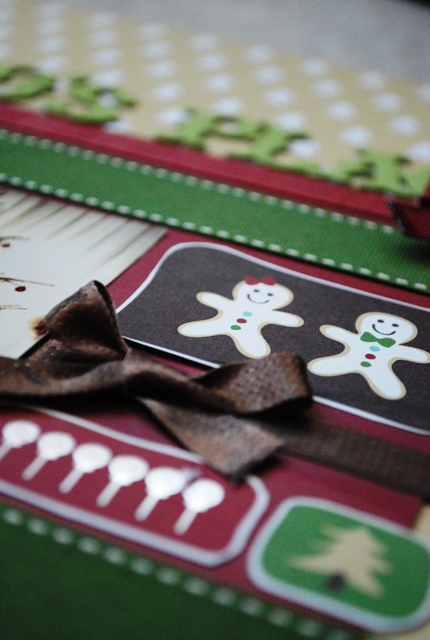
Nov. Scarlet Lime layouts-

I’ve already shared my how-to’s on the photo decor + the muslin flowers… now it’s time I post these layouts! First up, my layouts with the project kit from www.scarletlime.com

may_MissE

I can’t wait to go Christmas dress shopping for the girls next week. Oh how I love Christmas dresses and of course scrapbooking the portraits I take of them…

May_MissE_CU

may_12

This layout is photos from our first Christmas, first Christmas as parents, first with Becca, and then last year. This year I vow more family of 4 pics!

Now here’s what I did with the main Nov. kit…

May_snap

See? Already this year we’re taking more family photos. This layout came out exactly how I wanted it. And since we were all REALLY red faced in this photo I’d printed it out B&W instead of in color.

may_snap_CU

Christy put a lot of funk-a-licious stuff in this kit. I was in heaven for sure.

may_fairy

Duuuude. I had to beg a cast member to help me figure out when to get in line at Pixie Hollow so we could meet this fairy. ANY fairy really. After 2 or 3x going up and meeting Irridessa + Tinkerbell (who’s ALWAYS there)  E was getting bummed. She really wanted to meet Silvermist or Rosetta. She batted her eyes and I pleaded. The nice lady helped me time it out and we met Rosetta. Aw yeah.

may_fairy_CU


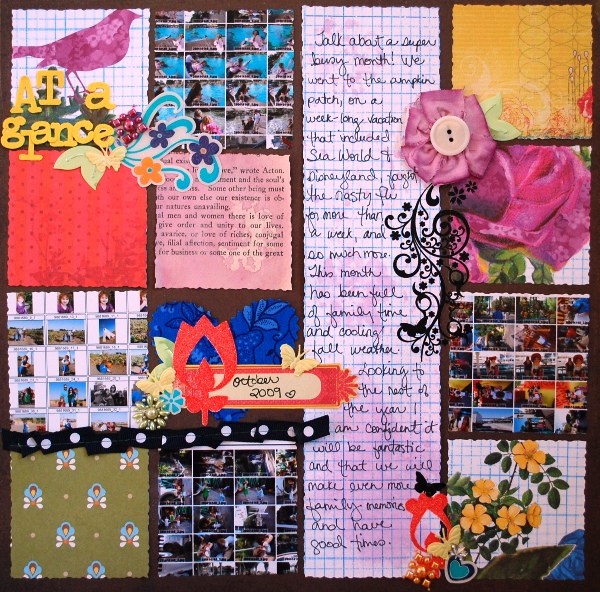
May_glance

I don’t know why I made this page or what inspired it exactly. I had a 101 fever at the time… and I do really like how it came out. Just index prints + squares of paper. Fun stuff.

may_glance_CU2

I had a lot of fun with these kits. Is it time for next month’s yet???

may_glanceCU1

kit {prize} + winners announced

Making kits is so much fun – almost as much fun as using them. Did you know I really kind of make “mini kits” every time I make a page? I bet you do too. When I pull  stuff together that I think will work with my photos I’m kind of making a single page kit. So even when I don’t think I’m using one, I kind of am. Can you tell yet that I’m all pumped for class to start? I totally am.

In celebration there’s going to be a lot of fun going on here all week – even more than usual. Today I have a 13 x 13 x 3″ box to fill with a homemade kit. I’m calling it “nov/dec 09”.

243

lots of reds and greens, but other stuff too. I love putting together vague kits that can be interpreted and used in many different ways. Know what else I love? giving the kits away. If you’d like to win everything pictured above + about 10 sheets of alphabet stickers + any other fun stuff I can fit into the box just leave a comment here! I ask that you enter the drawing only if you’ve not won a prize from me in recent months. I’ll leave that up to you to interpret- I just want to make sure somebody who’s not won before – or at least in a long time – from me wins. 🙂

AAAAAAAANNNNNNDDDDDD here’s some winners I need to announce! E-mail me (mflaum at comcast.net) with your info to claim the prize!

Halloween prize winner: Ann Abrameit

 BIG box ‘o Fiskars prize: Terrie Carlson

LAST CHANCE: winner of the ink, ribbon, and brads – Christina Simon {I’ll draw another winner at end of week if I don’t hear from Christina…}

kit = supplies

First of all, we’re on count down to adventures in scrapbooking: using kits. Seriously? Could NOT be more excited for class to kick off Thursday!! Something that’s important in class – and in kit use for anyone really – is to remember that a kit = supplies. While it’s beautiful and makes your choosing supplies much faster and easier, if you take the kit apart it is still just craft supplies. So don’t get hung up or worry about the right thing to do with it – just have fun!

related: since it is supplies, that means you don’t have to just do layouts with it – you could do anything you like. Me? I usually stick to layouts but sometimes another paper craft project tickles my fancy and I take off in a new direction. Like when I got the Scarlet Lime project kit (November) and there was the cutest little red box containing flowers in the kit. I dumped those flowers right out and grabbed the box.

015

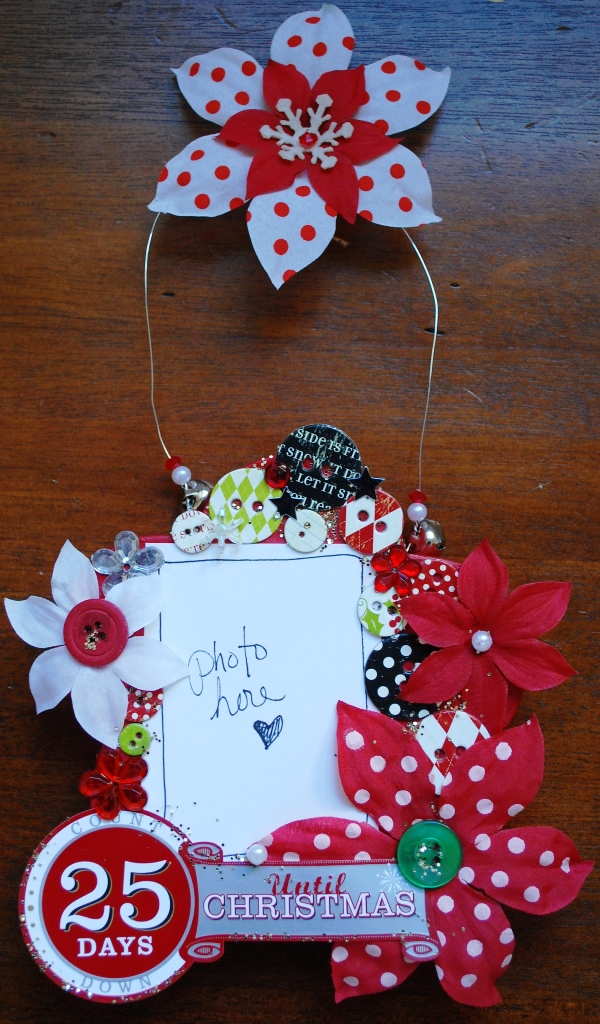
Why? Well looking at all the flowers and buttons in this festive kit, and determined to use some of the wire in it, I hatched a plan for something decorative to add to my hallway.

may_hanging

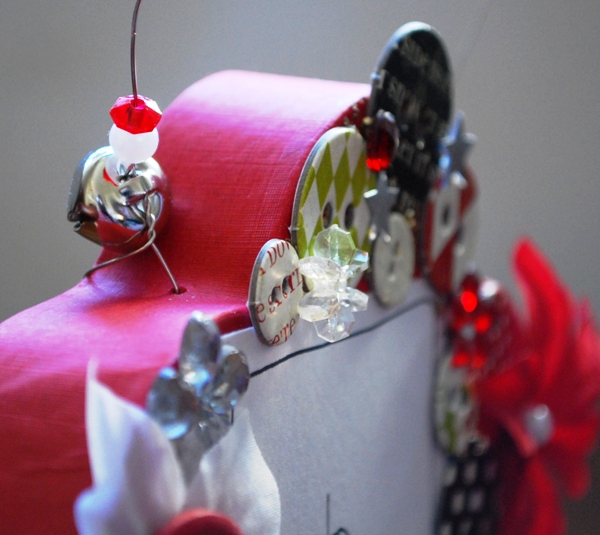
Re-using a container is a great way to reduce waste but also make something inexpensive too. To start, I punched two holes at the top (I used a thick needle) and strung wire through. I put six beads (three for each side) before wrapping and tying off the wire. My piece was about 8″ long (then wrapped/cut) but you could go shorter or longer.

016

Next I cut a piece of 3 3/4 x 2 3/4 white cardstock and adhered to the front. I made it this size so that a 2 x 3 – 2 1/2 x 3 1/2″ photo would fit after I’m finished. Then comes the easy part – just slather the front with liquid adhesive (area not covered by paper) and stick flowers, buttons, and rhinestones all over until covered fully. When you are done, sprinkle with gold glitter – it’ll stick a little here & there and I just really like the effect. I also used a big sticker at the bottom – the portion that hangs off was of course still sticky. To take care of that I rubbed a bit of liquid adhesive on the sticky part. That sounds crazy – but what it does is when dry that exposed sticker will no longer be sticky – thanks to that liquid adhesive!

may_hanging_CU1

The final piece of the puzzle is the flower at the very top. I used a scrap of wire to thread the two flowers, snowflake, and bead through and looped around the top. The bead is essential – it keeps the wire from just falling back through the flowers.

018

This project is going to be home for the 2009 Santa photo – and I think it’ll be brought out and enjoyed every year from now on too. If you don’t have this red box, any box lid or shallow box that’s nice and sturdy could be substituted – just find a bit of wire or ribbon, some cute embellishments, and have some fun with your creating!

020

Miss R is soooo down with the jingle bells and their sweet chiming whenever I move this. She’s way happy with it – I can’t wait ’till she sees her cute face on it with Santa & her sister! {Note to self: buy more little jingle bells!}

I hope you enjoyed this project, and that when you next craft you ask yourself if there’s anything useful you can make with your leftover bits and pieces. I still have pieces from this kit – and I’ll be experimenting and sharing soon.

muslin flowers

I was excited when I heard that there would be a strip of Muslin fabric (it’s about 1-1 1/2″ wide) in November’s Scarlet Lime kit. I buy this kind of fabric in yards for both sewing and for use in my paper craft projects – so I’m already a fan. Today I’m going to give you some ideas for turning a strip of fabric into flowers. (Note: this would work with most any fabric – but the thin muslin is so easy to work with!)

First of all, you don’t have to sew – you can just use the power of hot glue.

001

Use your fingers and hand fold a circle shaped flower. How much folding you do is totally up to you. Then drop a glop of hot glue onto a circle (or other shape ok I suppose) of patterned paper that is smaller than your finished flower. Press your flower into it.

002

Huge tip: Use a pencil, stylus, or ANYTHING but your finger to press that glue into the fabric and make it stick. I still do suggest the hot glue though – it’s fast and does a great job. I had to let a flower done this way with regular liquid adhesive set overnight to work. I’m not that patient!!

003

I pressed a button into the center of mine, but you could put another (smaller) layer of fabric, beads, paper, or even a sticker as your flower center. Just pick off the excess hot glue once it’s all set up.

For a decorative touch you could use pinking shears along the edge, or even a decorative blade (before making flower is easiest!) from your trimmer or rotary cutter.

010

Now let’s talk about sewing one. The above flower (w/pinking shears) was created by using thread instead of hot glue to pull a flower together. I find it makes a more uniform and easily tweaked flower – but it does take a bit more time. Here’s 2 ways – by hand and by machine:

005

If you have a machine – do a basting stitch (a BIG and very LOOSE stitch) through the fabric, then pull it tight. You can adjust how tight you make it before either stitching together or using hot glue (and a circle of paper) to glue it down.

006

Note: most of my flowers are a piece of fabric around 12-16″ long, however if you make them longer you can easily make yourself a multi-layered flower by just circling around and around. The downside to this is they really become too bulky to put in a scrapbook, so that’s why you’re only seeing single-layer from me here.

Sitting in front of the TV? Fighting the flu and need something to keep your hands and mind occupied while sitting still? I like to get our some embroidery thread and a needle and pull flowers together.

018

Just do a straight stitch in and out (regular thread would be ok to0- but I pull hard and break it sometimes… so I go with the thick stuff now). The thing I like about this method is you can do it anywhere, and you can gauge your progress easily because of the slow & steady pace.

007

To close these flowers I tie the two ends of thread together in a knot and pull nice and tight. Then I tuck the ends (of fabric) under when placing it on a project. of course gluing these onto a circle of paper makes them a) more sturdy and b) easier to manage so I still suggest that.

Had enough? No way! I’ve got 2 more ideas to show you…

001 (2)

I cut six 1 x 2″ strips of muslin. Then I folded in 1/2 and pinched the open end a bit and sewed 2 stitches (regular thread) to keep it puckered/pinched.

002 (2)

I repeated this for each petal, then I sewed them together, just putting 2 stitches of the left side of one into the right side of the next one (and on all the way around)

004 (2)

It’s ok if the stitching looks crazy. You’ll never see it again.

006 (2)

When I was done It looked like this – then I spritzed and spritzed some more until I liked the color I got. Oh yes, did I forget to mention? Using Shimmer sprays, inks, even paints or stamps on this stuff = fantastic. It’s totally easy to do and adds customization to your fab flowers.

Still, layered flowers rock and it bummed me out that all the bunching & stitching meant  they were too lumpy (like 1″ thick!) for my pages. But what if you just cut & glued petals onto a circle base? Say, like this-

013

3 layers of petals – I just cut a ton out (no worries if they’re imperfect!) and hot glued onto a circle of paper. Then when I liked how many layers I had I went spritz crazy. See how it’s all beaded up? That’s OK! It’ll soak in and dry really quick, and wherever it was all beaded up will just have more color. If you want it to be even all over just keep spraying until it’s all very, very wet.

014

Having fun yet? I sure am – and I’m ready to do more, more, more!
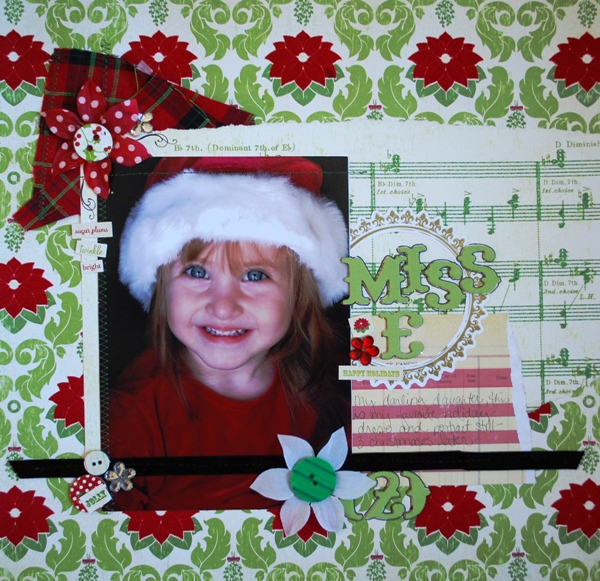
Merrymint page

I keep a list (some mental, some actually written down like it’s supposed to be) of “just for fun” layouts & craft projects I want to do. Sometimes, when I find myself with spare energy and time I do one, and sometimes I combine a few to create one project from several fun list items.

I love multi-tasking.

024

Yesterday I added “make Christmas layout with American Crafts Merrymint line” to my fun list. Then I noticed an e-mail about the class I’m taking from Ali, and realized I really want to get more layouts done inspired by that. I didn’t intend to put the two together, but when I found a childhood Christmas photo during my cleaning, well, I knew what to do!

023

What I really love about this line is that while some of it is really cute & themed, a lot of it is subtle or not actually themed at all. I love that in my holiday products because it means a) it won’t compete with my photos and b) I can use it for other stuff if I buy too much & don’t have holiday photos for it. Their ribbon makes me crazy too. I won’t tell you how much of it I’ve purchased over the years… just… well… know that I love it & use it a lot.

030

I was trying my hand at being a minimalist and did NOT have any of the stuff over on right side (ribbons, etc) at first. But when I placed the title up top I just couldn’t leave it alone. I’m not a ‘clean’ scrapper, I like STUFF!!! So off I went happily cutting ribbons and bits of paper. Ah, I feel much better.

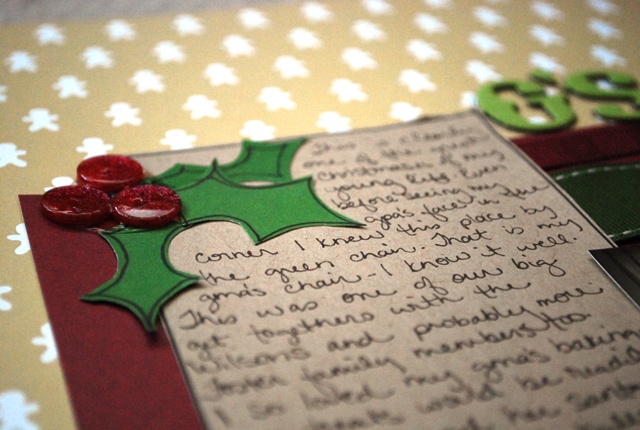
The layout is just random thoughts that come to mind when I look at this photo (I’m 9, my sister & cousin 5) at my Grandparent’s house. We call them “the g’s” mostly because they (and we) always spelled it gma and gpa. Good times and happy memories for many a Christmas happened in their house for sure.

025

The journaling paper is a png file from Ali’s class that I’m in LOVE with. I printed out (just using Microsoft Word) a whole sheet full on kraft cardstock, and I intend to keep right on in all sizes. They’re so great for writing and I’m really enjoying that class. Telling stories = heart of my scrapbooking and it’s good to focus on that.

Have a happy Friday – and weekend!

PS-Speaking of classes- my own BPS class starts in a few days!!! I’ve got some peeks, give aways, and much more coming for you as we count down to start time beginning tomorrow.