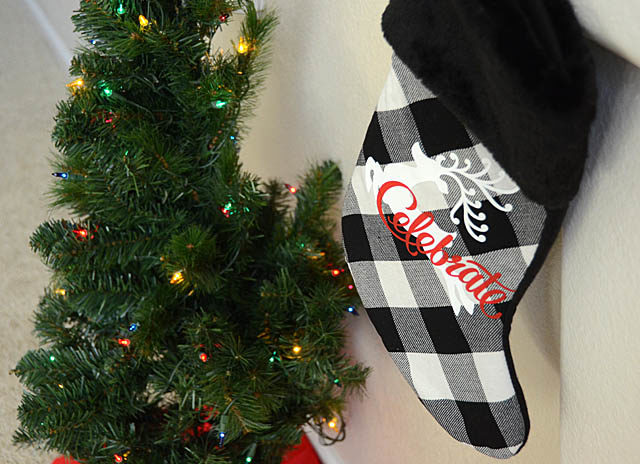
When we get into December I am big on quick, easy, and big impact projects. I like to make use of ready to go designs, and tried & true projects. Today I want to share with you a stocking that I think turned out just so very cute!
For a project like this you’ll need iron-on vinyl, a stocking, and of course your ScanNCut! My one word of caution to you here would be to avoid “super fuzzy” stockings that won’t hold vinyl nicely or that could melt when placed under the iron.
Here is a link to my YouTube video for a full tutorial. The steps are quite easy!
- Select your design on the ScanNCut and cut from vinyl. If you’ve got the new ScanNCutDX, you can use the 1/2 cut function so that it auto cuts the vinyl for you!
- Weed the designs
- Iron-on to the stocking as desired
- ENJOY!
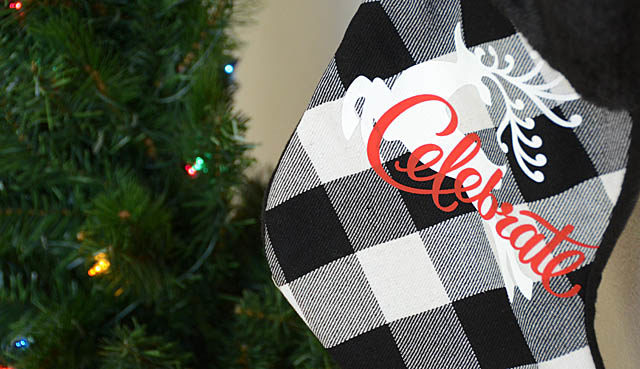
One tip I’ll give you – remember when you cut anything iron-on, vinyl, or otherwise that you’re cutting the backside up needs consideration. What do I mean? Well because you’re cutting back side up the opposite of what you see on your screen is what you’re getting. In this project for example the deer and the word were both flipped – so that they’d be the direction that I want on the final project.
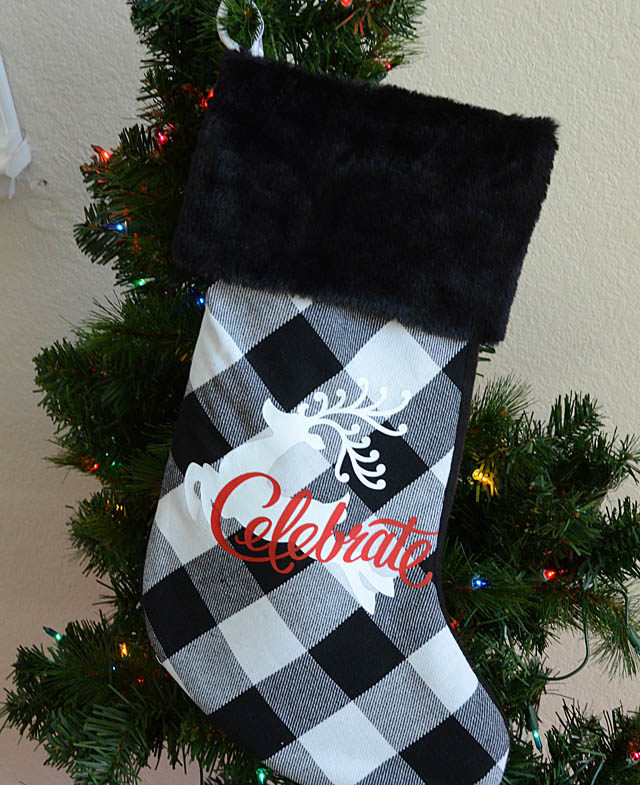
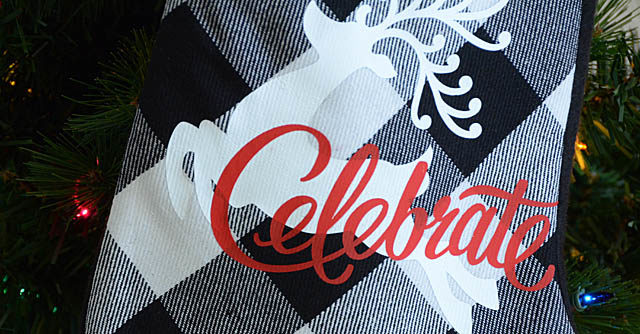
I love these built in designs, and really love how beautiful this “Celebrate” is! I intend to scrapbook with both designs, but first: time to finish decorating the house!
I hope you’ve enjoyed this tutorial. I’d love to hear what you’re up to this holiday season, and if you’re making any time for some crafty fun. I find projects like this are much more likely to get done vs just because art projects – and that’s ok! Any creative outlet is a good one.
disclaimer: As always, I share that I am a brand ambassador aka paid consultant for Brother, and that all ideas and opinions I share are always my own.
This is so pretty May – love the graphic red and white images on that stocking