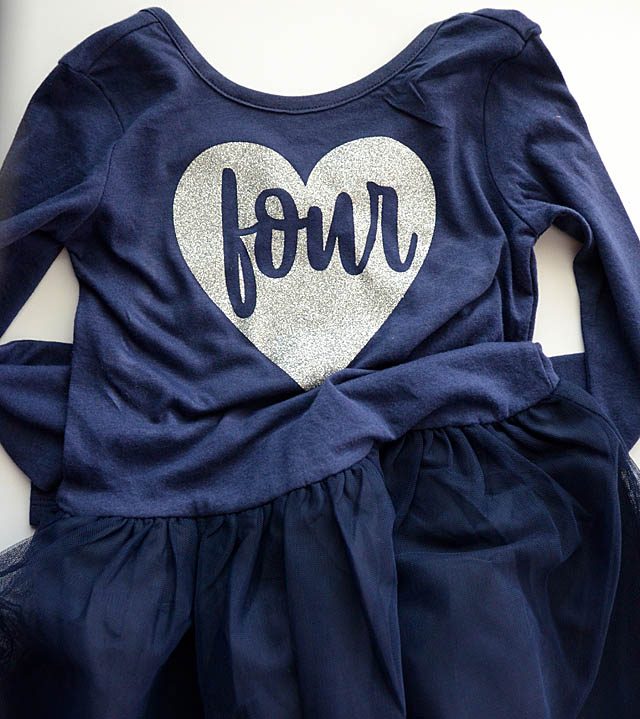
I *love* getting crafty requests for help, and this project was no exception! My neighbor has seen my posts about the ScanNCut, and knows that I work with Brother so she asked if I could help fix up a custom dress. My thought? Sounds like FUN!
For a project like this you’ll only need a few things: Clothing (in this case a cute dress), iron-on material, and a ScanNCut! The first thing I did was to make a cut file from a font.
You’ve got three options to do this: use a built-in design, scan in a word and create a cut file, or use the type converter app on your computer. I have a quick tutorial video “how to” on the type converter here.
It’s one of my favorite free things that Brother created because it makes the creation of font based designs SO easy! The how-to on the machine is pretty simple as well:
- Select/import your word
- Add another shape
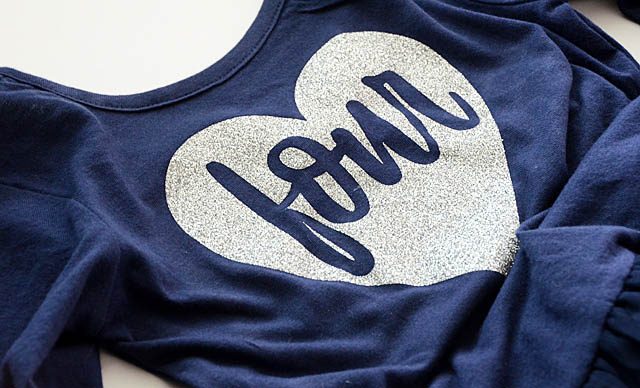
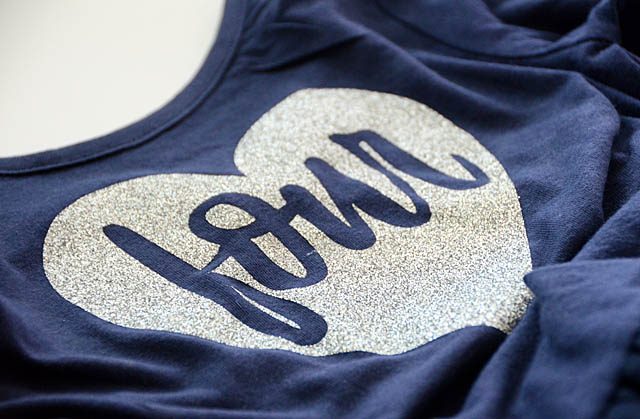
- Reverse the word (backwards will = correct when cutting iron-on material!)
- Resize
- Cut it out!
Once it has been cut out all you need to do is use an iron to heat set the pattern – and you’re good to go! Want a more complete tutorial? Check out my YouTube video here.
I’m told this dress was a hit, and I LOVE how it turned out. So easy, and yet so much personality and fun at the same time. I love customizing projects for family and friends – and I’m thankful that the ScanNCut helped me make it a reality so easily.
This is so adorable May!