I am really trying to embrace a few new things this year, one of them being having some kind of seasonal decor on the dining room table. Now – we don’t often eat in this area… but it always feels nice to have something that looks good but didn’t cost a lot or take a ton of time. Today I want to share how the ScanNCut (the usual disclaimer: I am a paid consultant for Brother, but all ideas and opinions are always my own) is helping me kick off the summer!
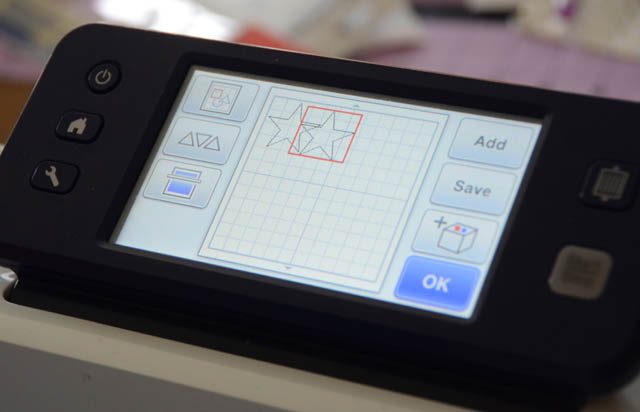
For the ScanNCut portion of this project, my goal was to make a lot of stars – but stars within stars so it is a cooler look beyond the basic. To do this I began by selecting 2 basic stars, then lining them up so one was directly on top of the other.
Here’s the exact step by step – this works with many basic shapes:
- Select the shape, select two (same size), and on the screen move so that they are directly on top of each other. I find a corner to be very useful for this. I also find a 4″ or so design to work well – you can resize later.
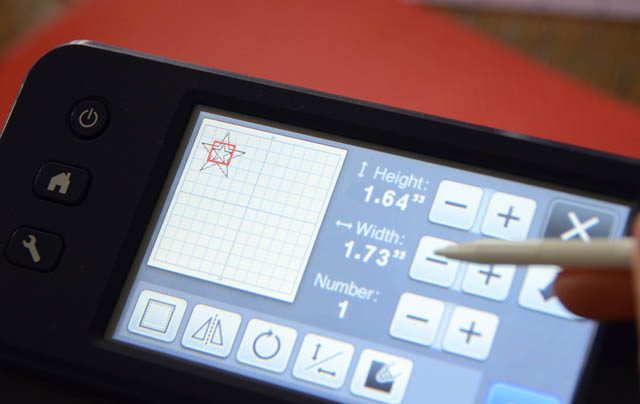
- In the edit screen, shrink one of them until you are happy with the ratio.
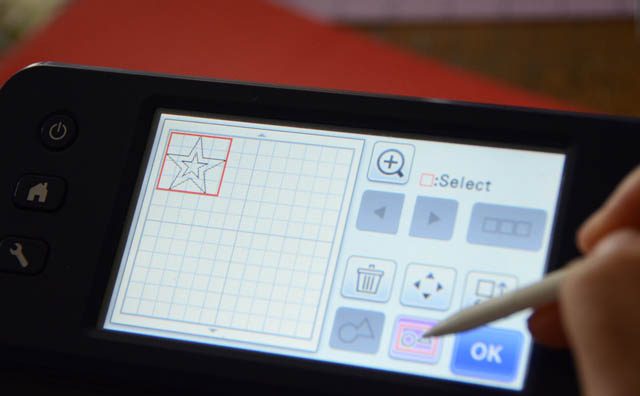
- Select both stars and “unify” to enable them to move and act as one
- Re-size, add more, and continue your process from here!
It really is that easy – and it is one of my favorite easy tricks that I adore because it gives me interesting cut shapes that are beyond the basics… but no real extra time spent!
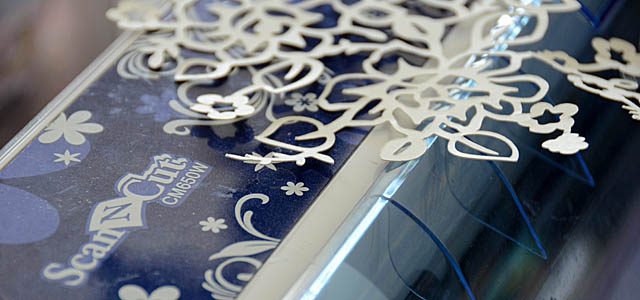
From here I was on to cutting them out (well, the machine did that!) and dreaming up ways to utilize the shapes. I cut two full sheets- one red and one blue – in various sizes out. Remember when you’re done cutting a sheet you can remove it, place a new sheet… and get right back to cutting!
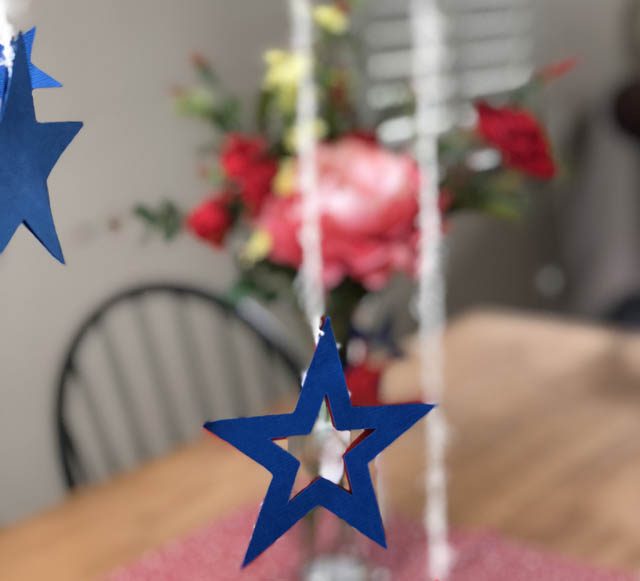
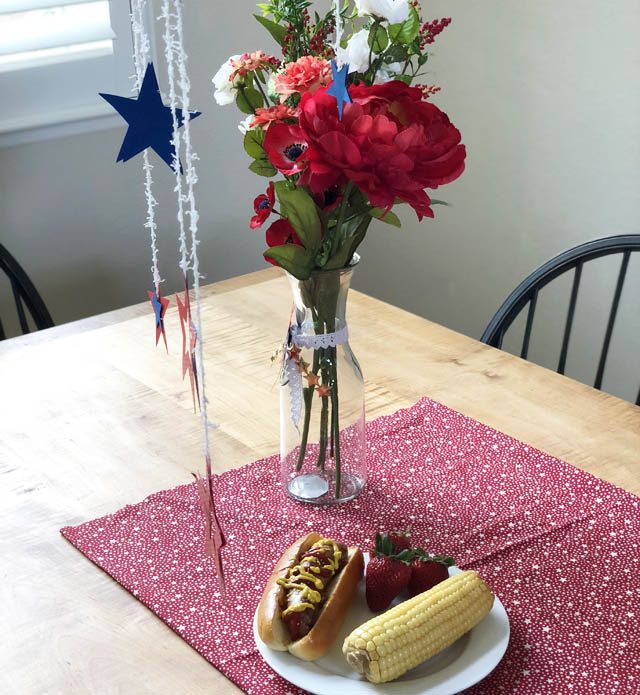
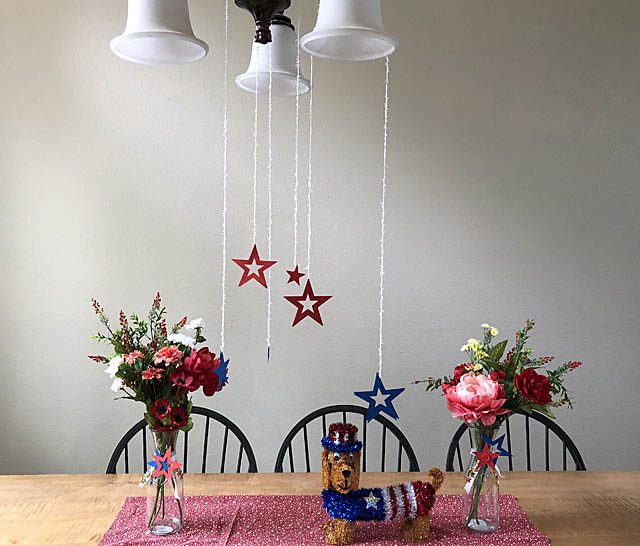
We have a light that hangs over the table so I draped some art yarn over a few times at various lengths. Then I got out my hot glue gun and glued two same-sized stars to the ends of the strings.
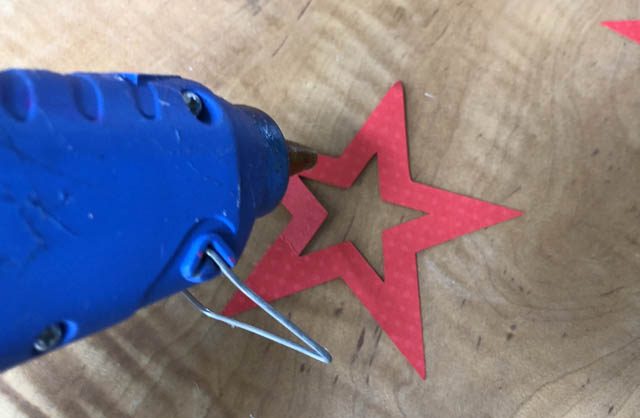
I did this by putting a dot of glue towards the top of one star, then pinching them together onto the string.
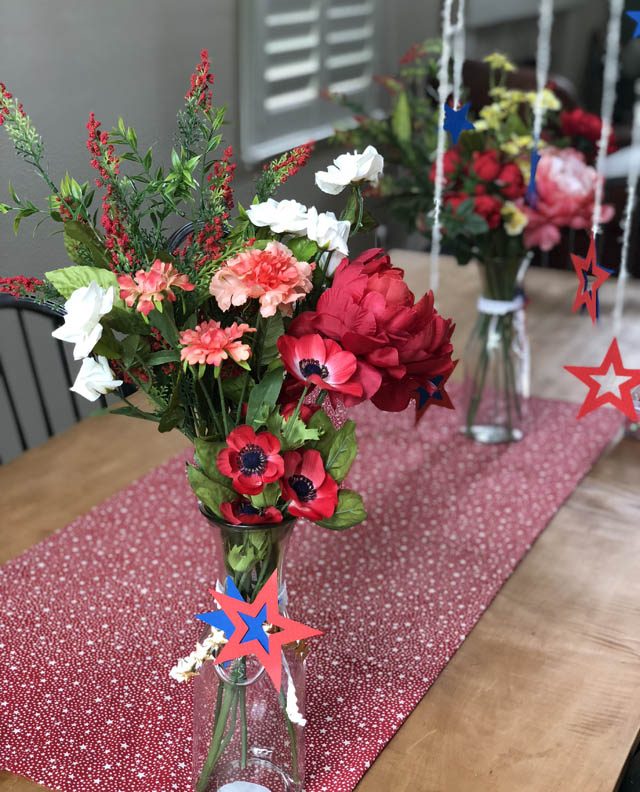
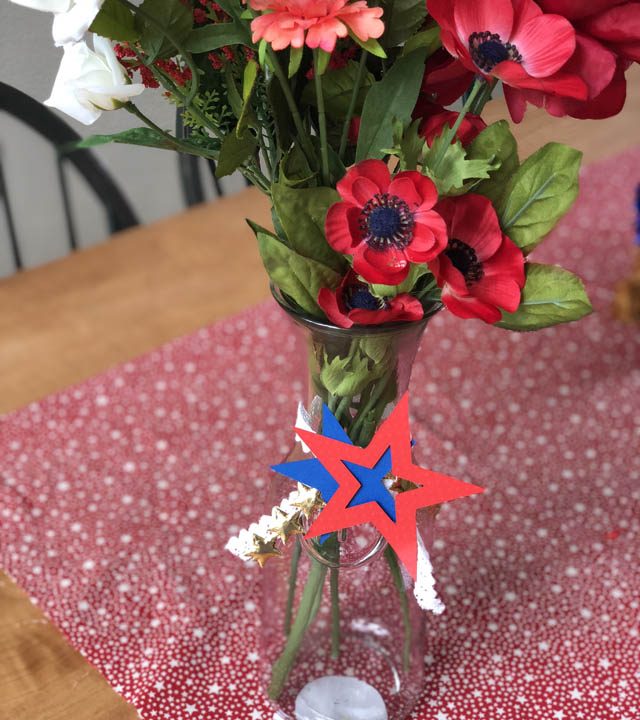
The other way I utilized these stars? On vases! I am a huge fan of die cut shapes to adorn packages, bags, and vases too! These hold some artificial flowers so they’ll last all summer long.
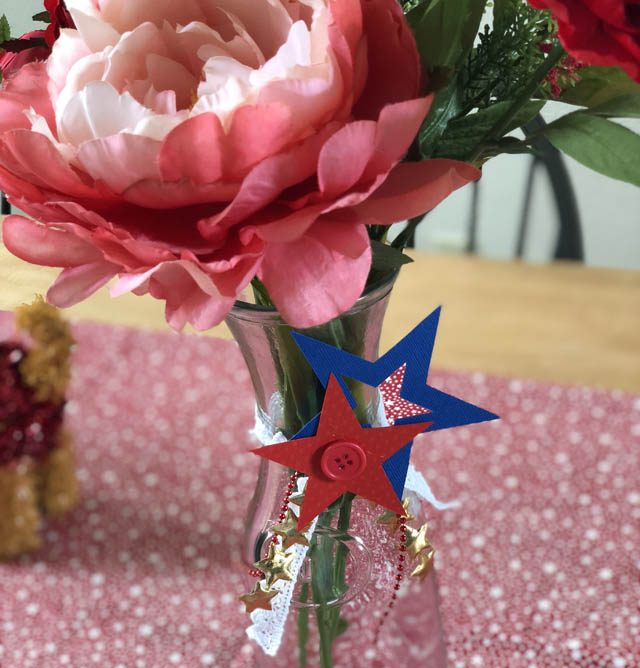
I tied ribbons around these, then used the hot glue to tack the stars onto those trims. Easy!
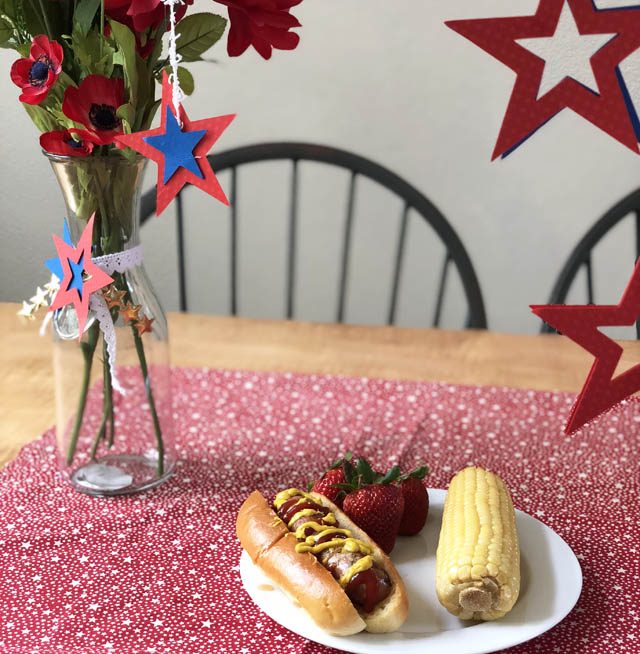
Of course it wouldn’t be a summer party without some tasty treats! I grilled up some hot dogs and made some rather fancy root beer floats!

If making baked goods like cupcakes – these stars on toothpicks would have been great as toppers!
What I love most about this project is that my afternoon of craftiness is on display all summer long – and I smile every time I see it. It adds a little flair to an otherwise stark corner of the house, and it really was a lot of fun to put together.
I am thinking about swapping out to autumn leaves come September. What do you think I should have the next shape focus be?
Thanks for tuning in today! I hope you are inspired to do a bit of summer crafting yourself. I’d love to hear what you’ve been making.
That looks fantastic!! I hope you have a a very happy 4th!
Our Australian national Day, Australia Day, is in January (our summer). But there is a Lot of controversy over it because it’s actually the day Australia was invaded/settled by white people.
In Hong Kong, we kind of have 2 days – one was 1 July – that’s “Handover DAy” – the day in 1997 when HK was handed back to China. And then there is national Day on 1 October which is China’s National Day!
have a thing for stars lately. Definitely giving this a try today!