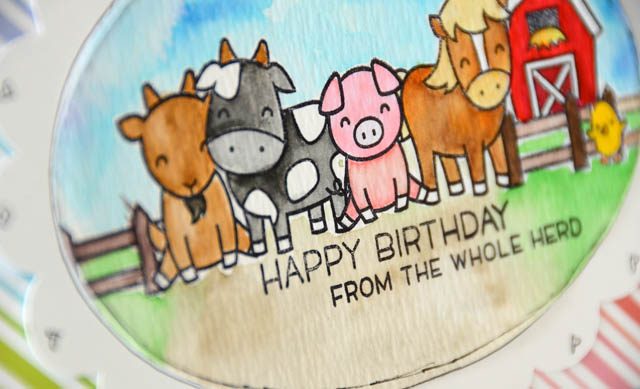
Hey guys! So last month I did a video about making custom masks with the ScanNCut – which is something I really mean to do more often! Today I’ve taken and stamped a whole scene (using masking paper), colored it, and then made it into a fun card!
usual disclaimer: I do work with Brother as a paid consultant, however all ideas & opinions are my own. I love the ScanNCut!
For a project like this I recommend:
- Stamp (just stamp- don’t stress overlap!) on scrap paper to establish your design
- Stamp (starting with whatever image(s) you want on top, cover with masking paper, repeat.
- Remove the masking paper & color
You can play a lot with masking, and I will continue in this series of masking projects to show you more ideas! Here is my YouTube video showing this project.
This really was a lot of fun!
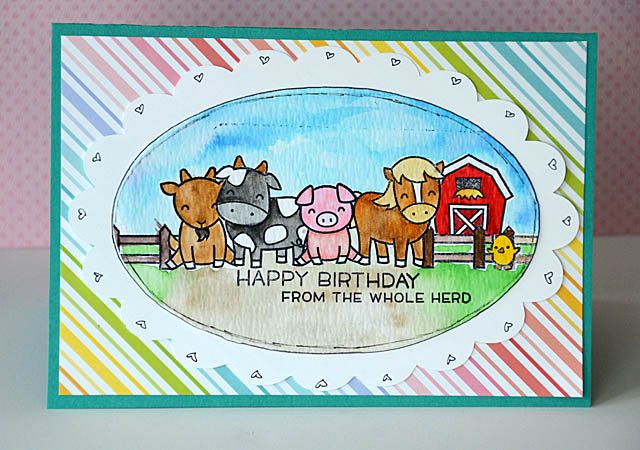
I love how this turned out, and I really like the little hand drawn hearts. I love when a project takes an unexpected turn, and turns out well! I like this detail – and I wish you the best for a happy crafty weekend!
May – so enjoy watching your videos especially about the sccan ‘ cut. You are the reason I finally took it out of the box to play with it after waiting so long to use it. This box sat there because of my fear of breaking this machine by doing something wrong. So thanks to you the scan “n cut is box free! I AM SLOWLY LEARNING TO ENJOY THE ADVENTURES AHEAD OF ME. THANKS MAY ~
Love the scallops! I’m going to try something similar. Thanks for the inspiration, May.
I love this May … can’t wait to get my hands on that cute stamp set!!