I get a lot of requests for “just the how-to” video – and today I’ve got just the thing! If you have a ScanNCut and like to stamp – consider doing some masking. You’ll need masking paper (available through many online/art stores/etc), an image, and of course your ScanNCut!
Why would you want to mask a project of any kind? The basic reason would be to enable you to color part of a project without worrying about the rest. Last year I did a pottery painting tutorial (here) that features similar idea- layering color while protecting whatever is underneath the mask. You can do this with multiple shapes to layer color, or just one!
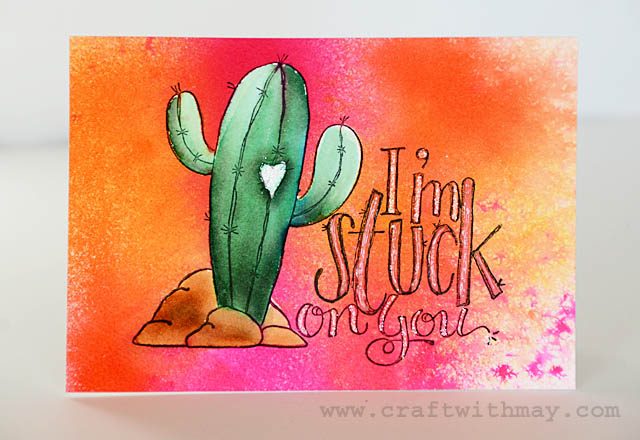
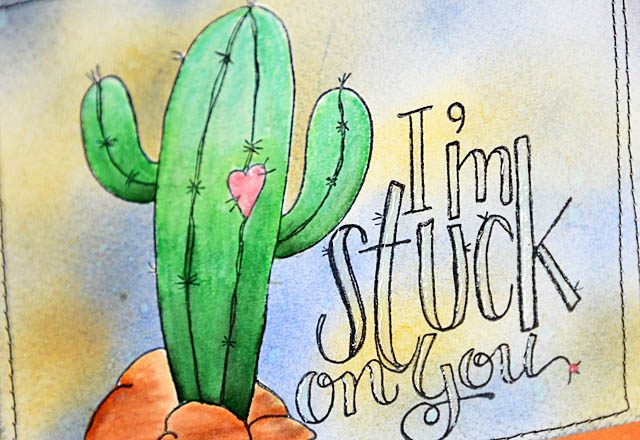
In today’s YouTube video I am sharing a quick tutorial for how I masked this cactus. This tutorial would work and apply for just about any image.
In fact, if you had a drawing or single image (not a stamp) you were trying to mask what you would do would be to scan in the original, then remove it and place masking paper on the mat. This will get you the exact shape you need without coloring/marking/stamping the masking paper!

I was able to get two uses from this mask – it will of course depend on your paper, color mediums used, etc if you’ll be able to re-use your masks or not. This is a technique and really an art style that I have not explored nearly enough, and will be doing so a lot more now and in the future.
I hope you enjoyed this quick look – stay tuned next month for a tutorial that includes coloring as well.
the usual disclaimer here: I work with Brother as a consultant but all ideas and opinions are always my own! The ScanNCut is a machine I use, love, and enjoy sharing with you here on my blog.
Cute stamp!! Really fun cards!